________________________________________________________________________________
John Deere 130, 160, 165, 175, 180, 185 - Engine and PTO Clutch
Kawasaki engine remove and install
John Deere 130 Tractor - Kawasaki FC290V engine
Remove hood, muffler
and pedestal shroud. Close fuel shut-off valve. Disconnect fuel line.
Loosen cap screw and disconnect throttle cable. Disconnect two wires
from ground terminal on right-hand side of engine. Disconnect wire from
starter. Disconnect ignition wire and remove wire from grommet. Remove
electric PTO clutch. Depress clutch pedal and remove belt from idler
wheel and drive sheave. Remove drive sheave and key. Remove four engine
mounting cap screws and belt guide. Rotate engine to clear oil drain
from hole in frame and remove engine. When installing engine, apply
lubricant to crankshaft before installing drive sheave. Tighten PTO
clutch mounting cap screw to 56 Nm (45 lb-ft). Adjust throttle cable,
choke, governor, fast idle and slow idle.
John Deere 160, 165 Tractor - Kawasaki FB460V engine
Remove hood, muffler and
pedestal shroud. Close fuel shut-off valve. Disconnect fuel line.
Disconnect throttle cable. Disconnect two wires from ground terminal on
right-hand side of engine. Disconnect wires. Remove wires from behind
oil fill tube. Disconnect ignition wire and remove wire from grommet.
Remove electric PTO clutch. Relieve tension in traction belt for
hydrostatic tractors. For gear driven tractors, depress clutch pedal.
Remove belt from idler wheel and drive sheave. Remove drive sheave and
key. Remove four engine mounting cap screws. On gear driven tractors,
remove belt guard. Rotate engine to clear oil drain from hole in frame
and remove engine. When installing engine, apply lubricant to crankshaft
before installing drive sheave. Tighten PTO clutch mounting cap screw to
56 Nm (45 lb-ft). Adjust throttle cable, choke, governor, fast idle and
slow idle.
John Deere 175, 180, 185 Tractor - Kawasaki FC540V / FC420V engine
Remove
hood, muffler and pedestal shroud. Close fuel shut-off valve. Disconnect
fuel line. Loosen cap screw and disconnect throttle cable. Disconnect
two wires from ground terminal on right-hand side of engine. Disconnect
wires from starter solenoid. Disconnect ignition wire and remove wire
from grommet. Remove electric PTO clutch. Relieve tension in traction
belt for hydrostatic tractors. For gear driven tractors, depress clutch
pedal. Remove belt from idler wheel and drive sheave. Remove drive
sheave and key. Remove four engine mounting cap screws. On gear driven
units, remove belt guard. Rotate engine to clear oil drain from hole in
frame and remove engine. When installing engine, apply lubricant to
crankshaft before installing drive sheave. Tighten PTO clutch mounting
cap screw to 56 Nm (45 lb-ft). Adjust throttle cable, choke, governor,
fast idle and slow idle.
Replace muffler and Fuel pump
John Deere 130 Tractor - Kawasaki FC290V engine
Remove hood. Remove four cap
screws and remove air duct. Disconnect spark plug wire. Remove engine
cover. Remove two nuts and washers. Remove muffler. Put muffler and
gasket into position. Install and tighten two washers and nuts. Install
cover. Connect spark plug wire. Install air duct. Install hood.
John Deere 160, 165 Tractor - Kawasaki FB460V engine
Remove hood. Disconnect spark
plug wire and remove rubber grommet to remove spark plug wire from air
duct. Remove four cap screws and two cap screws and nuts from air duct.
First, remove right side of air duct, then left side. Remove four cap
screws and two spacers and remove muffler. Position muffler and gasket.
Install and tighten two spacers and four cap screws. Install left side
of air duct, then right side. Put spark plug wire through hole in air
duct and connect to plug. Install rubber grommet. Install hood.
John Deere 175, 180, 185 Tractor - Kawasaki FC540V / FC420V engine
Remove
hood. Remove four cap screws and remove air duct. Remove two nuts,
washers and two cap screws. Pull out on muffler guard and remove
muffler. Position muffler and gasket by pulling out on muffler shield.
Install and tighten two cap screws, two nuts and washers. Install air
duct. Install hood.
John Deere 130, 160, 165, 175, 180, 185
Fuel Pump
Remove Fuel Pump - Test fuel pump before removal. Disconnect
vacuum line and fuel lines. Remove fuel pump. Service Fuel Pump - Remove
screws and washers. Remove cover, gaskets and diaphram. Make sure vent
in cover is not plugged. Inspect diaphram for hairline cracks or wear.
Remove pump body and gasket. Remove valves by pulling rubber grommet.
Inspect valves for hairline cracks or wear. Remove bottom diaphram and
gasket. Inspect diaphram for holes, wrinkles or wear. Inspect all pump
mounting surfaces. They must be free of any nicks or burrs. Replace any
worn or damaged gaskets or diaphragms. When installing inlet and outlet
valve assemblies, use a punch or small dull shaft to stretch rubber
grommet. Push stretched assembly into pump body. When assembling pump
body, be sure flat area on bottom plate and pump body match.
John Deere 130, 160, 165, 175, 180, 185 Tractor
Fuel Tank
Remove Fuel Tank - Remove mower height knob, park brake knob
and transmission selector knob. On hydrostatic tractors, remove tow
valve knob. Disconnect seat switch. Remove pedestal shroud and platform.
Close shut-off valve. Disconnect fuel line and remove it from foam pad.
Disconnect fuel sensor wiring harness and remove it from foam pad.
Remove fuel tank. Inspect Fuel Tank - Replace tank if damaged. Check
rubber bushings for leaks or damage. Replace if necessary. Make sure
overflow tube is not plugged. Disassemble Fuel Tank - If equipped, pull
fuel sensor from tank. Test fuel sensor. Pull shut-off valve from tank.
Assemble Fuel Tank - Push rubber bushing into tank. Push shut-off valve
into housing. Push rubber bushing into tank. Push fuel sensor into
rubber bushing. Install Fuel Tank - Install tank. Put overflow tube
through clip on back of frame. Put wiring harness under foam pad and
connect harness to fuel sensor. Put fuel line under foam pad and connect
line to shut-off valve. Put platform on frame. Put seat switch connector
through platform. Make sure all levers fit through platform. Install and
tighten two nuts, washers and three cap screws. Install pedestal shroud.
Connect seat switch. Install control knobs.
John Deere 130, 160, 165, 175, 180, 185 Tractor - Electric PTO Clutch
Adjust Electric PTO Clutch
Make sure PTO switch is in OFF position.
Disconnect spark plug wire and remove key. Insert a 0.41 mm (0.016 in.)
feeler gauge through slot in clutch plate. Gauge should be between
clutch rotor and armature. Tighten lock nut until feeder gauge begins to
bind between armature and rotor. Use a sweeping motion with feeler gauge
while making this adjustment. Do not overtighten. Repeat procedure on
other two adjusting nuts. Connect spark plug wire and start engine. Move
PTO switch to ON position. If clutch does not engage, test electrical
connections for continuity or disassemble PTO for inspection and repair.
Remove Electric PTO Clutch - Disconnect wiring harness. Remove cap screw
and washer. If clutch is stuck on crankshaft, use a plastic hammer to
loosen clutch from crankshaft. Remove clutch.
Ogura Electric PTO Clutch
Disassemble Ogura Electric PTO Clutch - This
clutch is manufactured by Ogura Clutch. Remove three lock nuts. Support
PTO clutch assembly on armature housing. Press on rotor shaft only and
remove armature assembly. Remove three springs. Remove snap ring. Press
bearing and spacer form armature housing. Press rotor from electrical
coil assembly using 1-5/16 inch disk. Remove snap ring. Press bearing
from electrical coil assembly. Inspect - Inspect bearings for wear or
damage. Replace if necessary. Inspect springs for broken condition.
Replace springs if necessary. Inspect contact surfaces of rotor and
armature for scored or grooved condition. Check for weak or broken
contact springs. Replace parts as needed.
Test Electrical Coil
Battery must be fully charged and in good
condition for a proper test. Connect 12-volt battery to PTO electrical
leads. Put a tool across coil. Electromagnetic action will hold tool to
coil if PTO coil is in good condition. If tool is not attracted to coil,
replace coil. Assemble Electric PTO Clutch - Press bearing into
electrical coil assembly. Install snap ring. Press rotor into electrical
coil assembly. Put spacer in armature housing. Press bearing against
spacer. Install snap ring. Install springs and press armature housing
onto rotor. Install lock nuts. Adjust PTO clutch after installing on
tractor.
Warner Electric PTO Clutch
Disassemble Warner Electric PTO Clutch -
This clutch is manufactured by Warner Electric Brake and Clutch. Remove
spacer. Remove three nuts. Remove armature assembly and three springs.
Remove rotor. Inspect - Inspect bearings for wear or damage. Replace
bearings or housing assemblies as needed. Inspect springs for broken
condition. Replace springs if necessary. Inspect contact surfaces of
rotor and armature for scored or grooved condition. Check for weak or
broken contact springs. Replace parts as needed.
Assemble - Install rotor on electrical coil assembly. Install three
springs. Install armature housing assembly. Install three nuts. Install
spacer. Adjust PTO clutch before installing on tractor. Install - Put
lubricant on crankshaft. Install PTO clutch on crankshaft with pin on
tractor through slot in electric coil housing. Install cap screw and
washer. Hold flywheel and tighten cap screw to 56 Nm (45 lb-ft). Connect
wiring harness.
Test and Adjustment
John Deere 130, 160, 165, 175, 180, 185
Tractor
Engine
Fast Idle Speed - 3350 ± 100, Slow Idle Speed - 1400 ± 100,
Cylinder Compression-Minimum (JD 160, 165) - 380 kPa (55 psi), Cylinder
Compression-Minimum (130, 175, 180, 185 models) - 483 kPa (71 psi),
Crankcase Vacuum-Minimum (JD 130) - 7 cm (2.8 in. water), Crankcase
Vacuum-Minimum (160, 165, 175, 180, 185 tractors) - 25 cm (9.8 in.
water), Oil Pressure-Minimum - 240 kPa (35 psi), Fuel Pump
Pressure-Minimum (160, 165 models) - 3.68 kPa (0.5 psi), Fuel Pump
Pressure-Minimum (130, 175, 180, 185 tractors) - 6.12 kPa (0.9 psi),
Fuel Pump Flow-Minimum (John Deere 130, 175) - 80 ml/15 seconds (2.7
oz/15 seconds), Fuel Pump Flow-Minimum (JD 160, 165, 180, 185) - 90
ml/15 seconds (3 oz./15 seconds), Spark Plug Gap (John Deere 130, 175,
180, 185) - 0.7-0.8 mm (0.028-0.031 in.), Spark Plug Gap (JD 160, 165) -
0.6-0.7 mm (0.024-0.028 in.).
John Deere 130, 160, 165, 175, 180, 185
Tractor
Electrical System
Ignition Coil Air Gap - 0.3 mm (0.12 in.), Ignition Coil Resistance (Primary) - 0.4-0.8 ohms, Ignition Coil Resistance (Secondary) - 10,000-18,000 ohms, Starter Amp Draw-Maximum - 150 amps, Starter No-Load RPM-Minimum (JD 130) - 7000 rpm, Starter No-Load RPM-Minimum (160, 165, 175, 180, 185 models) - 6000 rpm, Starter No-Load Amperage-Maximum (John Deere 130) - 60 amps, Starter No-Load RPM-Minimum (JD 160, 165, 175, 180, 185) - 50 amps, Regulated Output at 12.2-13.8V (130 model) - 12 amps minimum, Starter No-Load RPM-Minimum (160, 165, 175, 180, 185 tractors) - 14 amps minimum, Unregulated Voltage Output-Minimum - 34V.
- JD 130, 160, 165, 175, 180, 185 Engine and PTO Clutch
- JD 130, 160, 165, 175, 180, 185 Transaxle service
- JD 165, 175, 185 Eaton Hydrostatic Transmission
- JD 165, 175, 185 Hydrostatic Differential
- JD 130, 160, 165, 175, 180, 185 Steering, Front Axle and Brakes
- JD 130, 160, 165, 175, 180, 185 Servicing Mower
________________________________________________________________________________
________________________________________________________________________________________
________________________________________________________________________________________
________________________________________________________________________________________
________________________________________________________________________________________
________________________________________________________________________________________
________________________________________________________________________________________
________________________________________________________________________________________
________________________________________________________________________________________
________________________________________________________________________________________
________________________________________________________________________________________
________________________________________________________________________________________
________________________________________________________________________________________
________________________________________________________________________________________
________________________________________________________________________________________
________________________________________________________________________________________
________________________________________________________________________________________
________________________________________________________________________________________
________________________________________________________________________________________
________________________________________________________________________________________
________________________________________________________________________________________
________________________________________________________________________________________
________________________________________________________________________________________
________________________________________________________________________________________
________________________________________________________________________________________
________________________________________________________________________________________
________________________________________________________________________________________
________________________________________________________________________________________
________________________________________________________________________________________
________________________________________________________________________________________
________________________________________________________________________________________
________________________________________________________________________________________
________________________________________________________________________________________
________________________________________________________________________________________
________________________________________________________________________________________
________________________________________________________________________________________
________________________________________________________________________________________
________________________________________________________________________________________
________________________________________________________________________________________
________________________________________________________________________________________
________________________________________________________________________________________
________________________________________________________________________________________
________________________________________________________________________________________
________________________________________________________________________________________
________________________________________________________________________________________

 JD SPECS
 JD LOADERS
 JD MAINTENANCE
 JD INSTRUCTIONS
 JD PROBLEMS
 JD 2025R
 JD 3039R
 JD 4044R
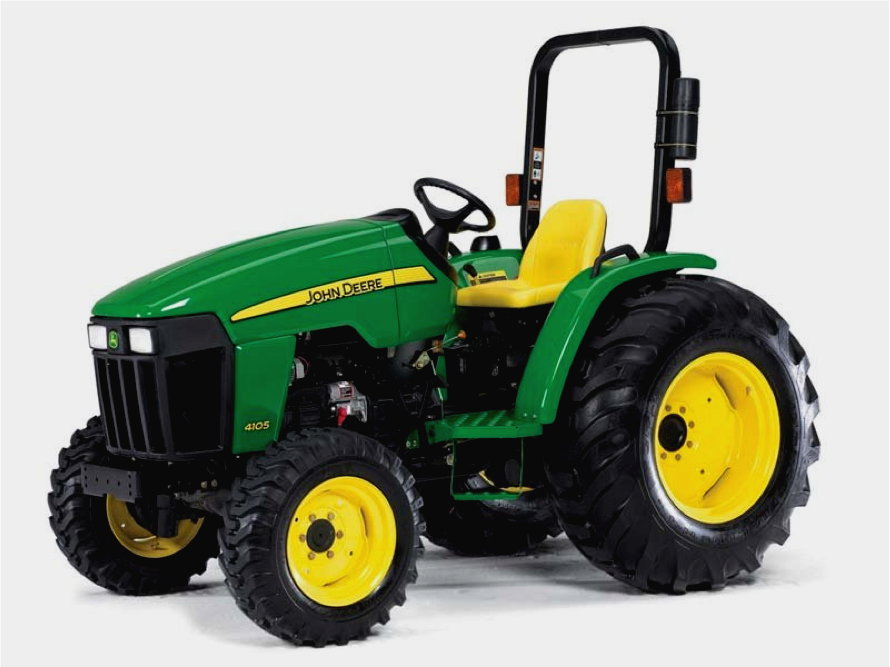 JD 4105
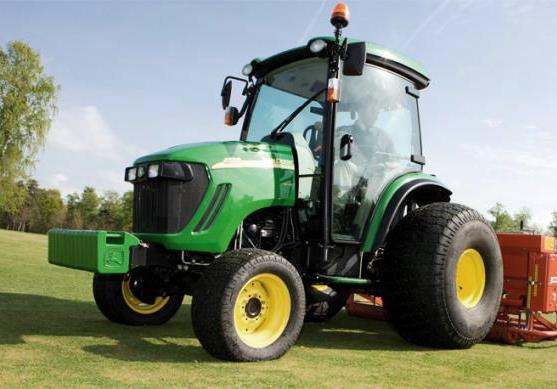 JD 4720
 420 Loader
 419 Loader
 510 Loader
 512 Loader
 520 Loader
 520M Loader
 540M NSL
 540 Loader
 440R Loader
 H180 Loader
 JD 5045E
 JD 5085E
 JD 5100M
 JD 6105R
 JD 6120M
 JD 6155M
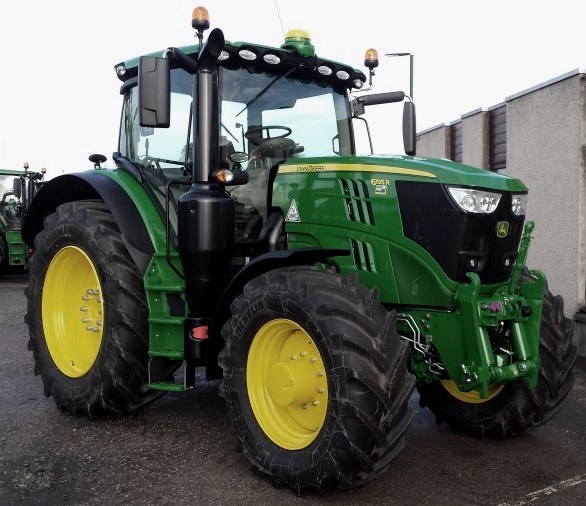 JD 6195R
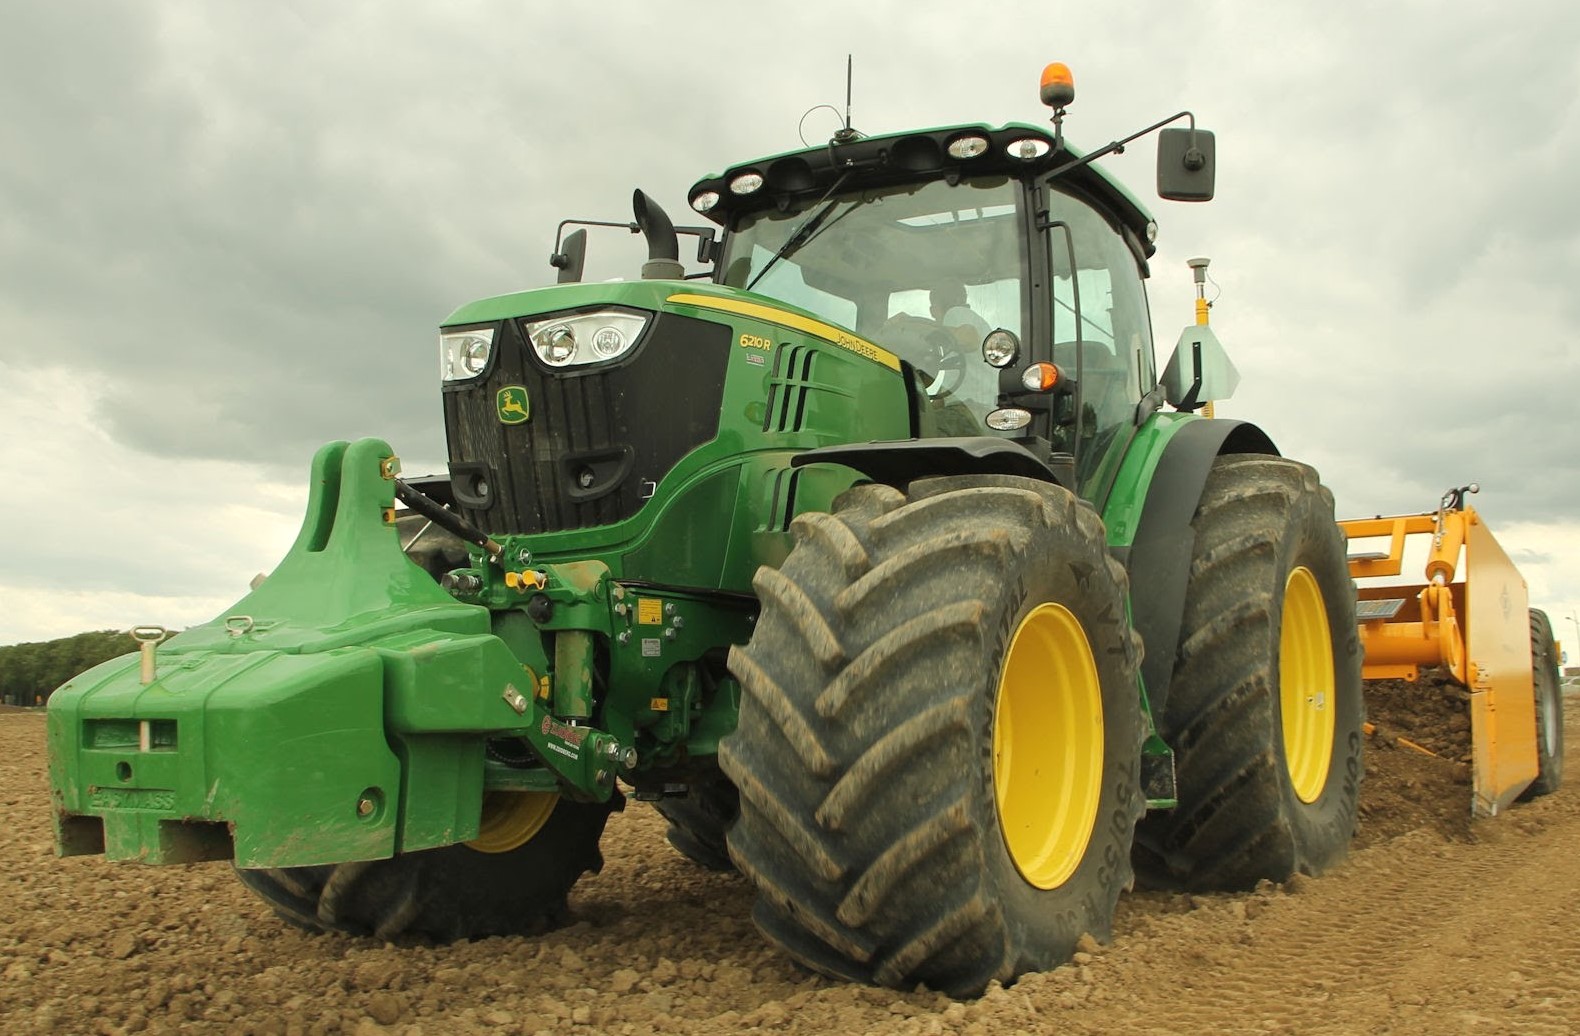 JD 6210R
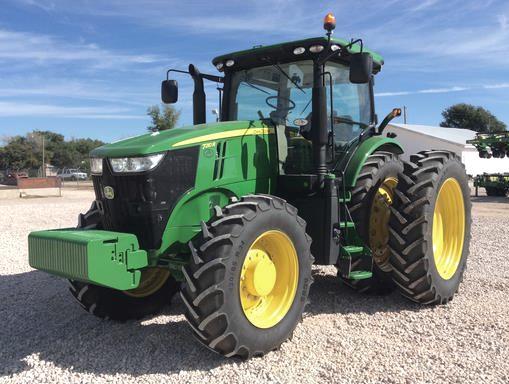 JD 7210R
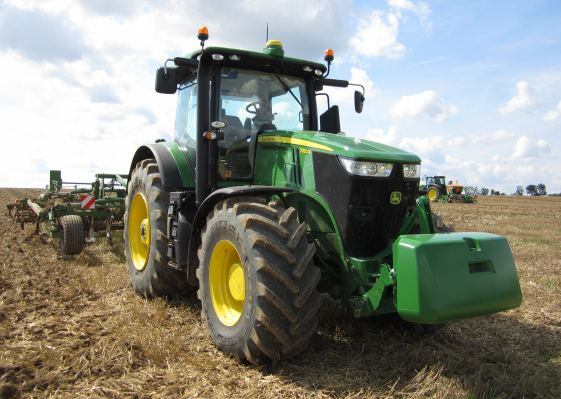 JD 7250R
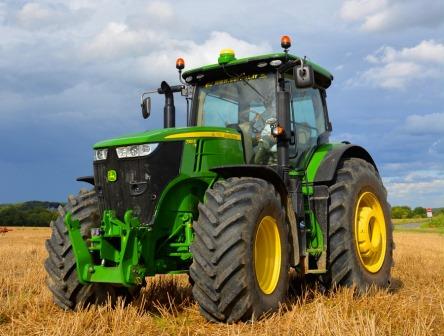 JD 7310R
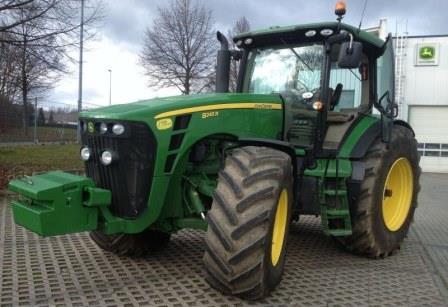 JD 8245R
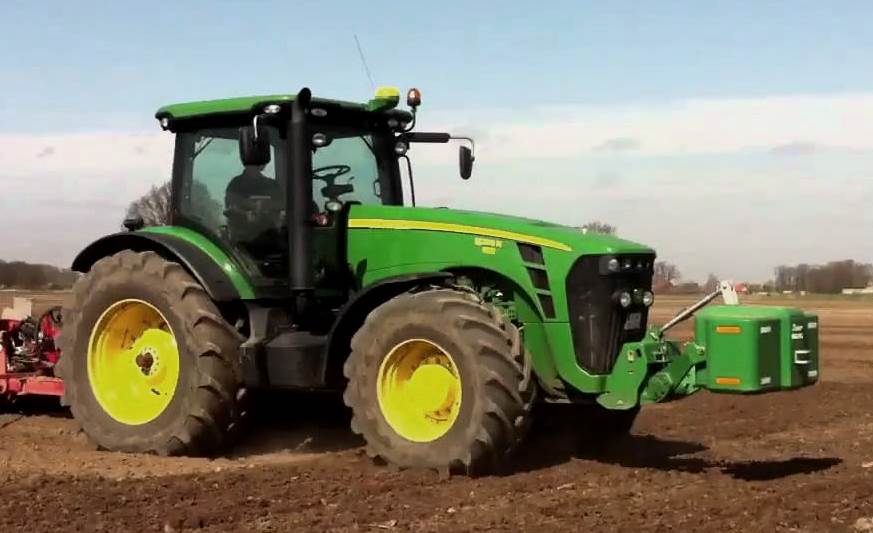 JD 8295R
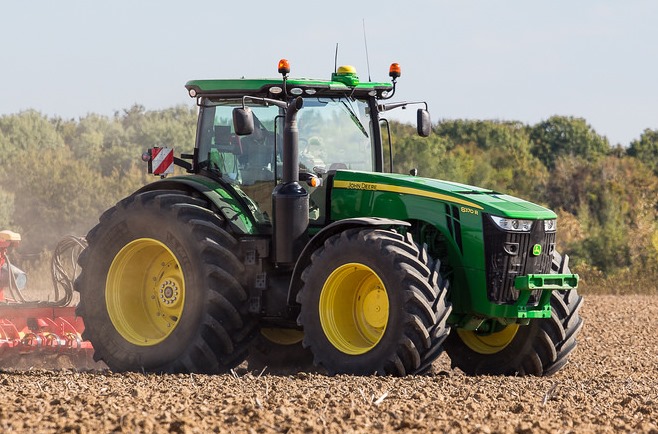 JD 8370R
 JD 9370R
 120R Loader
 D120 Loader
 H120 Loader
 45 Loader
 200CX Loader
 D160 Loader
 D170 Loader
 H160 Loader
 H165 Loader
 H240 Loader
 210 Loader
 220R Loader
 300E Loader
 300X Loader
 300CX Loader
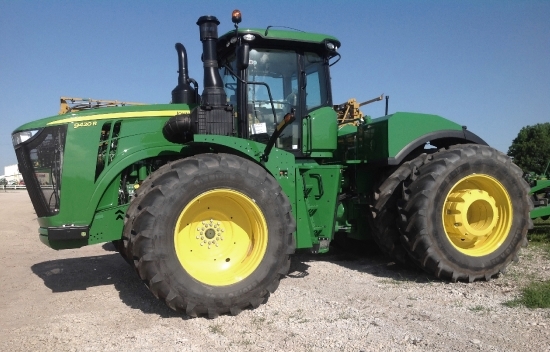 JD 9420R
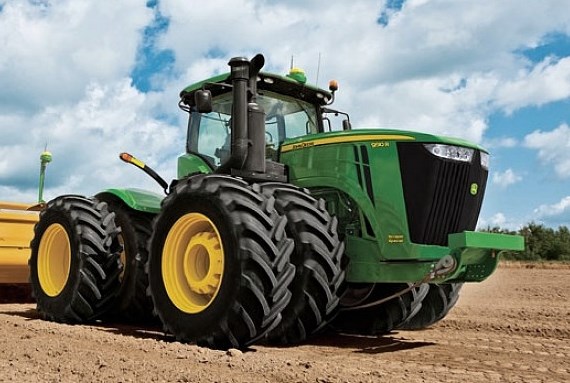 JD 9510R
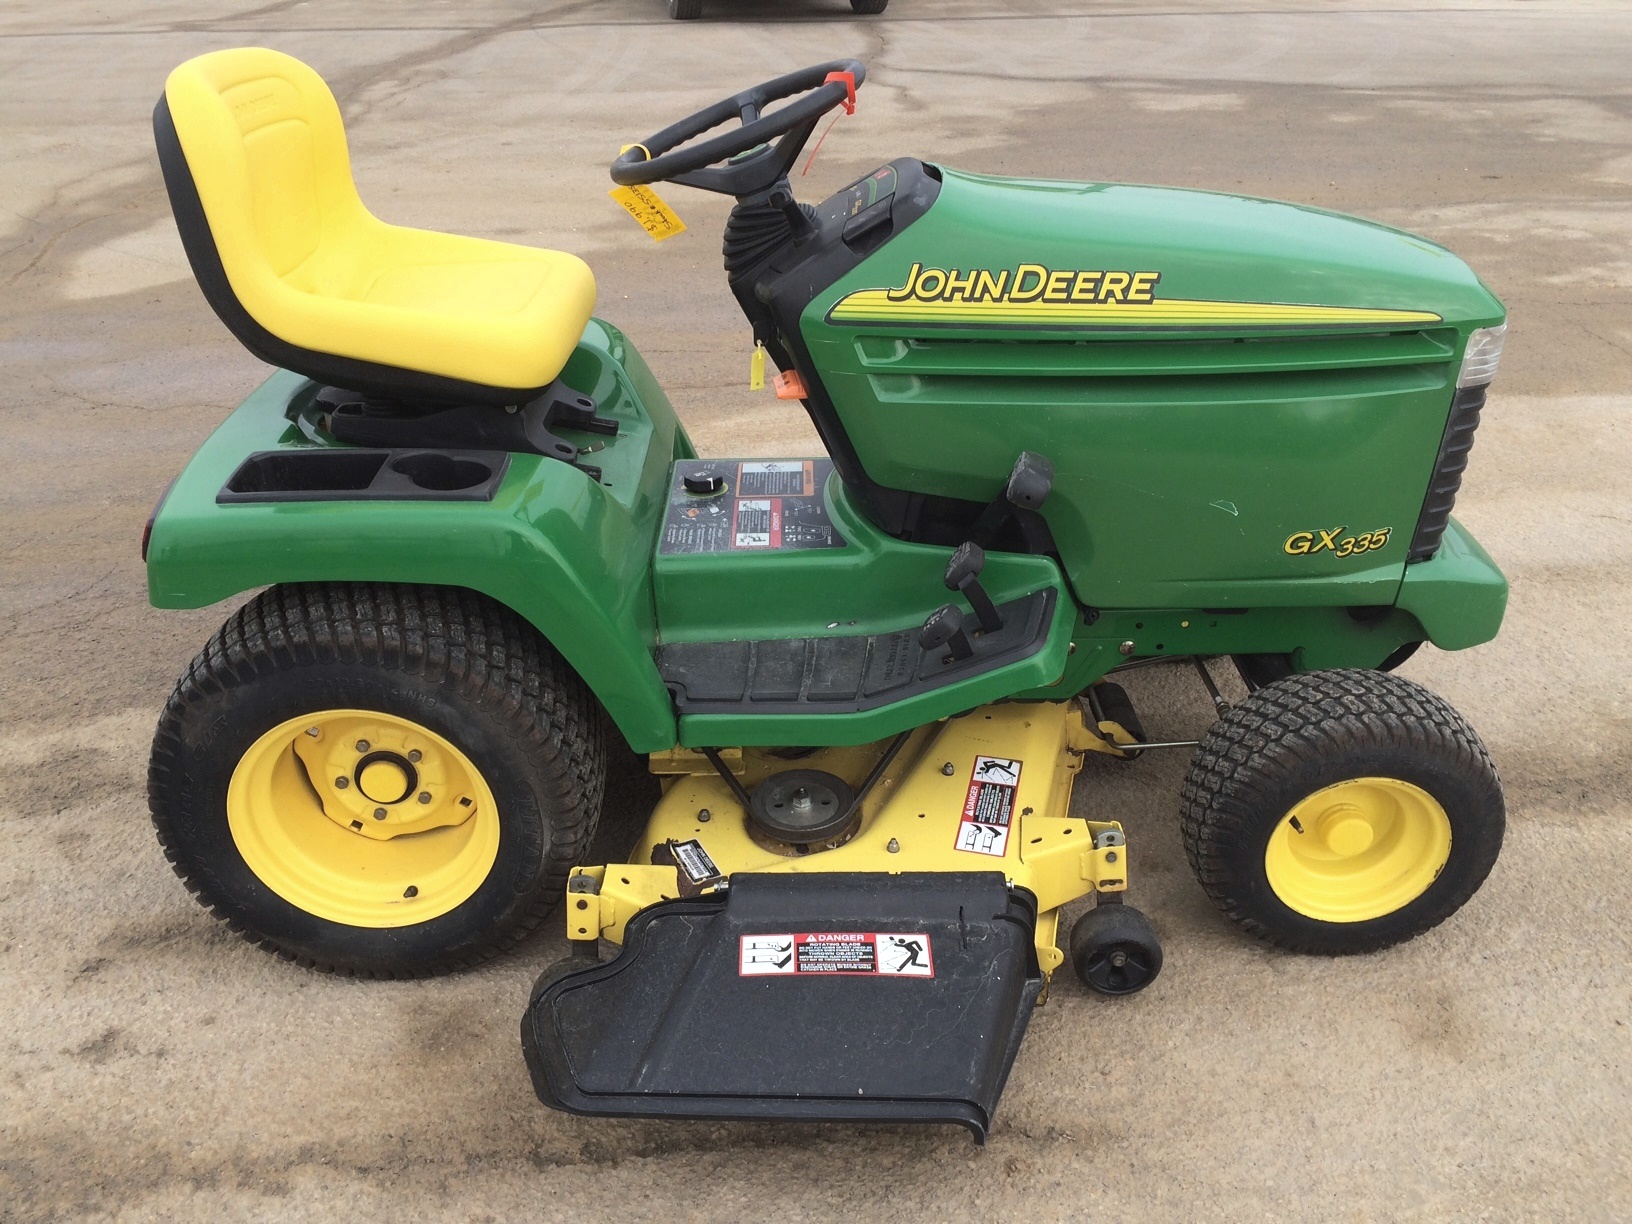 JD GX335
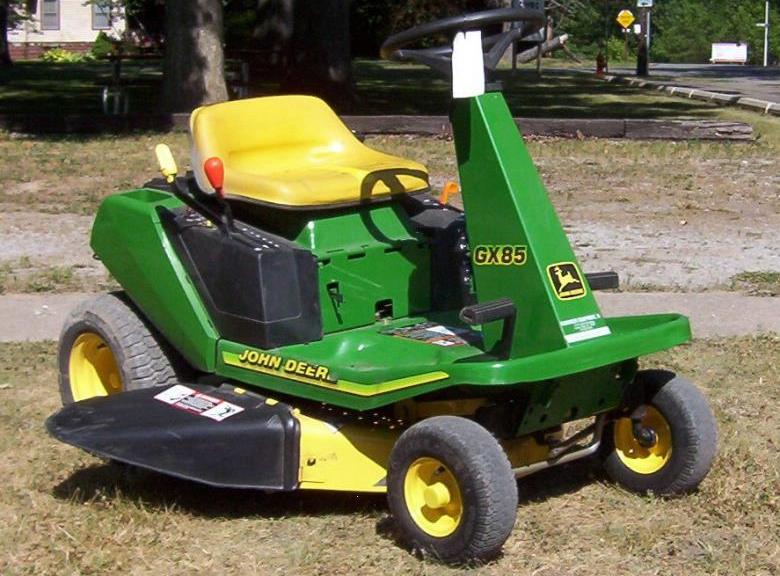 JD GX85
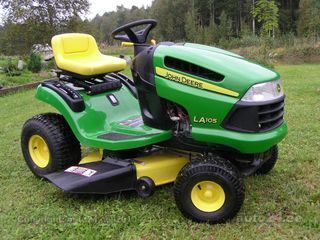 JD LA105
 JD 5065M
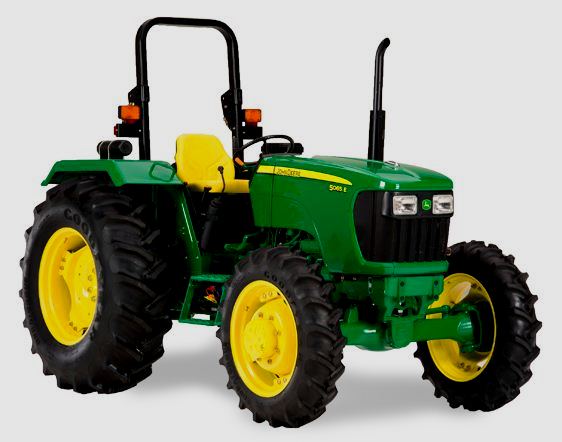 JD 5055D
 JD 5115R
 JD 5105M
 JD 6110R
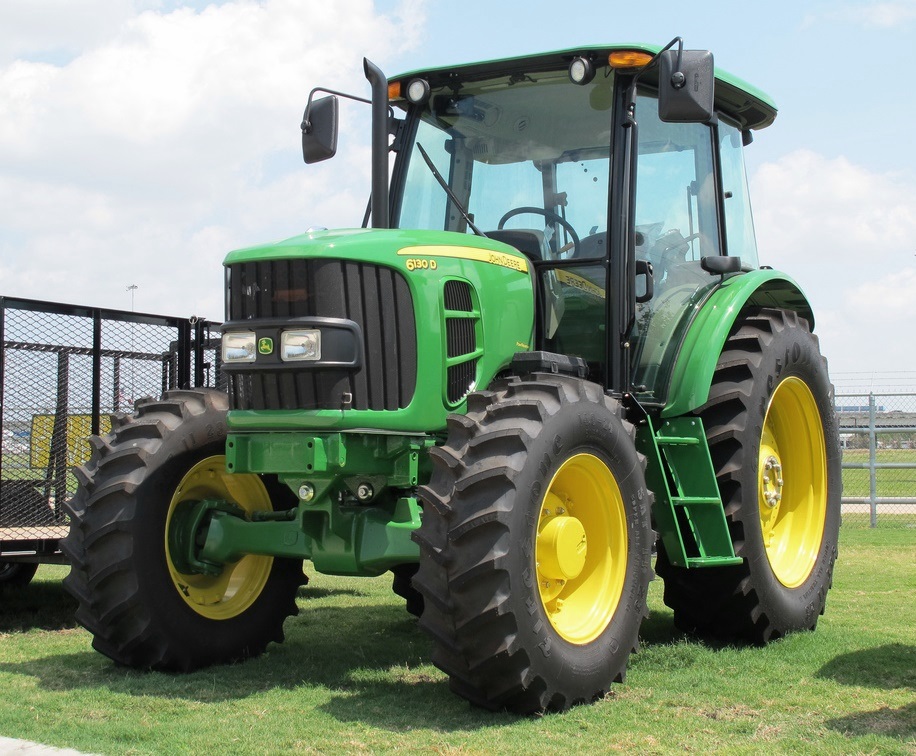 JD 6130D
 JD 6225
 JD 7530
 JD 4044M
 JD 7185J
 300 Loader
 300R Loader
 320R Loader
 400E Loader
 410 Loader
 430 Loader
 460 Loader
 521 Loader
 531 Loader
 541 Loader
 551 Loader
 631 Loader
 651 Loader
 661 Loader
 603R Loader
 JD D130
 JD D160
 JD 325
 JD 335
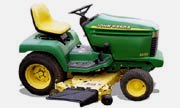 JD 345
 JD 2520
 JD 3005
 JD 3720
 JD 1025R
 JD 3033R
 JD 5090EL
 JD 5100MH
 JD 5075GV
 JD 6090RC
 JD 6110B
 623R Loader
 643R Loader
 731 Loader
 746 Loader
 751 Loader
 533 Loader
 583 Loader
 633 Loader
 653 Loader
 683 Loader
 H260 Loader
 663R Loader
 663 Loader
 683R Loader
 753 Loader
 JD 6125J
 JD 6150RH
 JD 6210J
 JD 7195J
 JD 8310
 JD 6325
 JD 5525
 JD 5083EN
 JD 5100GN
 JD 5125R
 210C Backhoe
 300D Backhoe
 310G Backhoe
 410G Backhoe
 710G Backhoe
 80 Loader
 100 Loader
 146 Loader
 148 Loader
 158 Loader
 168 Loader
 175 Loader
 522 Loader
 542 Loader
 540R Loader
 562 Loader
 563 Loader
 673 Loader
 741 Loader
 L108 Automatic
 L120 Automatic
 LA110 Automatic
 LA120 Automatic
 LA150 Automatic
 LT155
LT155 LT160 Automatic
 LT180 Automatic
 LTR180
 X165
X165 E100
E100 E120
E120 E150
E150 LTR166
 LA135
LA135 LA165
LA165 LX277
LX277 LX288
LX288 LX255
LX255 S240
S240 GT235
GT235 G110 Automatic
 JD 3203
 JD 5520
 JD 316
 JD 420
 JD 425
 JD 445
 JD_5050D
 X300
X300 X304
X304 X310
X310 X110 Automatic
 H310 Loader
 H340 Loader
 H360 Loader
 H380 Loader
 H480 Loader
 240 Loader
 245 Loader
 260 Loader
 265 Loader
 600R Loader
 620R Loader
 640R Loader
 660R Loader
 680R Loader
 JD_5039D
 X146R
X146R X360
X360 X155R
X155R X140 Automatic
 X350
X350 X380
X380 X500
X500 X590
X590 X700
X700 3036E
3036E 2038R
2038R 3038R
3038R 4049M
4049M JD 4100
 X738
X738 X740
X740 X748
X748 X749
X749 X950R
X950R JD 4510
 5045D
5045D 5050E
5050E 5060E
5060E 5078E
5078E