________________________________________________________________________________
John Deere 3120, 3320, 3520, 3720 - Service Brakes and Wheels
John Deere 3120, 3320, 3520, 3720 Tractor Brakes
John Deere 3120, 3320, 3520, 3720 Tractor Without Cab. Adjusting Brake
(Pedals) - Loosen jam nuts on brake linkage and adjust each turnbuckle
so there is about 22-30 mm (0.87-1.2 in.) of free play at the pedals. Check to be sure free play is about the same for both pedals.
Tighten jam nuts to lock in place. Adjust park brake linkage. Adjusting
Park Brake - With the brake (pedals) properly adjusted (but not
actuated), adjust clevis of the park brake linkage so there is 2
clicks of free play in the linkage. The park brake lever should
begin to lock at 3 clicks of lever travel, and the brakes should be
fully locked at 6-8 clicks.
JD 3120, 3320, 3520, 3720 Tractor With Cab - Lift both rear wheels
several inches off the ground. Place a visible white horizontal line on
the wheels or hubs to observe wheel RPM during setup. If the two rear
transmission brake bell crank springs are attached to the ROPS,
proceed to the next step. If not, install missing spring(s). Rotate
lever clockwise to unlock brake pedal latch. Push/pull on the pedal
foot pad to make sure they are traveling at an equal distance, about 40
mm (1-37/64 in.) from the starting point. If both pedals are
traveling an equal distance, then proceed to the next step. If not,
adjustment is necessary: To adjust lift pedal linkage, loosen both jam
nuts away from the turnbuckle. Turn turnbuckle clockwise to
increase pedal travel distance, and counterclockwise to decrease pedal
travel distance. Adjust pedal linkage on opposite side, so both pedals
travel the same distance of approximately 40 mm (1-37/64 in.) from the
starting point. Lock the pedals together. Start the tractor, place the
transmission in B-2 position, and set the engine throttle speed to 2000
RPM. Press down on brake pedals. Both wheel hubs should slow down at the
same time (or similar) rate of speed. If not, adjust turnbuckles until
they slow down at about the same rate of speed. Tighten both jam nuts
against the turnbuckles adjusted. Lower tractor.
Using Brake Pedals (John Deere 3120, 3320,
3520, 3720 tractor with PowrReverser)
Using Brake Pedals As Driving Brake:
Lock pedals together when not using the turn brakes or for road travel
or transport. Slow down before making a turn. Rotate brake pedal latch
clockwise until it locks into right turn brake pedal. Depress
either brake pedal to slow or stop the machine. With latch down, brakes
should stop machine in a straight line. Using Brake Pedals to Assist In
Turning: Do not apply turn brakes while an implement is engaged with the
ground. Damage to the 3-point hitch and implement may occur. Turn brake
pedals can be used to make tighter turns and may reduce unnecessary
backing. Rotate brake pedal latch counterclockwise until it stops
against left turn brake pedal. The brake pedals will now function
independently. To make a tighter left turn, depress left turn brake
pedal while turning to the left. To make a tighter right turn,
depress right turn brake pedal while turning to the right.
Using Brake Pedals (John Deere 3120, 3320,
3520, 3720 tractor with eHydro)
Rotate brake pedal latch counterclockwise until it locks into left turn brake pedal. Depress
either brake pedal to slow or stop the machine. With latch down, brakes
should stop machine in a straight line. Using Brake Pedals to Assist In
Turning: Do not apply turn brakes while an implement is engaged with the
ground. Damage to the 3-point hitch and implement may occur. Turn brake
pedals can be used to make tighter turns and may reduce unnecessary
backing. Rotate brake pedal latch clockwise until it stops against
right turn brake pedal. The brake pedals will now function
independently. To make a tighter left turn, depress left turn brake
pedal while turning to the left. To make a tighter right turn,
depress right turn brake pedal while turning to the right.
Locking Park Brake
Lock both brake pedals together using brake pedal
latch. Press down on brake pedals with foot. John Deere 3120, 3320,
3520, 3720 Tractors without Cabs: Pull park brake lever up to the locked
position. Park brake light should illuminate. Tractors with Cabs: Pull
park brake knob out to the locked position. Park brake light should
illuminate. Remove foot from brake pedals. Unlocking Park Brake - Press
down on brake pedals with foot. Tractors without Cabs: Pull up slightly
on park brake lever while depressing the release button. Push park brake
lever down to the unlocked position. Park brake light should be off. JD
3120, 3320, 3520, 3720 Tractors with Cabs: Push park brake knob in to
the unlocked position. Park brake light should be off. Remove foot from
brake pedals. Both pedals should now be released from the locked
position.
John Deere 3120, 3320, 3520, 3720 Tractor Wheels
Adjusting Tilt Steering Wheel
Stop the machine before adjusting the
steering wheel. Lock the steering wheel in position before driving the
machine. Stop machine. Pull tilt steering control lever up to release
steering wheel. Adjust steering wheel to desired position. Release tilt
steering control lever to lock steering wheel in position. Using
Differential Lock (Traction Assist) - Engaging Differential Lock - Stop
or slow machine movement. Differential lock will remain engaged as long
as rear wheel slippage occurs. If tires slip and regain traction
repeatedly, hold down pedal with foot so differential lock remains
engaged. Push down on differential lock pedal to engage differential
lock. Disengaging Differential Lock - Remove foot from differential lock
pedal. Rear wheel slippage will keep differential lock engaged. Lock
will automatically disengage when traction equalizes. If lock does not
disengage when foot is removed from pedal, depress one turn brake pedal
and then the other.
John Deere 3120, 3320, 3520, 3720 - Mechanical Front Wheel Drive (MFWD)
JD 3120, 3320, 3520, 3720
mechanical front wheel drive (MFWD) enables the powertrain to drive both
front and rear axles for improved traction on difficult ground
conditions and provides 4-wheel braking. MFWD can be engaged and
disengaged on-the-go with light loads and on low traction surfaces. To
improve braking on sloped, icy, wet, or graveled surfaces, engage the
MFWD. Add ballast to the tractor and travel at a reduced speed to avoid
skidding and loss of steering control. Always disengage MFWD when
driving on a paved surface. Put the transmission levers in neutral to
move the machine when the engine is not running. Pull up on MFWD lever
to engage MFWD. Instrument panel MFWD light will illuminate when MFWD is
activated. It may be necessary to reduce engine load to disengage front
wheel drive. Push down MFWD lever to disengage MFWD. Tips for Operating
MFWD: Maintain front tire pressure at maximum allowable level to ensure
proper tire performance in all field conditions. Engage MFWD to provide
four-wheel braking. Disengage MFWD when driving machine to or from work
site to increase front tire life.
John Deere 3120, 3320, 3520, 3720 Tractor - Removing and Installing Wheels
Front Wheel Removal - Loosen lug nuts
slightly before raising front axle. Raise front of machine and lower
onto support stands so that machine is supported by front axle. Remove
lug bolts and wheel. If the front wheels are being removed to perform
work on the front axles, lower machine onto suitable stands that will
support the machine by the frame. Front Wheel Installation - Install
wheels onto axle, insert lug bolts and lightly tighten bolts. Raise
front of machine, remove support stands and lower machine to floor.
Tighten lug bolts to 140 Nm (103 lb-ft). Rear Wheel Removal - Loosen lug
bolts slightly before raising machine rear axle. Raise rear of machine
and lower onto support stands so that machine is supported by rear axle.
Remove lug bolts and wheel. Rear Wheel Installation - Install wheels
onto axle, insert lug bolts and lightly tighten bolts. Raise rear of
machine, remove support stands and lower machine to floor. Tighten lug
bolts to 140 Nm (103 lb-ft).
Selecting Front Tire Rolling Direction
John Deere 3120, 3320, 3520, 3720 Tractors equipped with
directional type tires (such as bar tires) have directional arrows
located on the tire sidewall. Under most conditions, tires should be
installed with the directional arrow pointing in the direction of
travel. If machine is mainly used for loader operations, lug direction
may be reversed to increase tire life and improve traction while backing
out of dirt piles. Move wheel from one side of machine to the other to
change tire rolling direction.
Changing Wheel Spacing and Tread Width
The front and rear wheels can be mounted in wide or narrow positions to increase or decrease wheel spacing. To provide best stability, operate machine with rear wheels mounted in the wide tread position whenever possible. Front Wheel Positions: Wide position - Install wheel with valve stem to the inside. Narrow position - Install wheel with valve stem to the outside. Rear Wheel Positions: Wide position - Install wheel with valve stem to the inside. Narrow position - Install wheel with valve stem to the outside. For 8 position wheels, the mounting flanges on the rear rims are closer to one edge of the rim than the other, allowing the inner wheels to be mounted in different positions. By changing this position of the wheel on the rim, up to eight different tread widths can be achieved on some machines. Various positions cannot be used because the tires would strike the fenders. Certain other positions may result in equal tread widths. Tread width is measured from centerline-to-centerline of each tire. Rear Tire Size: 14.00-20 R3 / 16.00-20 R4 / 11.2-24 R1. Front Tire Size: 8.5-15 R4 / 7.00-14 R1 / 8.5-14 R4.
- JD 3120, 3320, 3520, 3720 Engine
- JD 3120, 3320, 3520, 3720 Transmission
- JD 3120, 3320, 3520, 3720 PTO
- JD 3120, 3320, 3520, 3720 Brakes and Wheels
- JD 3120, 3320, 3520, 3720 Hydraulic and Hitch
- JD 3120, 3320, 3520, 3720 Operating
- JD 3120, 3320, 3520, 3720 Troubleshooting
________________________________________________________________________________
________________________________________________________________________________________
________________________________________________________________________________________
________________________________________________________________________________________
________________________________________________________________________________________
________________________________________________________________________________________
________________________________________________________________________________________
________________________________________________________________________________________
________________________________________________________________________________________
________________________________________________________________________________________
________________________________________________________________________________________
________________________________________________________________________________________
________________________________________________________________________________________
________________________________________________________________________________________
________________________________________________________________________________________
________________________________________________________________________________________
________________________________________________________________________________________
________________________________________________________________________________________
________________________________________________________________________________________
________________________________________________________________________________________
________________________________________________________________________________________
________________________________________________________________________________________
________________________________________________________________________________________
________________________________________________________________________________________
________________________________________________________________________________________
________________________________________________________________________________________
________________________________________________________________________________________
________________________________________________________________________________________
________________________________________________________________________________________
________________________________________________________________________________________
________________________________________________________________________________________
________________________________________________________________________________________
________________________________________________________________________________________
________________________________________________________________________________________
________________________________________________________________________________________
________________________________________________________________________________________
________________________________________________________________________________________
________________________________________________________________________________________
________________________________________________________________________________________
________________________________________________________________________________________
________________________________________________________________________________________
________________________________________________________________________________________
________________________________________________________________________________________
________________________________________________________________________________________
________________________________________________________________________________________

 JD SPECS
 JD LOADERS
 JD MAINTENANCE
 JD INSTRUCTIONS
 JD PROBLEMS
 JD 2025R
 JD 3039R
 JD 4044R
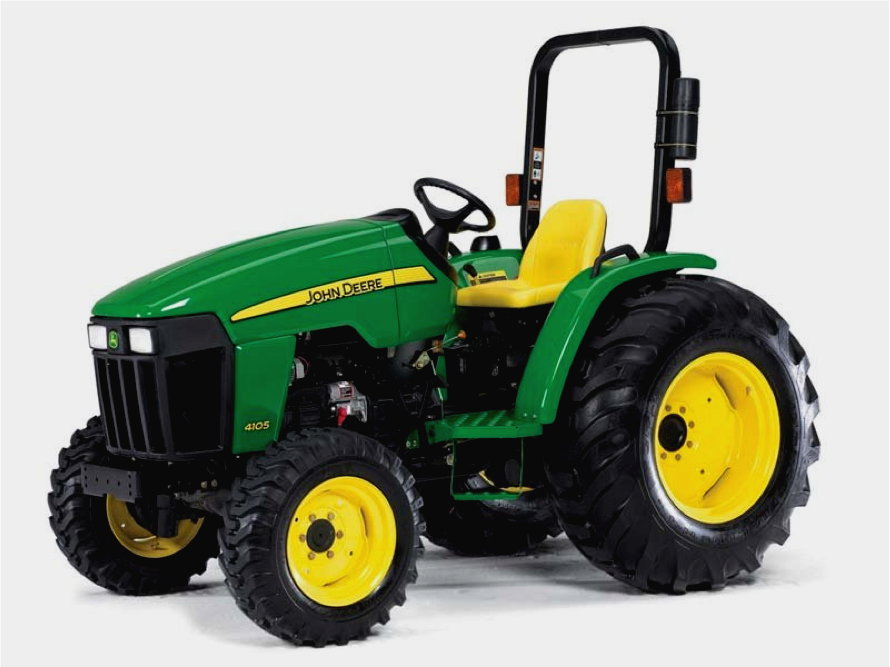 JD 4105
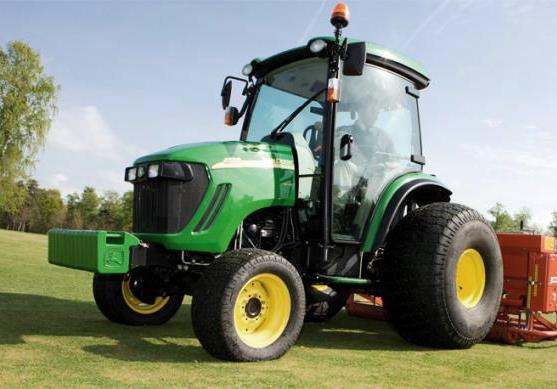 JD 4720
 420 Loader
 419 Loader
 510 Loader
 512 Loader
 520 Loader
 520M Loader
 540M NSL
 540 Loader
 440R Loader
 H180 Loader
 JD 5045E
 JD 5085E
 JD 5100M
 JD 6105R
 JD 6120M
 JD 6155M
 JD 6195R
 JD 6210R
 JD 7210R
 JD 7250R
 JD 7310R
 JD 8245R
 JD 8295R
 JD 8370R
 JD 9370R
 120R Loader
 D120 Loader
 H120 Loader
 45 Loader
 200CX Loader
 D160 Loader
 D170 Loader
 H160 Loader
 H165 Loader
 H240 Loader
 210 Loader
 220R Loader
 300E Loader
 300X Loader
 300CX Loader
 JD 9420R
 JD 9510R
 JD GX335
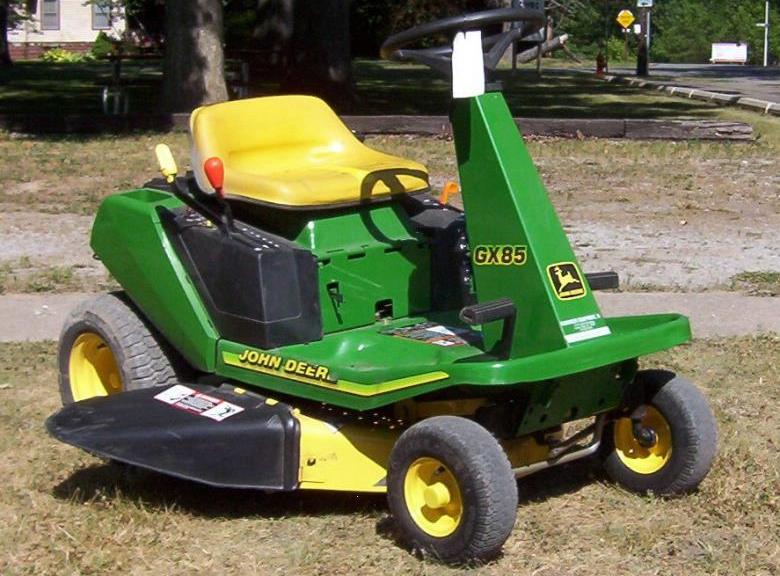 JD GX85
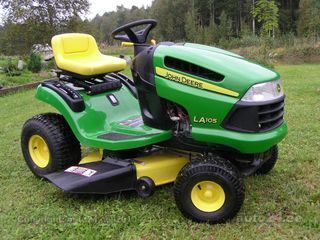 JD LA105
 JD 5065M
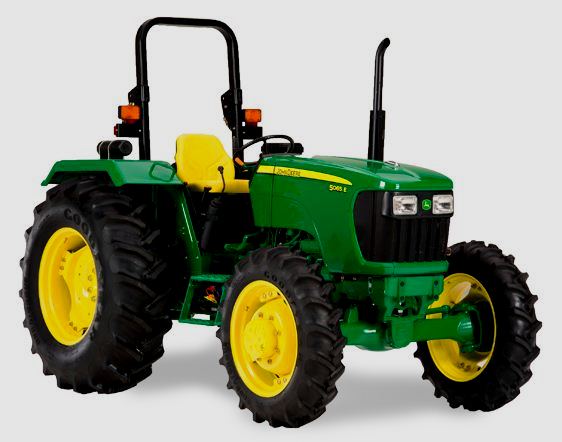 JD 5055D
 JD 5115R
 JD 5105M
 JD 6110R
 JD 6130D
 JD 6225
 JD 7530
 JD 4044M
 JD 7185J
 300 Loader
 300R Loader
 320R Loader
 400E Loader
 410 Loader
 430 Loader
 460 Loader
 521 Loader
 531 Loader
 541 Loader
 551 Loader
 631 Loader
 651 Loader
 661 Loader
 603R Loader
 JD D130
 JD D160
 JD 325
 JD 335
 JD 345
 JD 2520
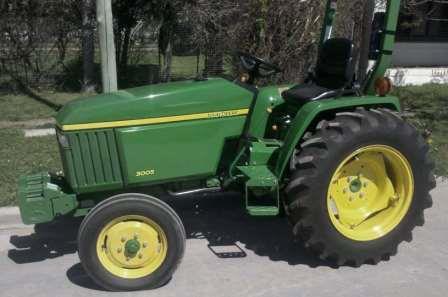 JD 3005
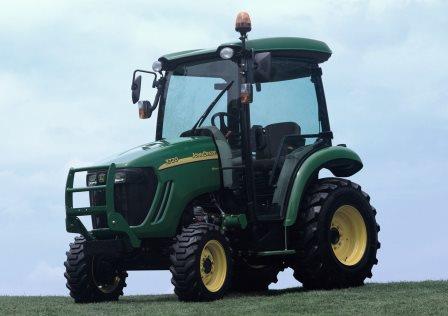 JD 3720
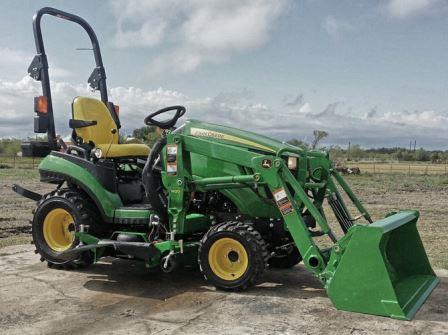 JD 1025R
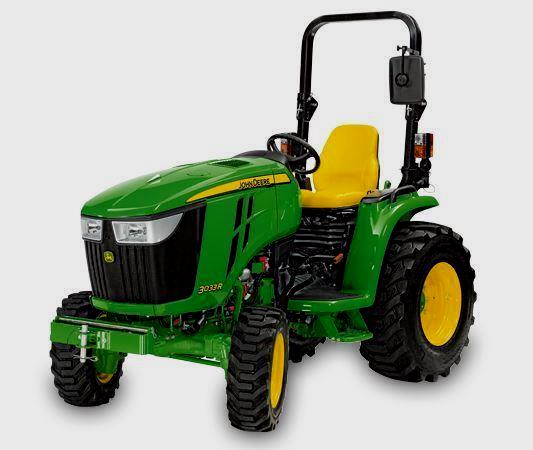 JD 3033R
 JD 5090EL
 JD 5100MH
 JD 5075GV
 JD 6090RC
 JD 6110B
 623R Loader
 643R Loader
 731 Loader
 746 Loader
 751 Loader
 533 Loader
 583 Loader
 633 Loader
 653 Loader
 683 Loader
 H260 Loader
 663R Loader
 663 Loader
 683R Loader
 753 Loader
 JD 6125J
 JD 6150RH
 JD 6210J
 JD 7195J
 JD 8310
 JD 6325
 JD 5525
 JD 5083EN
 JD 5100GN
 JD 5125R
 210C Backhoe
 300D Backhoe
 310G Backhoe
 410G Backhoe
 710G Backhoe
 80 Loader
 100 Loader
 146 Loader
 148 Loader
 158 Loader
 168 Loader
 175 Loader
 522 Loader
 542 Loader
 540R Loader
 562 Loader
 563 Loader
 673 Loader
 741 Loader
 L108 Automatic
 L120 Automatic
 LA110 Automatic
 LA120 Automatic
 LA150 Automatic
 LT155
LT155 LT160 Automatic
 LT180 Automatic
 LTR180
 X165
X165 E100
E100 E120
E120 E150
E150 LTR166
 LA135
LA135 LA165
LA165 LX277
LX277 LX288
LX288 LX255
LX255 S240
S240 GT235
GT235 G110 Automatic
 JD 3203
 JD 5520
 JD 316
 JD 420
 JD 425
 JD 445
 JD_5050D
 X300
X300 X304
X304 X310
X310 X110 Automatic
 H310 Loader
 H340 Loader
 H360 Loader
 H380 Loader
 H480 Loader
 240 Loader
 245 Loader
 260 Loader
 265 Loader
 600R Loader
 620R Loader
 640R Loader
 660R Loader
 680R Loader
 JD_5039D
 X146R
X146R X360
X360 X155R
X155R X140 Automatic
 X350
X350 X380
X380 X500
X500 X590
X590 X700
X700 3036E
3036E 2038R
2038R 3038R
3038R 4049M
4049M JD 4100
 X738
X738 X740
X740 X748
X748 X749
X749 X950R
X950R JD 4510
 5045D
5045D 5050E
5050E 5060E
5060E 5078E
5078E