
________________________________________________________________________________
Kubota D902 Engine body - Disassembling and assembling
Kubota D902 - Cylinder head and valves
Kubota D902 engines are mainly used for BX23, BX24, BX25D, BX2370,
BX2380, BX2230, BX2350, BX2360 tractors.
Cylinder block
The cylinder block is the main housing of engine and supports the other main parts. The cylinder block is usually of integrated cast iron construction, and includes complete passages for coolant and lubricating oil. Closed breather - Closed breather system has been adopted to prevent the release of blow-by gas into the atmosphere. After its oil content is filtered by oil shield, the blow by gas in fed back to the intake manifold through breather valve to be used for re-combustion. Half-floating head cover - The half-floating head cover helps reduce noise coming from the cylinder head. Rubber packing is fitted in to keep the cylinder head cover 0.5 mm (0.02 in.) or so off the cylinder head. Removing cylinder head cover - Disconnect the breather hose. Remove the cylinder head cover nuts. Remove the cylinder head cover. Check to see if the cylinder head cover gasket is not damaged.
Removing cylinder head and cylinder head gasket
Loosen the pipe clamps, and remove the water return pipe. Remove the cylinder head screw in the order of (n) to (a) and remove the cylinder head. Remove the cylinder head gasket. Do not use O-ring on the pin pipe. It is not necessary to retighten the cylinder head screw and to readjust valve clearance after engine warmed up. Replace the cylinder head gasket with a new one. When mounting the gasket, set it to the pin pipe holes. Be careful not to mount it reversely. The cylinder head should be free of scratches and dust. Install the cylinder head, using care not to damage the gasket. After applying engine oil to the thread of screws, tighten them in several steps and specified sequence (a) to (n). Cylinder head screw (Kubota D902 engine for BX2370, BX2380, BX2230, BX2350, BX2360, BX23, BX23S, BX24, BX25, BX25D tractors) - 38 to 42Nm / 28 to 31 lbf-ft. Removing tappets - Remove the tappets from the crankcase. Visually check the contact between tappets and cams for proper rotation. If problem is found, replace tappets. Before installing the tappets, apply engine oil thinly around them.
Removing valves
Remove the valve caps. Remove the valve spring collet, pushing the valve
spring retainer by valve spring replacer. Remove the valve spring
retainer, valve spring and valve stem seal. Remove the valve. Wash the
valve stem and valve guide hole, and apply engine oil sufficiently.
After installing the valve spring collets, lightly tap the stem to
assure proper fit with a plastic hammer.
Kubota D902 - Piston and connecting rod
Piston
The piston creates the forces for the suction,
compression, power and exhaust cycles. The reciprocating motion of a
piston in the engine cylinder creates the forces for the suction,
compression, power and exhaust cycles. The piston's skirt is coated with
molybdenum disulfide which reduces the piston slap noise and thus the
entire operating noise. The molybdenum disulfide improves the fit of the
piston with the cylinder and helps to prevent scorching. This material
helps resist metal wears even with little lube oil.
Piston ring
Piston rings are classified as compression and oil control rings. Diesel engine has two or three compression rings around the piston head and one oil ring just below them. The compression rings prevent gases from leaking by the piston during the compression and expansion strokes. They seal by expanding out against the cylinder wall. The rings expand by their own tension and also by combustion pressure behind the rings during the expansion stroke. The compression rings are split for easy assembly on the piston.
The piston rings are usually made of hardened cast iron. To reduce the
wear on the ring, they are often plated with chrome on their contact
faces, or are coated their contact faces with molybdenum disulfide. The
top compression ring is a keystone type ring to get durability against
heavy load. The second compression ring is an undercut ring to prevent
shortage of oil. The main job of the oil control ring is to wipe the
excess oil from the cylinder walls. This oil is fed through slots in the
rings to holes in the piston groove, where it returns to the crankcase.
For better oil control, spring expanders are often used under the oil
control ring.
Connecting rod and crankshaft
The connecting rod
connects the piston to the crankshaft. The connecting rod must be light
and yet strong enough to transmit the thrust of the piston to
crankshaft. The big end of connecting rod has a crankpin bushing (split
type) and the small end has a small end bushing (solid type). The
crankshaft converts the up-and-down motion of the pistons into rotary
motion. It ties together the reactions of all the pistons into one
rotary force that drives the machine. The crankshaft is made of tough
special alloy steel, and the journals, pins and oil seal sliding
portions are induction hardened to increase the hardness for higher wear
resistance. The front journal is supported by a split type and the
intermediate journal by a split type, and the rear journal by a split
type with thrust bearings. The crankshaft is provided with an oil
gallery, through which engine oil is fed to the crankpin portion, and
lubricates it.
Removing connecting rod
Remove the connecting rod cap. Align the marks (a) with each other. (Face the marks toward the injection pump). Apply engine oil to the connecting rod screws and lightly screw it in by hand, then tighten it to the specified torque. If the connecting rod screw does not screw in smoothly, clean the threads. If the connecting rod screw is still hard to screw in, replace it. Connecting rod screw (Kubota D902 engine for BX2370, BX2380, BX2230, BX2350, BX2360, BX23, BX23S, BX24, BX25, BX25D tractors) - 27 to 30 Nm / 20 to 22 lbf-ft. Removing pistons - Turn the flywheel and bring the piston to top dead center. Draw out the piston upward by lightly tapping it from the bottom of the crankcase with the grip of a hammer.
Draw out
the other piston in the same method as above. Do not change the
combination of cylinder and piston. Make sure of the position of each
piston by marking. For example, mark “1” on the No. 1 piston. When
installing the piston into the cylinder, place the gaps of all the
piston rings as shown in the figure. Carefully insert the pistons using
a piston ring compressor. Otherwise, their chrome-plated section may be
scratched, causing trouble inside the cylinder. Before inserting the
piston into the cylinder, apply enough engine oil to the piston. When
inserting the piston into the cylinder, face the mark on the connecting
rod to the injection pump.
Removing piston ring and connecting rod
Remove the
piston rings using a piston ring tool. Remove the piston pin, and
separate the connecting rod from the piston. Mark the same number on the
connecting rod and the piston so as not to change the combination.
Install the rings so that the manufacturer's mark near the gap faces the
top of the piston. When installing the oil ring onto the piston, place
the expander joint on the opposite side of the oil ring gap. Apply
engine oil to the piston pin. When installing the connecting rod to the
piston, immerse the piston in oil and insert the piston pin to the
piston. Temperature of oil For 10 to 15 minutes - 80C (176F). When
installing the connecting rod to the piston, align the mark on the
connecting rod to the fanshaped concave.
Kubota D902 - Rocker arm and Camshaft
Camshaft
The camshaft controls the opening and closing of the intake and exhaust valves in the cylinder head. The camshaft is normally driven by gearing from the crankshaft. This is made of special cast iron, and the journal and cam sections are chilled to resist wear. One intake and one exhaust cam is provided for each cylinder. The journal diameters are large to permit removal of the shaft from its bore. The journal sections are force lubricated.
Rocker arm
The rocker arm is an oscillating lever that conveys radial movement from the camshaft lobes into linear movement at the exhaust and intake valves to open and close them. The rocker arms are mounted on a rocker arm shaft (a single hollow shaft) at the top of the engine. When the push rods move up, the mating rocker arm is moved down, contacting its valve stem tip and opening the valve. Lubricating oil pressurized through the rocker arm bracket to the rocker arm shaft, which serves as a fulcrum so that the rocker arm and the entire system are lubricated sufficiently.
Removing rocker arm and push rod
Remove the rocker arm bracket screw.
Remove the rocker arm assembly. Remove the push rods. After installing
the rocker arm, be sure to adjust the valve clearance. When refitting
the push rods into the tappets, make sure the push rod locates correctly
into the tappet seat. Rocker arm bracket screw (Kubota D902 engine for
BX2370, BX2380, BX2230, BX2350, BX2360, BX23, BX23S, BX24, BX25, BX25D
tractors) - 9.81 to 11.2 Nm / 7.24 to 8.31 lbf-ft.
Kubota D902 - Flywheel
Flywheel
A flywheel is a rotating mechanical device that is used to store rotational energy. The flywheel is generally made of heavy cast iron or steel and has gear teeth around its outer rim, which mesh with the drive pinion of starter. The flywheel stores the rotating force in the combustion stroke as inertial energy, reduces crankshaft rotating speed fluctuation and keeps the smooth rotating conditions. The flywheel periphery is inscribed with the marks showing fuel injection timing angle lines and top dead center mark TC. The flywheel mounted on the rear of the crankshaft is a stabilizer for the whole engine.
Removing flywheel
Secure the flywheel to keep it from turning, using a flywheel stopper. Remove all flywheel screws and then remove the flywheel. Align the “1TC” mark (a) on the outer surface of the flywheel horizontally with the alignment mark (b) on the rear end plate. Now fit the flywheel in position. Apply engine oil to the threads and the undercut surface of the flywheel screw and fit the screw. Flywheel screw - 54 to 58 Nm / 40 to 43 lbf-ft. Removing bearing case cover - Remove the bearing case cover mounting screws. Remove the bearing case cover. Fit the bearing case gasket and the bearing case cover gasket with correct directions. Install the bearing case cover to position the casting mark “UP” on it upward. Apply engine oil to the oil seal lip and be careful that it is not rolled when installing. Tighten the bearing case cover mounting screws with even force on the diagonal line. Bearing case cover mounting screw - 9.81 to 11.2 Nm / 7.24 to 8.31 lbf-ft.
Removing main bearing case assembly
Remove the two main bearing case screws 1 of each main bearing cases. Remove the main bearing case from crankshaft. Clean the oil passage in the main bearing cases. Apply clean engine oil on the bearings. Install the main bearing case assemblies in the original positions. Since diameters of main bearing cases vary, install them in order of markings from the gear case side. Match the alignment numbers (a) on the main bearing case assembly. When installing the main bearing case , face the mark “FLYWHEEL” to the flywheel. Install the thrust bearing with its oil groove facing outward. Make sure that the main bearing case moves smoothly after tightening the main bearing case screw to the specified torque. Main bearing case screw - 13 to 15 Nm / 9.4 to 11 lbf-ft.
Kubota D902 - Timing gearsTiming gears
The timing gears correctly control fuel injection to the cylinders and valve timing. The timing gears transmit torque from the crankshaft to the oil pump and injection pump and, at the same time, correctly control fuel injection to the cylinders and valve timing. Each gear has a mating mark inscribed on it for correct and easy assembly and is spherical with teeth set obliquely to the axis of rotation to rotate smoothly and reduce noise. The crankshaft is the hub around which other parts of the engine can be timed and driven. This is done by the meshing of gears.
Removing gear case
Remove the fuel feed pump. Remove the gear case. Grease thinly to the oil seal, and install it, ensuring the lip does not come off. Removing speed control plate - Remove the engine stop solenoid. Remove the speed control plate. Be careful not to drop the governor spring into the crankcase.
Removing cam gear, idle gear 1, 2 and governor gear
Remove the idle gear 1. Remove the fuel camshaft stopper. Draw out the fuel cam gear with fuel camshaft. Remove the camshaft stopper bolt. Remove the cam gearwith camshaft. Remove the external snap ring from the governor shaft. Remove the governor gear with governor shaft. Three-lever type fork lever To remove the governor shaft, follow the procedures in 5, 6 above and never remove fork lever and the max. torque limiter. When installing the idle gear, be sure to align the alignment marks on each gears. Apply engine oil thinly to the fuel camshaft before installation. Make sure to assemble the external snap ring of the governor shaft. Check the governor shaft for smooth rotation.
- Kubota D902 Engine body adjusting and servicing
- Kubota D902 Engine cooling system
- Kubota D902 Engine lubricating system
- Kubota D902 Engine fuel system
________________________________________________________________________________
________________________________________________________________________________________
 SPECIFICATIONS
 LOADERS
 ENGINES
 INSTRUCTIONS
 PROBLEMS
________________________________________________________________________________________
 B2320
B2320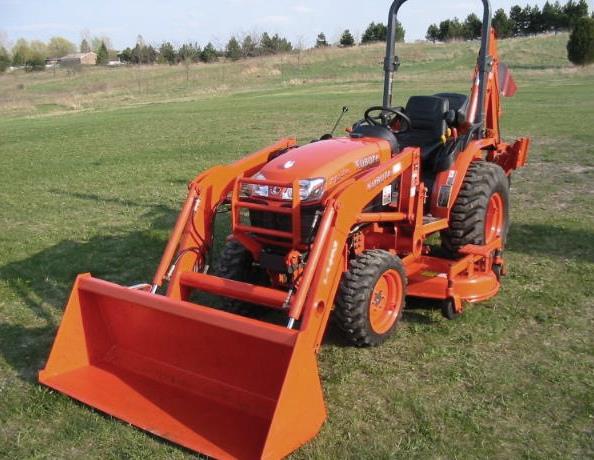 B2630
B2630 B2920
B2920 B3300SU
 BX2360
________________________________________________________________________________________
 L245
L245 L260
L260 L275
L275 L285
L285 L305
L305________________________________________________________________________________________
________________________________________________________________________________________
 D662
D662 D722
D722 D750
D750 D782
D782 D850
D850________________________________________________________________________________________
 LA302
LA302 LA304
LA304 LA340
LA340 LA344
LA344 LA351
LA351________________________________________________________________________________________
 BX2660
 L2501
L2501 L3240
L3240 L3540
L3540 L3940
L3940________________________________________________________________________________________
 D902
D902 D905
D905 D950
D950 D1005
D1005 D1100
D1100________________________________________________________________________________________
________________________________________________________________________________________
 B1630
B1630 BF400
BF400 BF400G
 LA181
LA181 LA203
LA203________________________________________________________________________________________
 LA211
LA211 LA243
LA243 LA271
LA271 LA272
LA272 LA301
LA301________________________________________________________________________________________
 L175
L175 L185
L185 L210
L210 L225
L225 L235
L235________________________________________________________________________________________
 D1105
D1105 D1503
D1503 D1703
D1703 D1803
D1803 V1200
V1200________________________________________________________________________________________
 L4400
L4400 L4600
L4600 L5040
L5040 L5740
L5740 MX4700
________________________________________________________________________________________
 LA352
LA352 LA364
LA364 LA401
LA401 LA402
LA402 LA403
LA403________________________________________________________________________________________
 LA434
LA434 LA463
LA463 LA481
LA481 LA482
LA482 LA504
LA504________________________________________________________________________________________
 V1205
V1205 V1305
V1305 V1505
V1505 V2203
V2203 V2403
V2403________________________________________________________________________________________
 B2710
B2710 BX23S
BX23S B3350
B3350 BX1880
 L4701
L4701________________________________________________________________________________________
 LA513
LA513 LA514
LA514 LA524
LA524 LA525
LA525 LA534
LA534________________________________________________________________________________________
 LA555
LA555 LA680
LA680 LA681
LA681 LA682
LA682 LA703
LA703________________________________________________________________________________________
 Z482
Z482 Z602
Z602 Z750
Z750 Z1100
Z1100 Z1300
Z1300________________________________________________________________________________________
 M100GX
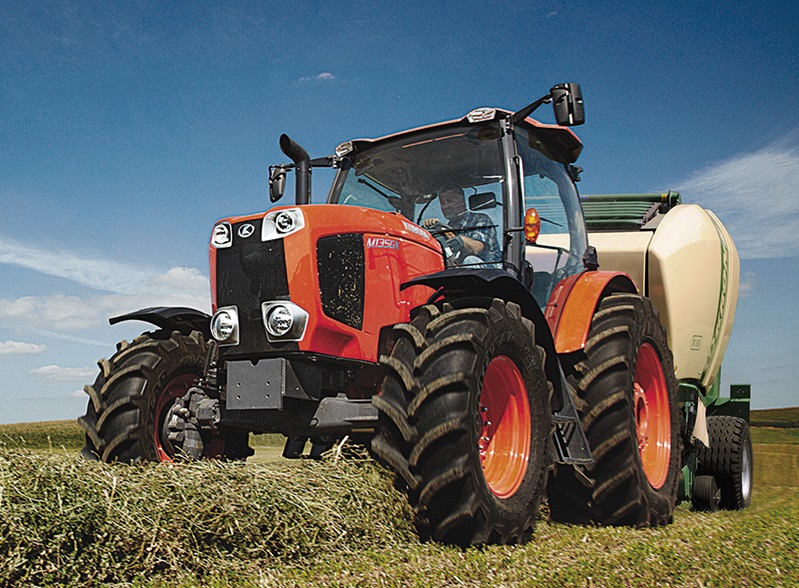 M135GX
 M6040
M6040 M8540
M8540 M95X
M95X________________________________________________________________________________________
 LA714
LA714 LA723
LA723 LA724
LA724 LA764
LA764 LA765
LA765________________________________________________________________________________________
 LA805
LA805 LA844
LA844 LA852
LA852 LA853
LA853 LA854
LA854________________________________________________________________________________________
 M5-091
 BX2680
 MX5200
 BX2380
 L3901
L3901________________________________________________________________________________________
 LA1002
 LA1055
 LA1065
 LA1153
 LA1154
________________________________________________________________________________________
 LA1251
 LA1301S
 LA1353
 LA1403
 LA1601S
________________________________________________________________________________________
 LA1854
 LA1944
 LA1953
 LA2253
 LM2605