
________________________________________________________________________________
Case IH 1690, 1290 Tractor Power shift transmission – remove and reinstall
Remove Operations
To remove power shift unit, first remove platform or cab. Remove fuel
tanks. Drain oil from transmission and remove filter housing cover and
filter assembly from bottom of transmission housing.
Attach support stands on each side of Case 1290, 1194, 1690, 1390, 1190
tractor. Disconnect battery ground cable, rear wiring harness and
neutral start switch wires.
Remove range and power shift selector assemblies and transmission
dipstick from transmission cover. Remove cover mounting bolts, then
drive wedge and shims from between front of cover and clutch housing.
Disconnect all hoses, supply lines and control linkage from remote
valve. Remove remote valve mounting bolts and remove valve. Use a hoist
to remove transmission cover.
![]()
Fig.36. Identify power shift front sequence valve (2) and rear
sequence valve (3) prior to removal as valve are not Interchangeable
Flow restrictors are located in front end rear planetary brake pressure
lines (4 and 5)
Disconnect all oil lines from power shift control valve (1). Mark
sequence valves (2 and 3) so they can be reinstalled in their original
positions, then remove front and
rear sequence valves. Remove power shift control valve.
Remove rear lubrication line from top of transmission. Remove Case IH
1690, 1290 Tractor transmission mounting bolts and bushings.
Disconnect both hydraulic lines at unions on right side of main frame.
Remove hydraulic oil filter assembly from right side of main frame.
Disconnect draft sensor
cable at hitch upper link connection. Remove remote hoses and mounting
bracket. Remove drawbar and drawbar support.
![]()
Fig.37. A connector plate must be fabricated from 6 mm thick steal Plate
to dimensions shown and used when splitting tree-tors equipped with
power shift
transmission
1 - 305 mm, 2 - 149.2 mm, 3 - 190 mm, 4 - 35 mm, 5 - 139.7 mm
Remove a mounting bolt from each side of pto housing and install two
guide studs. Support pto housing with a hoist, remove remainder of
mounting bolts and remove
pto unit. Withdraw the pto drive shaft.
Fabricate a connector plate using dimensions. Mount plate between range
gearbox and rear axle housing to prevent housings from separating during
removal of power
shift unit.
Connect a hoist and chain to upper front corner bolts of power shift
unit, Remove bolts connecting rear axle housing to main frame. Separate
power shift unit from
main frame.
Support rear of tractor with a stand under range gearbox. Use a hoist
with a suitable lifting sling or chain to support power shift unit, then
remove stud nuts and
separate power shift unit from range gearbox.
Reinstall Operations
Use a hoist to position power shift unit on mounting studs. Tighten stud
nuts to 100 N-m (75 ft.-lbs. I torque. Apply Loctite 504 Gasket
Eliminator to end of main frame.
Roll rear section of Case 1690, 1290 Tractor forward engaging
transmission input shaft in splines of clutch. Tighten housing retaining
nuts and bolts to 100 N-m (75 ft.-
lbs.) torque.
Install:
- transmission mounting bolts and bushings and tighten to 165 N-m (120
ft.-lbs.) torque. Remove connecting plate.
- pto drive shaft and pto unit. Engage pto and turn output shaft to
engage drive shaft splines with pto sliding gear. Tighten housing
mounting bolts to 75-85 N-m (54-64
ft.-lbs.) torque.
- drawbar support and drawbar. Connect draft sensing cable.
- hydraulic filter assembly and tighten mounting bolts to 47-57 N. m
(35-40 ft-lbs.) torque.
- filter supply line using a new "O" ring and tighten retaining bolts to
47-57 N-m (35-40 ft.-lbs.) torque. Connect hydraulic lines along right
side of main frame.
- lubrication line on top of range gearbox.
- power shift control valve and tighten mounting bolts to 47-57 N-m
(35-40 ft.-lbs.) torque.
- front and rear sequence valves and reconnect hydraulic lines. Make
sure flow restrictors are located in front and rear planetary brake
pressure lines (4 and 5) at
control valve (1).
- Case 1290, 1690 Tractor transmission cover leaving mounting bolts
loosely installed.
- remote valve using new "O" rings and tighten mounting bolts to 47-57
N-m (35-40 ft.-lbs.) torque. Connect remote valve hydraulic lines and
control linkage.
- wedge and shim in front, of transmission cover. Tighten the rear cover
mounting bolts and all side and front mounting bolts to 110-130 N-m
(80-95 ft.-lbs.) torque.
Tighten the two rear bolts to 205-245 Nm (150-180 ft-lbs.) torque.
- power shift and range shift selector assemblies and tighten mounting
bolts to 23-28 Nm (17-20 ft.-lbs.) torque.
Reconnect wiring harness and neutral start switch wires.
- a new transmission oil filter and tighten filter cover mounting bolts
to 23-28 N-m (17-20 ft.-lbs.) torque.
Complete installation by reversing removal procedure.
________________________________________________________________________________
________________________________________________________________________________________
 CASE IH SPECS
 J.I. CASE SPECS
 PROBLEMS
 LOADERS
________________________________________________________________________________________
| CASE IH TRACTORS SPECIFICATIONS |
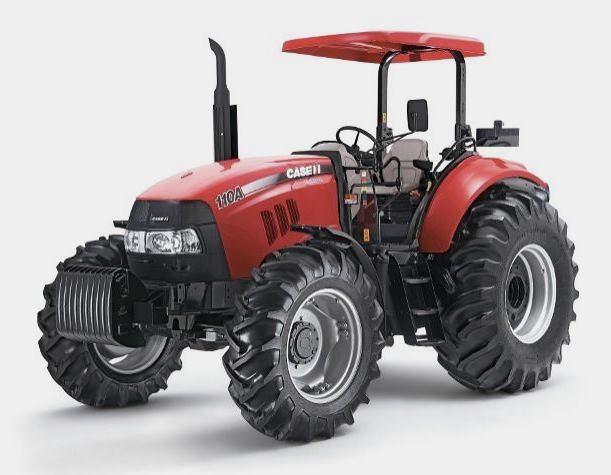 FARMALL 110A
 FARMALL 120A
 FARMALL 30C
 FARMALL 75C
 MAGNUM 280
________________________________________________________________________________________
 580E Backhoe
 580L Backhoe
 580N Backhoe
 580 Super L
 580SM Backhoe
________________________________________________________________________________________
________________________________________________________________________________________
 580SLE Backhoe
 580SN Backhoe
 580M Backhoe
 580 Super E
 580ST Backhoe
________________________________________________________________________________________
 MAGNUM 310
 MAGNUM 340
 MAXXUM 110CVX
 MAXXUM 120CVX
 MAXXUM 125
________________________________________________________________________________________
 1394
1394 1455XL
 1494
1494 1594
1594 3230
3230________________________________________________________________________________________
 4210
4210 585XL
585XL 633
633 695XL
695XL 733
733________________________________________________________________________________________
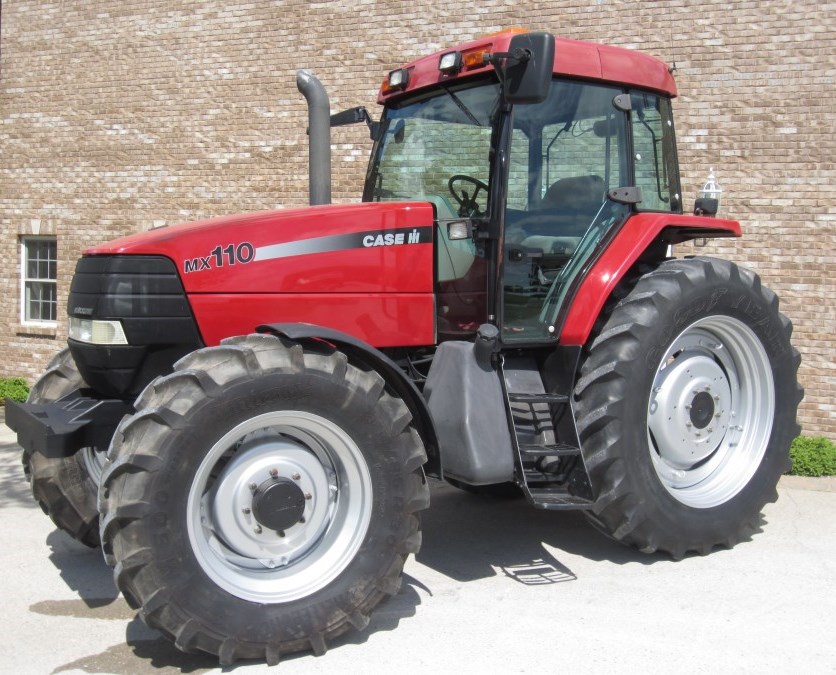 MX110
MX110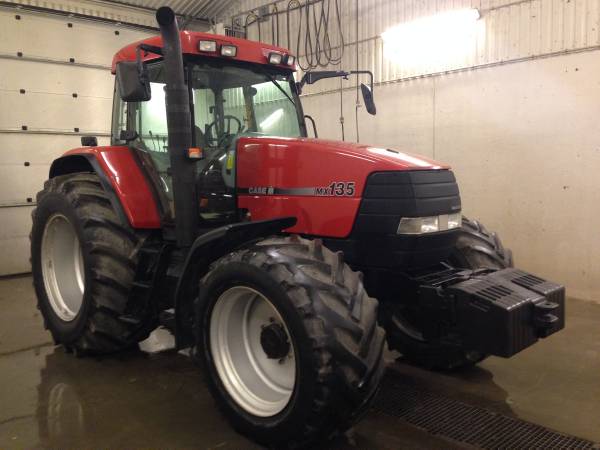 MX135
MX135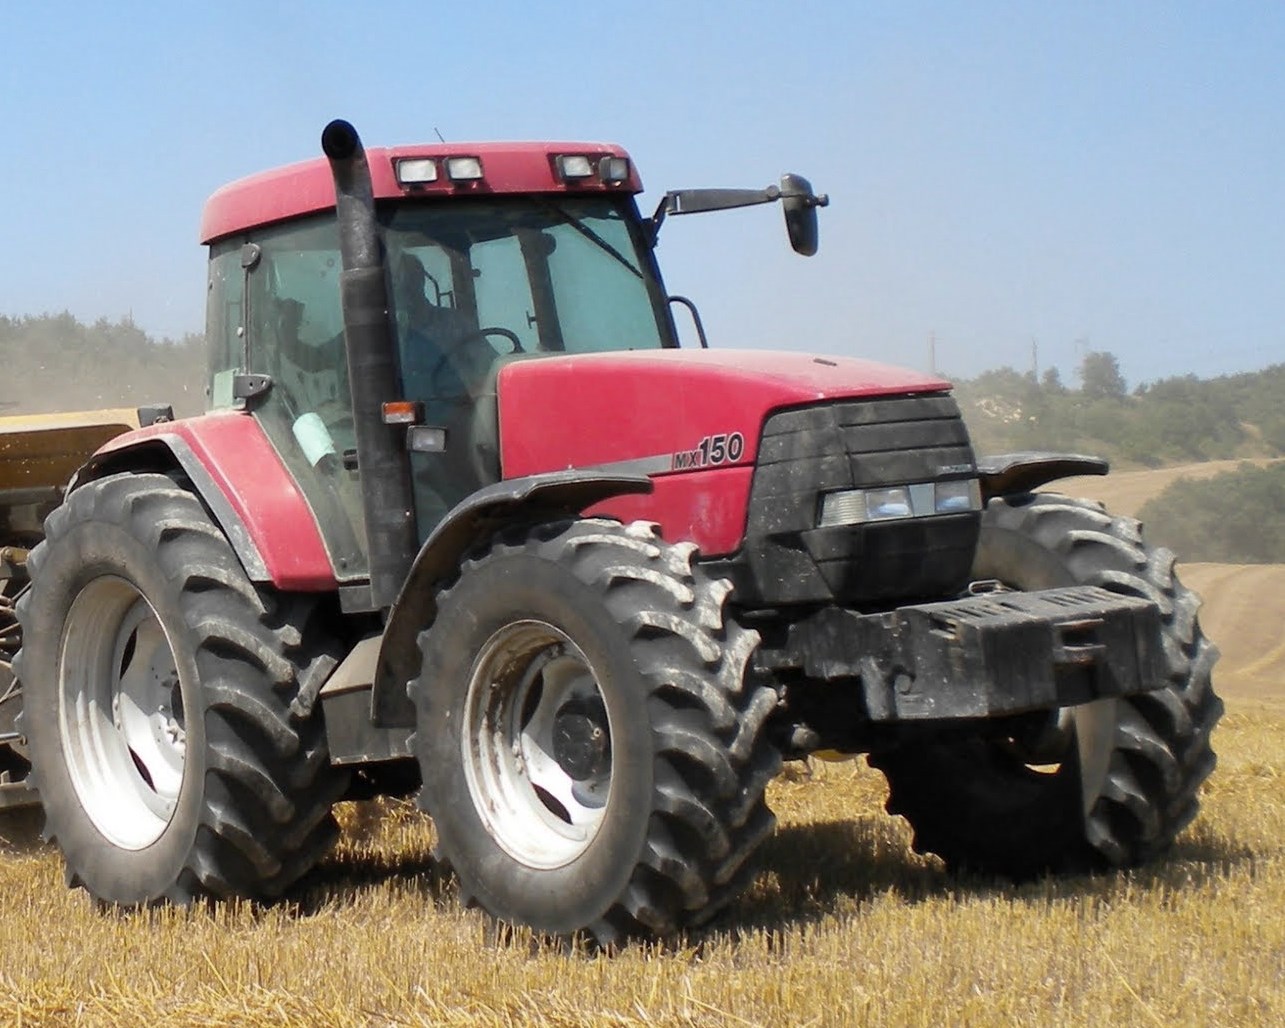 MX150
MX150 MXU110
 MXU135
________________________________________________________________________________________
 PUMA 175CVX
 PUMA 185CVX
 PUMA 200CVX
 PUMA 240CVX
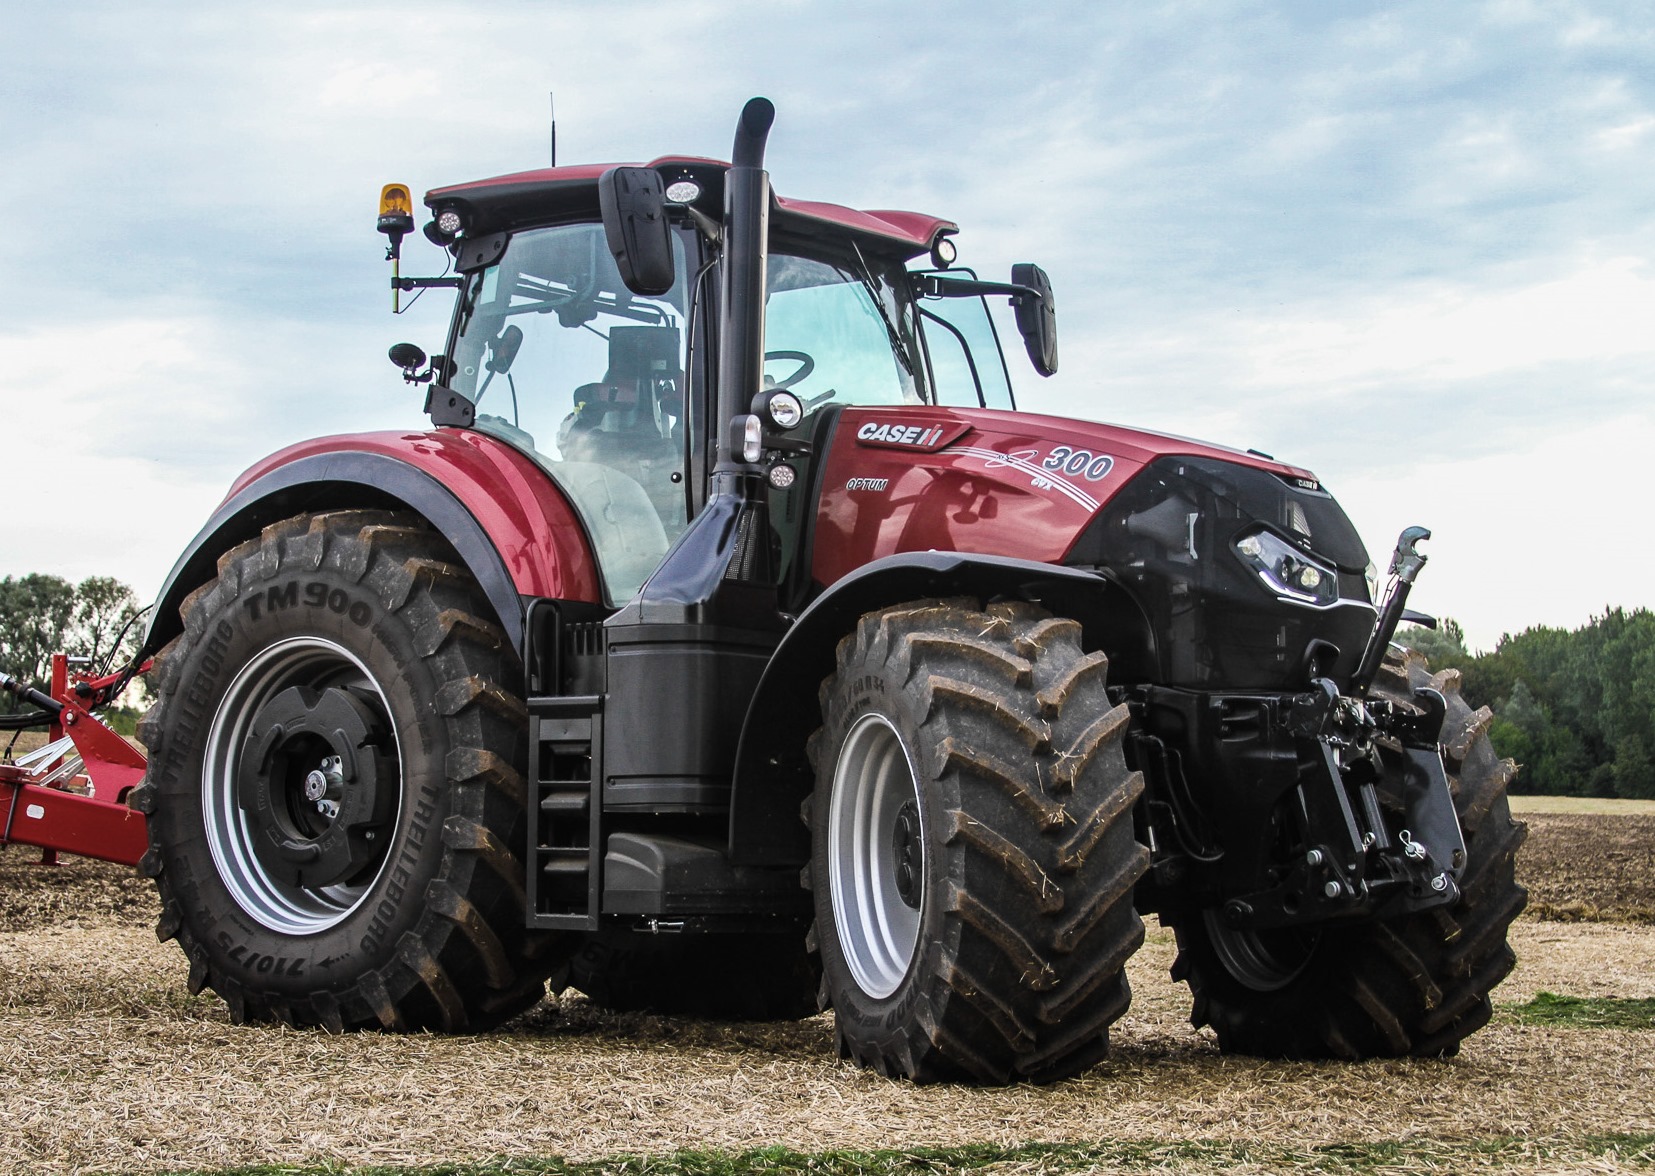 OPTUM 300
________________________________________________________________________________________
 FARMALL 50B
 FARMALL 95U
 FARMALL 125A
 PUMA 150
 PUMA 165
________________________________________________________________________________________
 MAGNUM 210
 MX 170
 MAXXUM 150
 OPTUM 270
 MAGNUM 315
________________________________________________________________________________________
 FARMALL 70
 FARMALL 75N
 FARMALL 95C
 FARMALL 105N
 FARMALL 30B
________________________________________________________________________________________
| CASE IH FRONT END LOADERS SPECS |
 L103 Loader
 L104 Loader
 L105 Loader
 L106 Loader
 L107 Loader
________________________________________________________________________________________
 L108 Loader
 L130 Loader
 L160 Loader
 L300 Loader
 L340 Loader
________________________________________________________________________________________
 L350 Loader
 L360 Loader
 L530 Loader
 L540 Loader
 L545 Loader
________________________________________________________________________________________
 L550 Loader
 L555 Loader
 L560 Loader
 L565 Loader
 L570 Loader
________________________________________________________________________________________
 L575 Loader
 L720 Loader
 L730 Loader
 L735 Loader
 L740 Loader
________________________________________________________________________________________
 LRZ 95
 LRZ 100
 LRZ 120
 LRZ 130
 LRZ 150
________________________________________________________________________________________
 L745 Loader
 L750 Loader
 L755 Loader
 L760 Loader
 L765 Loader
________________________________________________________________________________________
 L770 Loader
 L775 Loader
 L780 Loader
 L785 Loader
 L795 Loader
________________________________________________________________________________________
 90 Loader
 890 Loader
 2200 Loader
 2250 Loader
 LX156 Loader
________________________________________________________________________________________