________________________________________________________________________________
Laycock and Rockford clutch for Case IH Tractor 385/485/585/685
Tractor models may be equipped with a Laycock pressure plate assembly
and an 11 inch (279 mm) single plate dry disc engine clutch plate.
Tractor models may be equipped with a Rockford pressure plate assembly
and a 12 inch (305 mm) single plate dry disc engine clutch plate.
On tractor models not equipped with cab, all tractors have mechanical
clutch operating linkage. On models equipped with cab, engine clutch is
hydraulically operated.
Case IH Tractor Adjustment
Models Without Cab
PEDAL HEIGHT. Clutch linkage is identical on all models Case IH
385/485/585/685 tractor without a cab. However, adjustment dimensions
for Laycock clutch 11 inch (279 mm) differs from dimensions for Rockford
clutch 12 inch (305 mm).

To adjust the clutch linkage, loosen locknut (2), Remove return spring
and clevis pin.
Adjust clevis (3) on rod until the following
dimensions are obtained with clevis connected:
Laycock Clutch
C. Free travel - 1-1/4 in. (32 mm)
E. Full travel - 4-17/32 in. (115 mm)
D - 6-5/16 in. (160 mm)
Rockford Clutch
C. Free travel - 1/2 in.(12.7mm)
E. Full travel - 4-21/32 in.(118mm)
D - 7-1/16 in.(179 mm)
Reconnect return spring and tighten locknut. Loosen locknut and adjust
safety start switch (5) until there is a clearance between safety start
switch and clutch pedal of 9/32 inch (7 mm). Tighten locknut.
Models With Cab
PEDAL HEIGHT. To adjust the clutch pedal height on models with cab,
disconnect line from master cylinder. Unbolt master cylinder and loosen
lock-nut (1) on push rod (4). Loosen locknut on stop bolt (2), then turn
stop bolt counterclockwise several turns.
Raise master cylinder and rotate push rod with fingers as required.
Install master cylinder and tighten retaining bolts. Measure distance
from floor pan (mat removed) to pedal.

Fig.8. Engine clutch pedal height adjustment on models equipped
with cab
Distance should be 7-7/8 to 8-1/8 inch (199 to 205 mm). If not, readjust
push rod to obtain correct dimension. Then, tighten locknut on push rod.
Turn stop bolt (2) until it contacts clutch pedal, turn bolt clockwise
an additional 1/4 turn and tighten locknut.
Check safety start switch position. Loosen locknut and turn switch in or
out as required so that switch button is pushed inward when clutch pedal
is fully depressed.
Tighten locknut. Reconnect lines to master cylinder. Fill reservoir and
bleed air from.
Case IH Tractor Clutch cylinders
To remove clutch master cylinder, first disconnect battery ground cable.
Then, press inward on lock pins and remove instrument panel front cover.
RRemove screws from both sides of instrument panel, raise and support
instrument panel. Disconnect pedal return spring. Place a container
under instrument panel to catch the fluid.
Disconnect lines from Case IH 385/485/585/685 tractor master cylinder.
Unbolt master cylinder from bracket and raise the cylinder. Loosen
locknut and turn push rod
counterclockwise from the clevis. Lift out master cylinder.
To disassemble the master cylinder, first remove locknut from push rod
(7), Remove rubber boot (10), snap ring (9), retaining washer (8) and
push rod (7). Remove
plunger and spring assembly from cylinder housing (1).
Remove seals (2 and 6) from plunger assembly. Clean and inspect all
parts. A service kit consisting of seal (1), wave washer (4), seal (6),
retaining washer (8), snap
ring (9) and rubber boot (10) is available.
If plunger or cylinder housing shows signs of scoring or other damage,
renew cylinder assembly. Reassemble and reinstall by reversing
disassembly and removal
procedures. Bleed air from system. Adjust pedal height.
To remove clutch slave cylinder, remove floor mat and inspection panel
from floor. Disconnect hose from slave cylinder. Remove linkage return
spring. Remove the two
snap rings and linkage pin. Unbolt and remove slave cylinder.
To disassemble the slave cylinder, remove eye clevis (7). Remove rubber
boot (6) and snap ring (5), then withdraw piston (4) with seal (3).
Remove seal from piston.
Clean and inspect piston and cylinder housing (2) for scoring or other
damage. If scored or damaged, renew cylinder assembly. A service kit
consisting of bleed screw
rubber cap (1), seal (3), snap ring (5) and rubber boot (6) is
available.
Reassemble and reinstall by reversing the disassembly and removal
procedures. When installing eye clevis (7) on piston (4), apply Loctite
270 to first three threads of
piston rod.
Adjust eye clevis so that a distance of 3.4 inches (86.0 mm) is obtained
between centers of cylinder mounting holes and eye clevis hole (with
piston fully inward). Bleed
air from system.

Fig.9. Clutch master cylinder used on models equipped with cab
1.Housing, 2.Seal, 3.Valve stem, 4.Wave washer, 5.Plunger, 6.Seal,
7.Push rod, 8.Retaining washer, 9.Snap ring, 10.Rubber boot

Fig.10. Clutch slave cylinder used on models equipped with cab
1.Bleed screw cap, 2.Housing, 3.Seal, 4.Piston, 5.Snap ring, 6.Rubber
boot, 7.Eye clevis
Bleed Clutch System
To bleed air from system, remove bleed screw cap (1) and connect a
length of transparent hose with its free end in Hy-Tran Plus fluid.
Loosen bleed screw.
Fill reservoir with Hy-Tran Plus MS 1207 fluid to maximum level mark.
Fully press and release clutch pedal. Repeat as required until fluid
free of air bubbles flows
through the hose. Then, tighten bleed screw while holding pedal down.
Make certain that fluid level In reservoir Is kept above minimum level
mark during bleeding operation. Remove bleed hose and refill reservoir
with fluid.
Overhaul Clutch

Fig.12. 11 Inch (279 mm) Laycock clutch. Four pad clutch disc and Six
pad clutch disc
1.four pad clutch disc, 1A.six pad clutch disc, 2.Pressure plate,
3.Cover, 4.Spring cup, 5.Cup, 6.Finger, 7.Spring clip, 8.Cap screw,
9.Nut, 10.Wear clip, 11.Pin
To remove engine clutch, it is first necessary to detach (split) engine
from clutch housing as follows: Disconnect battery cables and remove
battery. Remove hood, grille
and side panels. Disconnect tachometer cable, starter wiring and rear
wiring connector. Shut off fuel and disconnect supply line and fuel
return line.
Cap all openings. Disconnect injection pump speed control and shut off
cables. Identify and disconnect oil cooler lines and steering lines and
cap all openings. On
tractors so equipped, disconnect heater hoses and air conditioning
lines.
On Case IH 385/485/585/685 tractor equipped with front drive axle,
remove drive shaft shield and front drive shaft. If available, attach a
split stand under clutch housing
and engine oil pan or block up under clutch housing and attach a hoist
to engine.
Place wood blocks between front axle and front support to prevent
tipping. Unbolt clutch housing from engine and move front half of
tractor forward.

Fig.11. 12 Inch (305 mm) Rockford clutch
1.Clutch disc, 2.Pressure plate, 3.Spring seat, 4.Insulating washer,
5.Spring, 6.Spring cup, 7.Cover, 8.Finger, 9.Cap screw, 10.Washer,
11.Finger tension spring, 12.Pin
Unbolt and remove pressure plate assembly and remove clutch friction
disc. Inspect the friction disc and if pads are worn to a point where
there is less than 0.010 inch
(0.24 mm) of material above rivet heads, renew the disc.
Inspect pressure plate for grooving and flatness. If plate is grooved
more than 0.025 inch (0.64 mm) or if face is worn out-of-flat more than
0.006 inch (0,152 mm), renew
pressure plate. Do not reface a worn pressure plate.
When reinstalling, reverse removal procedure. Clutch friction disc is
marked FLYWHEEL SIDE for correct installation. Adjust clutch pedal
height.
________________________________________________________________________________
________________________________________________________________________________________
 CASE IH SPECS
 J.I. CASE SPECS
 PROBLEMS
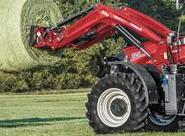
 LOADERS
________________________________________________________________________________________
| CASE IH TRACTORS SPECIFICATIONS |
 FARMALL 110A
 FARMALL 120A
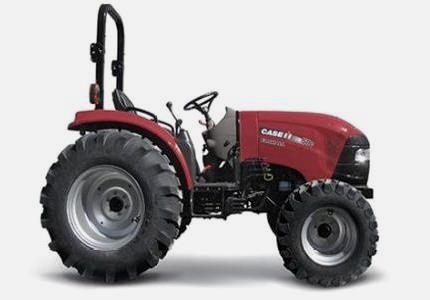 FARMALL 30C
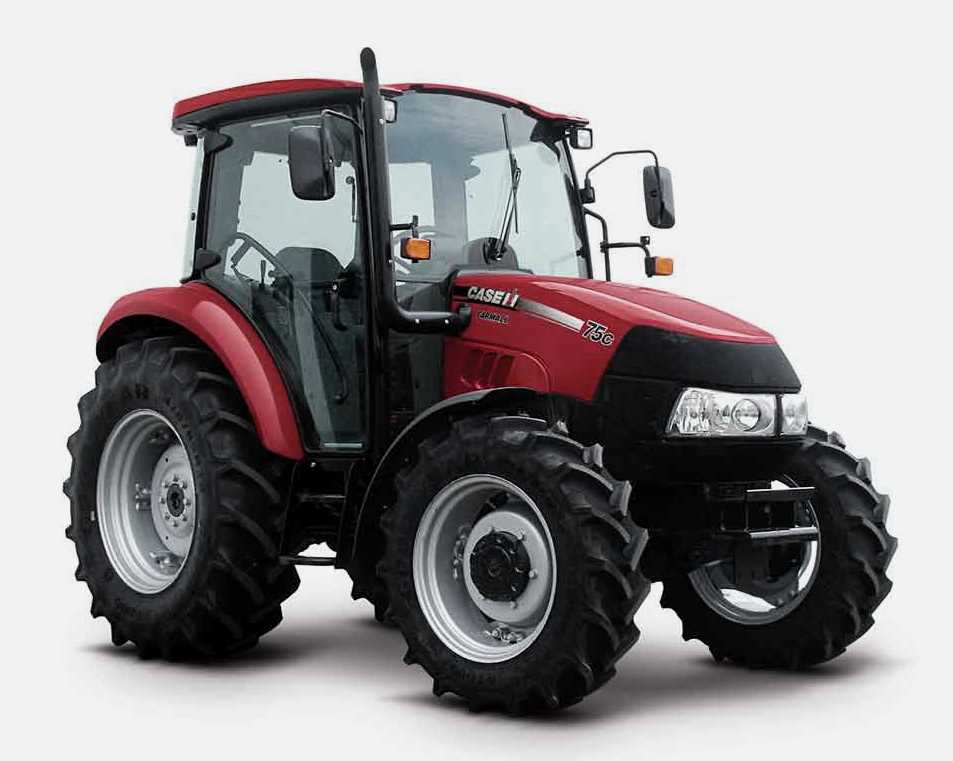 FARMALL 75C
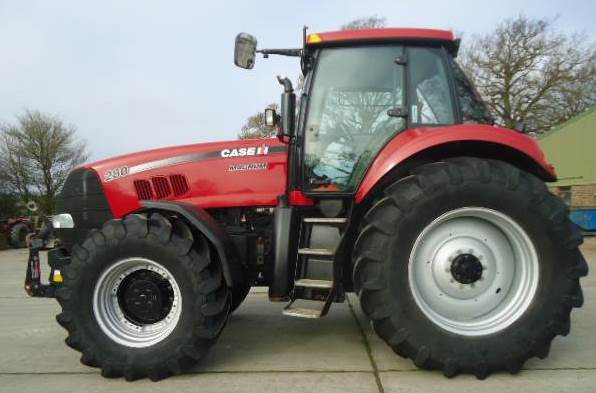 MAGNUM 280
________________________________________________________________________________________
 580E Backhoe
 580L Backhoe
 580N Backhoe
 580 Super L
 580SM Backhoe
________________________________________________________________________________________
________________________________________________________________________________________
 580SLE Backhoe
 580SN Backhoe
 580M Backhoe
 580 Super E
 580ST Backhoe
________________________________________________________________________________________
 MAGNUM 310
 MAGNUM 340
 MAXXUM 110CVX
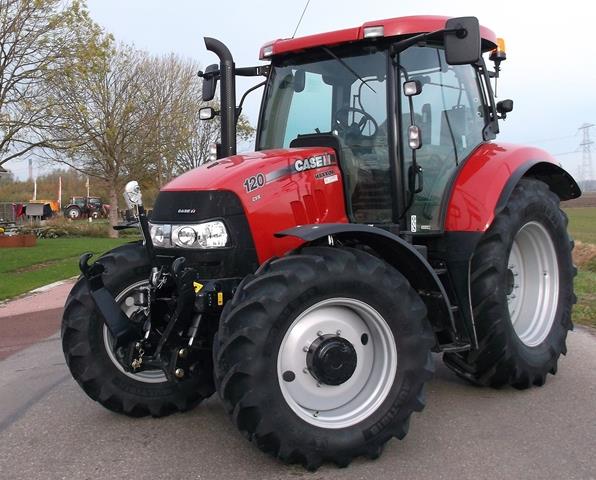 MAXXUM 120CVX
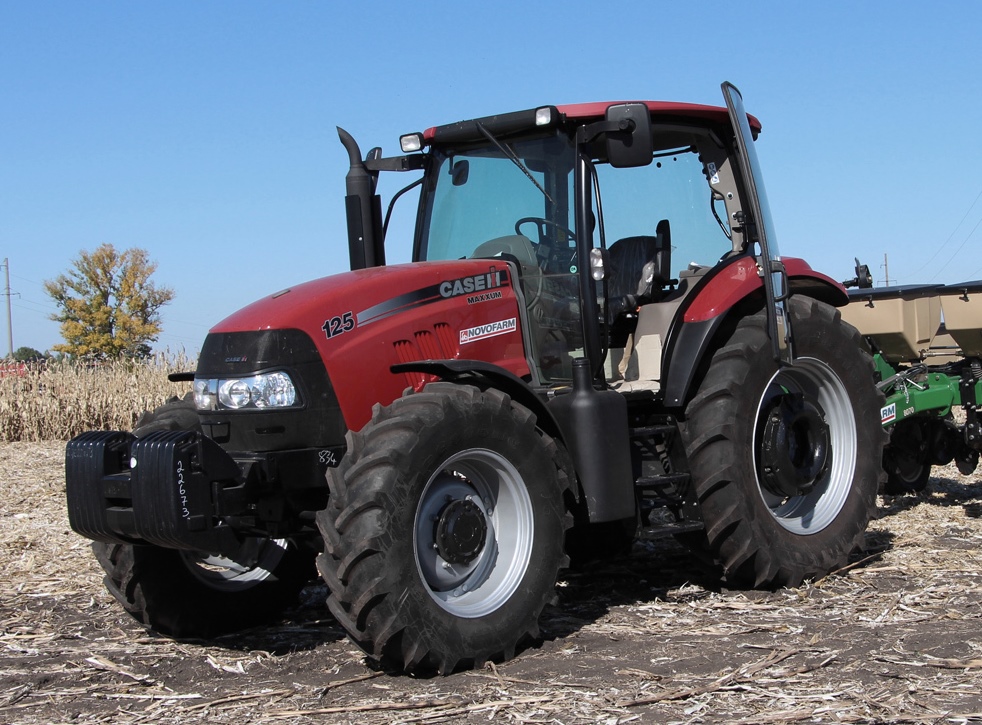 MAXXUM 125
________________________________________________________________________________________
 1394
1394 1455XL
 1494
1494 1594
1594 3230
3230________________________________________________________________________________________
 4210
4210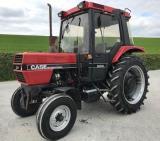 585XL
585XL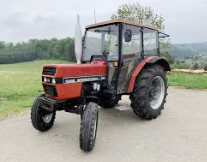 633
633 695XL
695XL 733
733________________________________________________________________________________________
 MX110
MX110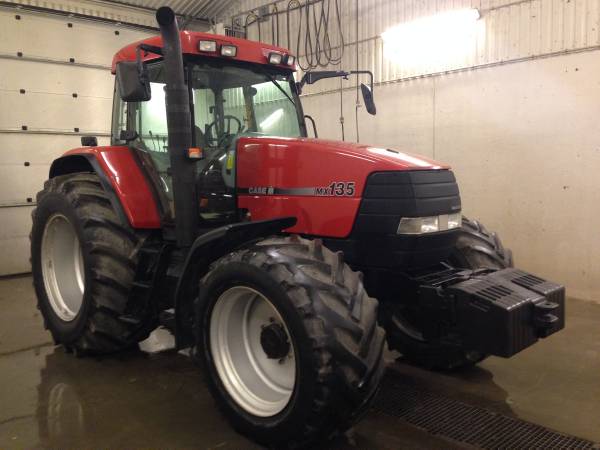 MX135
MX135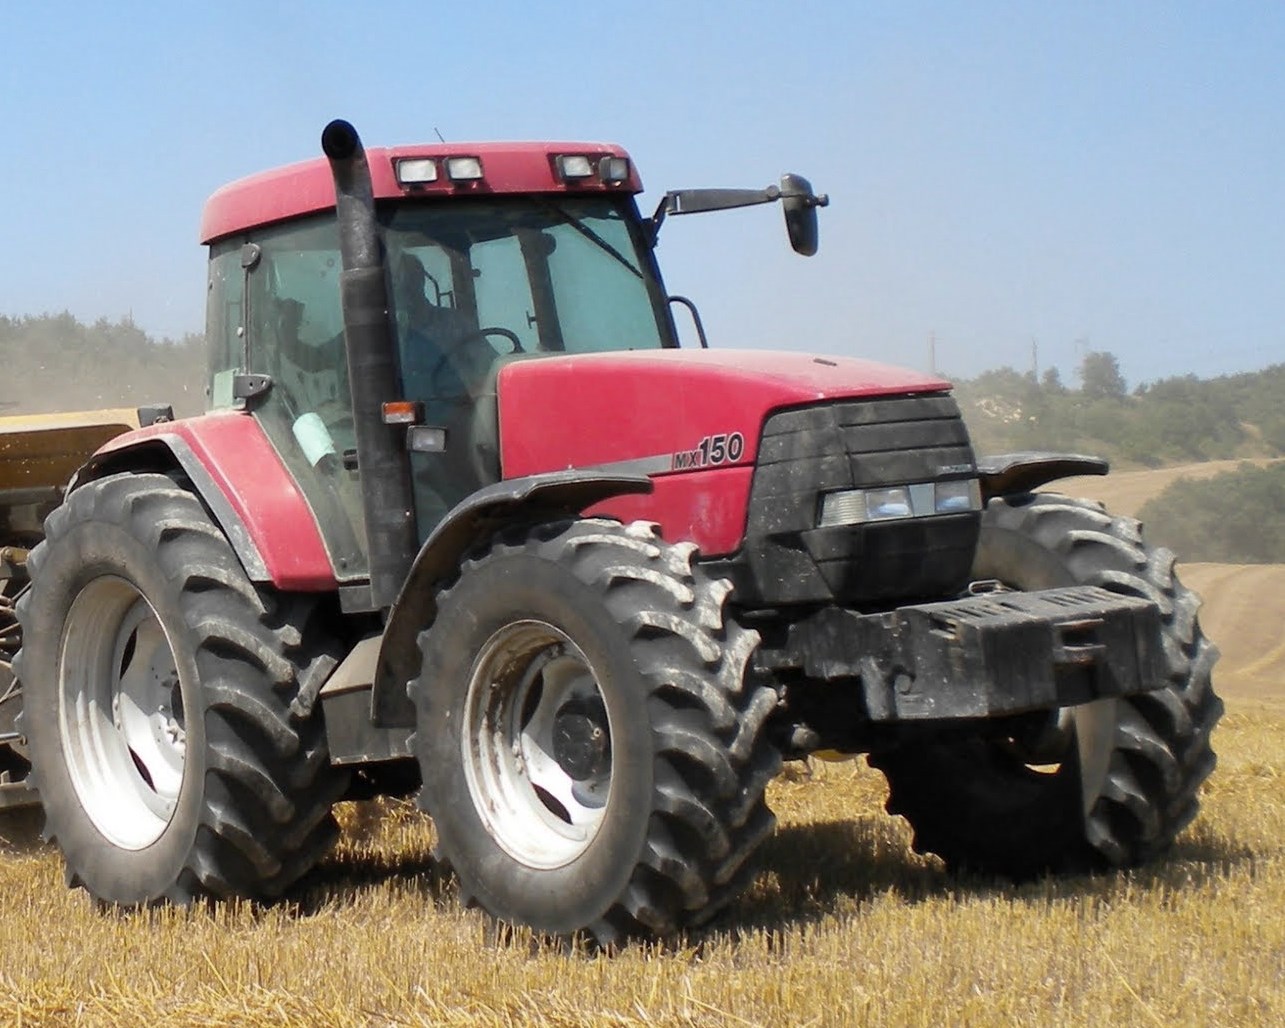 MX150
MX150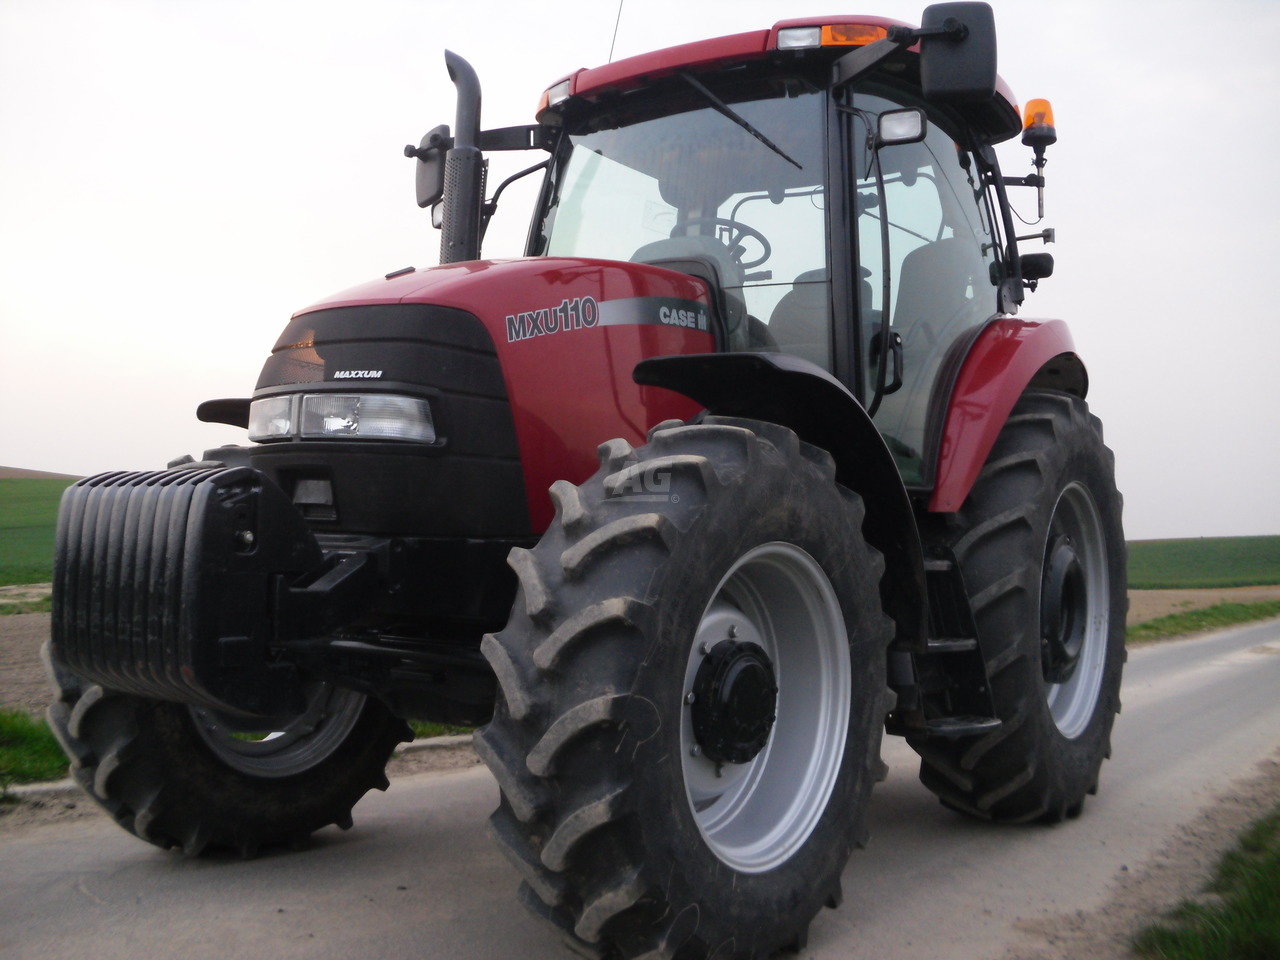 MXU110
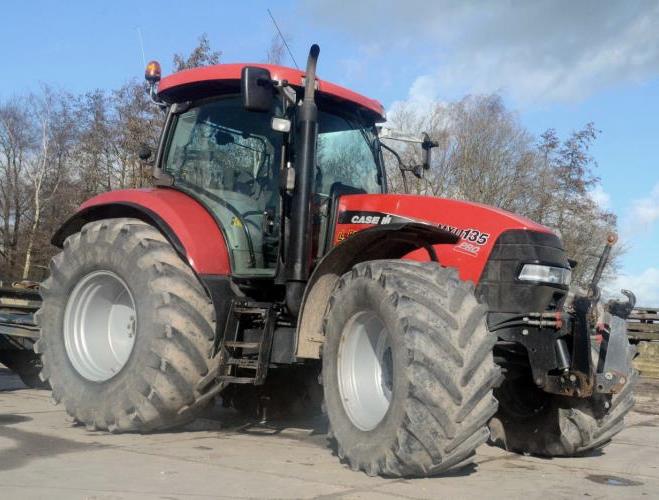 MXU135
________________________________________________________________________________________
 PUMA 175CVX
 PUMA 185CVX
 PUMA 200CVX
 PUMA 240CVX
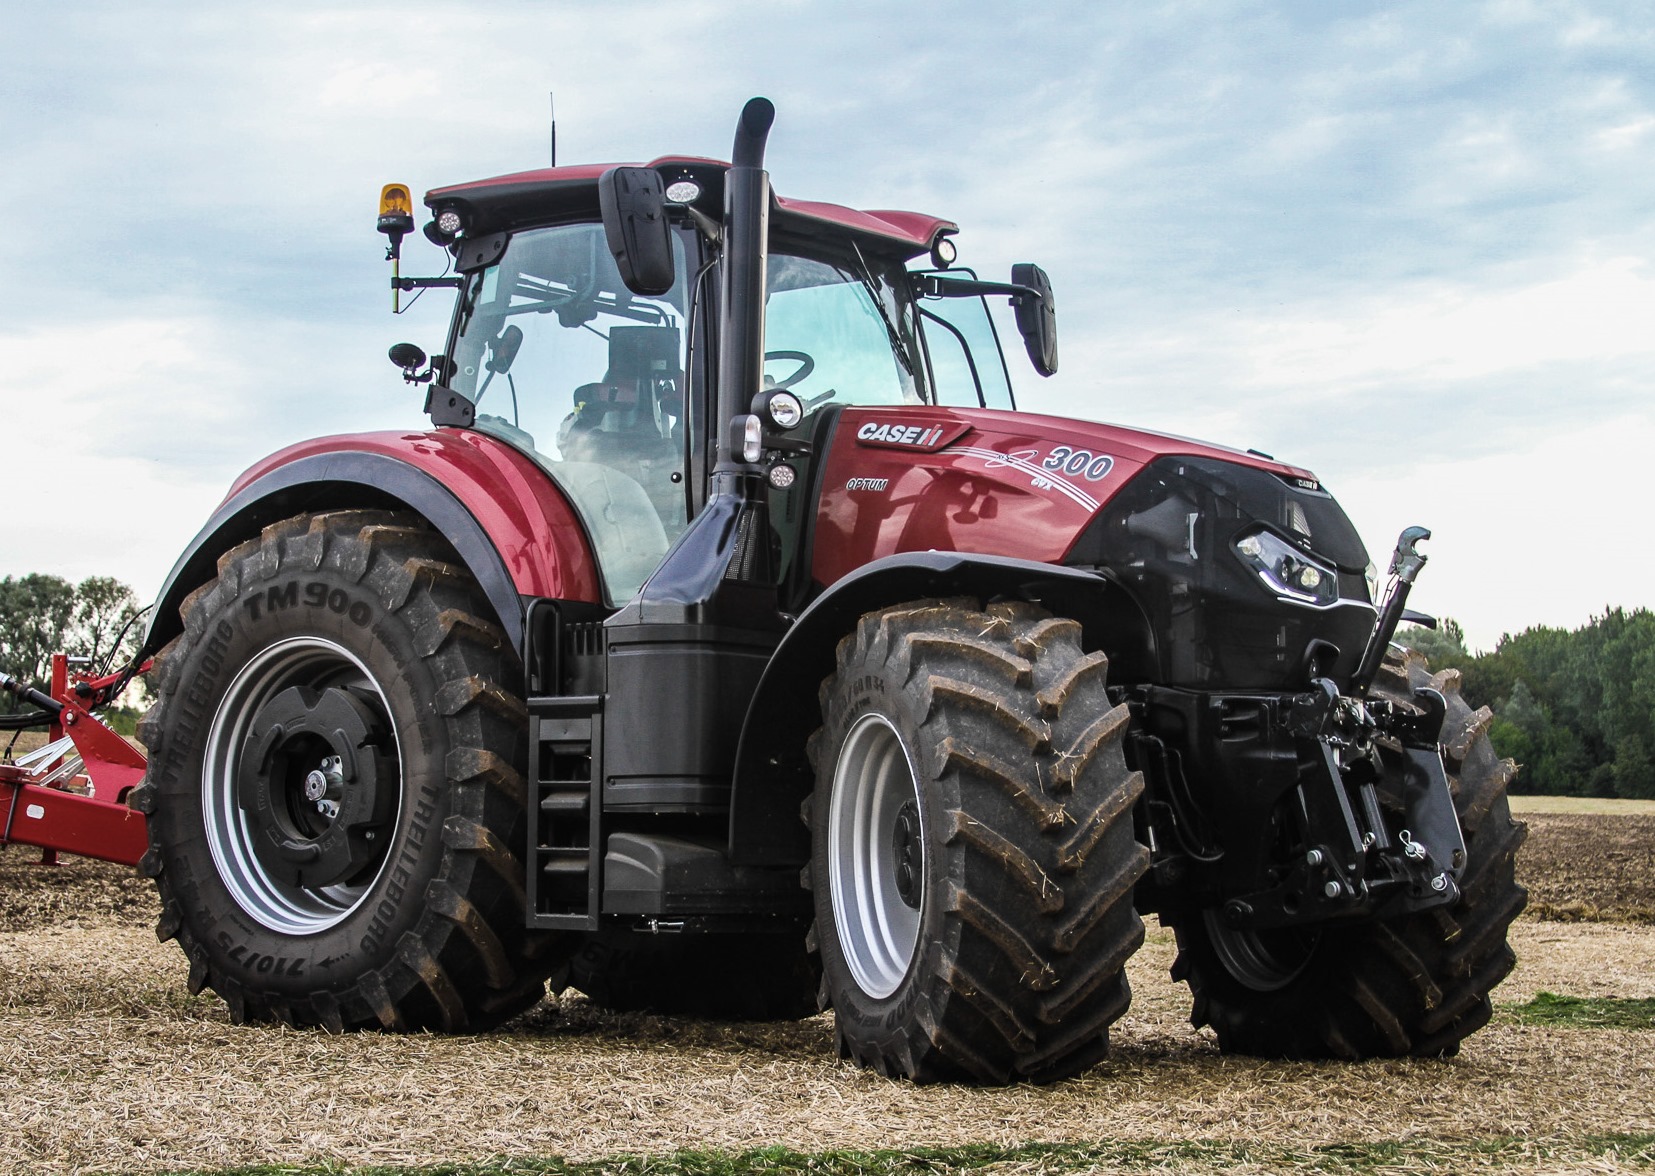 OPTUM 300
________________________________________________________________________________________
 FARMALL 50B
 FARMALL 95U
 FARMALL 125A
 PUMA 150
 PUMA 165
________________________________________________________________________________________
 MAGNUM 210
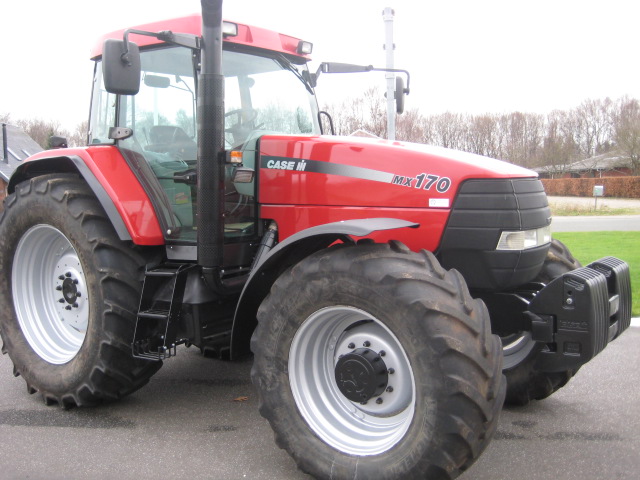 MX 170
 MAXXUM 150
 OPTUM 270
 MAGNUM 315
________________________________________________________________________________________
 FARMALL 70
 FARMALL 75N
 FARMALL 95C
 FARMALL 105N
 FARMALL 30B
________________________________________________________________________________________
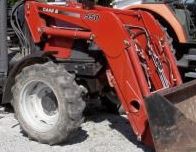
| CASE IH FRONT END LOADERS SPECS |
 L103 Loader
 L104 Loader
 L105 Loader
 L106 Loader
 L107 Loader
________________________________________________________________________________________
 L108 Loader
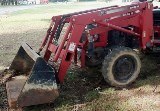 L130 Loader
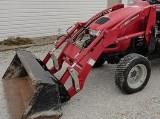 L160 Loader
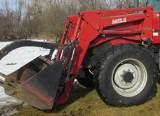 L300 Loader
 L340 Loader
________________________________________________________________________________________
 L350 Loader
 L360 Loader
 L530 Loader
 L540 Loader
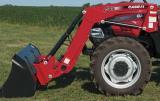 L545 Loader
________________________________________________________________________________________
 L550 Loader
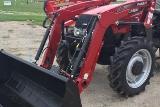 L555 Loader
 L560 Loader
 L565 Loader
 L570 Loader
________________________________________________________________________________________
 L575 Loader
 L720 Loader
 L730 Loader
 L735 Loader
 L740 Loader
________________________________________________________________________________________
 LRZ 95
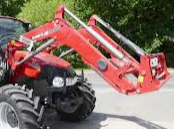 LRZ 100
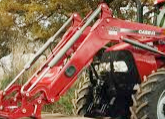 LRZ 120
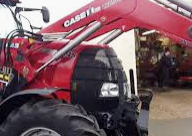 LRZ 130
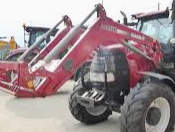 LRZ 150
________________________________________________________________________________________
 L745 Loader
 L750 Loader
 L755 Loader
 L760 Loader
 L765 Loader
________________________________________________________________________________________
 L770 Loader
 L775 Loader
 L780 Loader
 L785 Loader
 L795 Loader
________________________________________________________________________________________
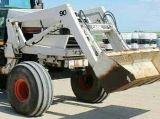 90 Loader
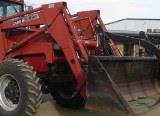 890 Loader
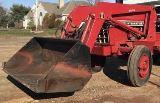 2200 Loader
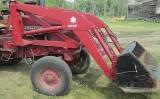 2250 Loader
 LX156 Loader
________________________________________________________________________________________