
________________________________________________________________________________
Kubota L2501, L3200, L3400, L3800 - Engine Service and Maintenance
Kubota L2501, L3200, L3400 tractors fitted with D1703 diesel engine.
D1803 engine used in L3800 model.
Kubota L2501, L3200, L3400, L3800 - Engine
Maintenance
Starting the Engine (normal)
Set the fuel lever to the "on" position. Place the engine stop lever to
the "Start" position. Place the speed control lever at more than half
"operation". Insert the key into the key switch and turn it to the
"operation" position. Turn the starter switch to the "preheating"
position to allow the glow lamp to redden. The glow lamp goes out in
about 5 seconds when the lamp timer is up. Even with the glow lamp off,
the glow plug can be preheated by turning the starter switch to the
"preheating" position. Turn the key to the "Starting" position and the
engine should start. Release the key immediately when a Kubota D1803
engine starts. Check to see that the oil pressure lamp and charge lamp
are off. If the lamps are still on, immediately stop the engine, and
determine the cause. If the oil pressure lamp should be still on,
immediately stop the engine and check. If there is enough engine oil. If
the engine oil has dirt in it. If the wiring is faulty. Warm up the
engine at medium speed without load. If the engine does not catch or
start at 10 seconds after the starter switch is set at "Starting"
position, wait for another 30 seconds and then begin the engine starting
sequence again. Do not allow the starter motor to run continuously for
more than 20 seconds.
Cold weather starting
If the ambient temperature is below -5C (23F) and the engine is very
cold, start it in the following manner: Set the fuel lever to the "ON"
position. Place the engine stop lever to the "Start" position. Place the
speed control lever at more than half "operation". Insert the key into
the key switch and turn it to the "operation" position. Turn the key to
the "preheating" position and keep it there for a certain period
mentioned below. Turn the key to the "Starting" position and the engine
should start. If the engine fails to start after 10 seconds, turn off
the key for 5 to 30 seconds. Do not allow the starter motor to run
continuously for more than 20 seconds. Be sure to warm up the engine,
not only in winter, but also in warmer seasons. An insufficiently
warmed-up engine can shorten its service life. When there is fear of
temperature dropping below -15 C (5 F) detach the battery from the
machine, and keep it indoors in a safe area, to be reinstalled just
before the next operation.
Radiator Cooling water
If the coolant temperature warning lamp lights up or if steam or coolant
does not stop squirting from the radiator overflow pipe, turn off the
load and keep the engine idling (Cooling-Down) for at least 5 minutes to
let it cool down gradually. Then stop the engine and take the following
inspection and servicing. Check to see if the coolant runs short or if
there is any coolant leak. Check to see if there is any obstacle around
the cooling air inlet or outlet. Check to see if there is any dirt or
dust between radiator fins and tube. Check to see if the fan belt is too
loose. Check to see if radiator water pipe is clogged.
Color of exhaust - While Kubota D1703 engine is run within the rated
output range: The color of exhaust remains colorless. If the output
slightly exceeds the rated level, exhaust may become a little colored
with the output level kept constant. If the engine is run continuously
with dark exhaust emission, it may lead to trouble with the engine.
Immediately stop the engine if: The engine suddenly slows down or
accelerates. Unusual noises are suddenly heard. Exhaust fumes suddenly
become very dark. The oil pressure lamp or the water temperature alarm
lamp lights up.
How to tell when the engine starts running backwards - Lubricating oil
pressure drops sharply. Oil pressure warning light, if used, will light.
Since the intake and exhaust sides are reversed, the sound of the engine
changes, and exhaust gas will come out of the air cleaner. A louder
knocking sound will be heard when the engine starts running backwards.
Remedies - Immediately set the engine stop lever to the "Stop" position
to stop Kubota D1803 engine. After stopping the engine, check the air
cleaner, intake rubber tube and other parts, and then replace parts as
needed.
Air bleeding the fuel system
Air bleeding of the fuel system is required if: After the fuel filter
and pipes have been detached and refitted; after the fuel tank has
become empty; or before the engine is to be used after a long storage.
Fill the fuel tank to the fullest extent. Open the fuel filter lever.
Open the air vent cock on top of the fuel injection pump. Turn the
engine, continue it for about 10 seconds, then stop it, or move the fuel
feed pump lever by hand (optional). Close the air vent cock on top of
the fuel injection pump. Always keep the air vent cock on the fuel
injection pump closed except when air is vented, or it may cause the
engine to stop. For fuel tanks that are lower than the injection pump.
The fuel system must be pressurized by the fuel system electric fuel
pump. If an electric fuel pump is not used, you must manually actuate
the pump by lever to bleed. The primary fuel filter must be on the
pressure side of the pump if the fuel tank is lower than the injection
pump. To bleed, follow through above. Tighten air vent plug of the fuel
injection pump except when bleeding, or it may stop the engine suddenly.
Checking the fuel pipes
Check the fuel pipes every 50 hours of operation. If the clamp band is
loose, apply oil to the screw of the band, and tighten the band
securely. If the fuel pipes, made of rubber, become worn out, replace
them and clamp bands every 2 years. If the fuel pipes and clamp bands
are found worn or damaged before 2 years pass, replace or repair them at
once. After replacement of the pipes and bands, air-bleed the fuel
system. When the fuel pipes are not installed, plug them at both ends
with clean cloth or paper to prevent dirt from entering. Dirt in the
pipes can cause fuel injection pump malfunction.
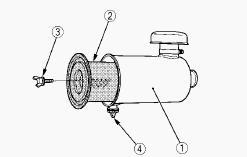
Kubota L2501, L3200, L3400, L3800 - Cleaning
the fuel filter pot
Every 100 hours of operation, clean the fuel filter in a clean place to
prevent dust intrusion. Close the fuel filter lever. Remove the top cap,
and rinse the inside with diesel fuel. Take out the element, and rinse
it with diesel fuel. After cleaning, reinstall the fuel filter, keeping
out of dust and dirt. Air-bleed the injection pump. Entrance of dust and
dirt can cause a malfunction of the fuel injection pump and the
injection nozzle. Wash the fuel filter cup periodically.
Fuel filter cartridge replacement
Replace the fuel filter cartridge with a new one every 400 operating
hours. Apply fuel oil thinly over the gasket and tighten the cartridge
into position by hand-tightening only. Finally, vent the air. Replace
the fuel filter cartridge periodically to prevent wear of the fuel
injection pump plunger or the injection nozzle, due to dirt in the fuel.
Checking oil level and adding engine oil
Check the engine oil level before starting or more than 5 minutes after
stopping Kubota D1803 engine. Remove the oil level gauge, wipe it clean
and reinstall it. Take the oil level gauge out again, and check the oil
level. If the oil level is too low, remove the oil filler plug, and add
new oil to the prescribed level. After adding oil, wait more than 5
minutes and check the oil level again. It takes some time for the oil to
drain down to the oil pan. Engine oil capacity - 7.5-9.5 L.
Changing engine oil
Change oil after the initial 50 hours of operation and every 200 hours
thereafter. Remove the drain plug at the bottom of the engine, and drain
all the old oil. Drain oil will drain easier when the oil is warm. Add
new engine oil up to the upper limit of the oil level gauge.
Replacing the oil filter cartridge
Replace the oil filter cartridge. Apply a film of oil to the gasket for
the new cartridge. Screw in the cartridge by hand. When the gasket
contacts the seal surface, tighten the cartridge enough by hand.
Because, if you tighten the cartridge with a wrench, it will be
tightened too much. After the new cartridge has been replaced, the
engine oil level normally decreases a little. Thus, run the engine for a
while and check for oil leaks through the seal before checking the
engine oil level. Add oil if necessary.
Kubota L2501, L3200, L3400, L3800 - Checking
coolant level, adding coolant
Remove the radiator cap, after the engine has completely cooled, and
check to see that coolant reaches the supply port. If the radiator is
provided with a recovery tank, check the coolant level of the recovery
tank. When it is between the "Full" and "Low" marks, the coolant will
last for one day's work. When the coolant level drops due to
evaporation, add water only up to the full level. Check to see that two
drain cocks; one is at the crankcase side and the other is at the lower
part of the radiator. If the radiator cap has to be removed, follow the
caution and securely retighten the cap. If coolant should be leak,
repair it or replace. Make sure that muddy or sea water does not enter
the radiator. Use clean, fresh water and 50% anti-freeze to fill the
recovery tank. Do not refill recovery tank with coolant over the "Full"
level mark. Be sure to close the radiator cap securely. If the cap is
loose or improperly closed, coolant may leak out and decrease quickly.
Remedies for quick decrease of coolant
Check any dust and dirt between the radiator fins and tube. If any,
remove them from the fins and the tube. Check the tightness of the fan
belt. If loose, tighten it securely. Check the internal blockage in the
radiator hose. If scale forms in the hose, clean with the scale
inhibitor or its equivalent.
Checking radiator hoses and clamp bands
Check to see if radiator hoses are properly fixed every 200 hours of
operation or 6 months, whichever comes first. If hose clamps are loose
or water leaks, tighten hose clamp securely. Replace hoses and tighten
hose clamps securely, if radiator hoses are swollen, hardened or
cracked. Replace hoses and hose clamps every 2 years or earlier, if
checked and found that hoses are swollen, hardened or cracked. If the
coolant temperature warning lamp lights up or if steam or coolant does
not stop squirting from the radiator overflow pipe, turn off the load
and keep the engine idling (Cooling-Down) for at least 5 minutes to let
it cool down gradually. Then stop the engine and take the following
inspection and servicing. Check to see if the coolant runs short or if
there is any coolant leak. Check to see if there is any obstacle around
the cooling air inlet or outlet. Check to see if there is any dirt or
dust between radiator fins and tube. Check to see if the fan belt is too
loose. Check to see if radiator water pipe is clogged.
Air cleaner
Since the air cleaner employed on this engine is a dry type, never apply
oil to it. Open the evacuator valve once a week under ordinary
conditions - or daily when used in a dusty place. This will get rid of
large particles of dust and dirt. Wipe the inside air cleaner clean with
cloth if it is dirty or wet. Avoid touching the element except when
cleaning. When dry dust adheres to the element, blow compressed air from
the inside turning the element. Pressure of compressed air must be under
205 kPa (2.1 kgf/cm2, 30 psi). Replace the element every year or every 6
cleanings. Make sure the wing bolt for the element is tight enough. If
it is loose, dust and dirt may be sucked in, wearing down the cylinder
liner and piston ring earlier and thereby resulting in poor power
output. Do not over service the air cleaner element. Over servicing may
cause dirt to enter the engine causing premature wear. Use the dust
indicator as a guide on when to service. Evacuator valve - Open the
evacuator valve once a week under ordinary conditions - or daily when
used in a dusty place - to get rid of large particles of dust and dirt.
For the air cleaner with a dust cup (optional) - Remove and clean out
the dust cup before it becomes half full with dust; usually once a week,
or even every day if the working surroundings are dusty. Install the air
cleaner dust cup with "top" indicated on the rear of the cup in the up
position. (However, it may be installed in either direction when the
cover is placed at the lower part.). If the dust cup is mounted
incorrectly, dust or dirt does not collect in the cup, and direct
attachments of the dust to the element will cause its lifetime to
shorten to a great extent.
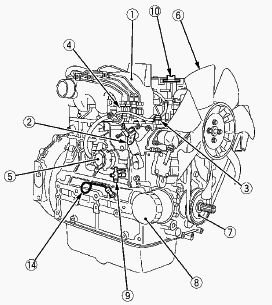
Adjusting Fan Belt Tension
Stop the engine and remove the key. Apply moderate thumb pressure to
belt between the pulleys. If tension is incorrect, loosen the alternator
mounting bolts and, using a lever placed between the alternator and the
engine block, pull the alternator out until the deflection of the belt
falls within acceptable limits. Replace fan belt if it is damaged. If
belt is loosen or damaged and the fan is damaged, it could result in
overheats or insufficient charging. Correct or replace belt.
Kubota L2501, L3200, L3400, L3800 - Service
Engine
Top Clearance
Remove the cylinder head. With the piston at TDC, use grease to affix
three or four plastigauges of a diameter 1.5 mm (0.059 in.) x 5.0 to 7.0
mm (0.20 to 0.27 in.) long to the crown of the piston; keep the gauges
away from the intake valve and combustion chamber fittings. Take the
piston to an intermediate position, install the cylinder head and
tighten the head screws to the specified torque. Turn the crankshaft so
the piston goes through TDC. Remove the cylinder head and compare the
width of the crushed plastigauges with the scale. If they are out of
spec, check the oil clearance of the crank pin, journals and piston pin.
Top clearance - 0.60 to 0.70 mm / 0.024 to 0.027 in.
Valve Seating
Apply a thin layer of Prussian Blue on the valve face. Then put the
valve on its seat to examine the contact. If the valve is not fully
around the seat or the contact is less than 70 % of the factory
specification, correct the valve seat. If the valve contact width cannot
get the factory specification, replace the valve or correct the contact
of the valve seat. Valve contact width - 2.12 mm / 0.0835 in.
Timing Gear Backlash
Set a dial indicator (lever type) with its point on the gear tooth. Hold
the mating gear and move the gear to measure the backlash. If the
backlash is more than the allowable limit, measure the oil clearance in
the journal part of each shaft. If the oil clearance is correct, replace
the gear. Backlash between idle gear and crank gear - 0.04150 to 0.1122
mm / 0.001634 to 0.004417 in. Backlash between idle gear and cam gear -
0.04150 to 0.1154 mm / 0.001634 to 0.004543 in. Backlash between idle
gear and fuel supply pump gear - 0.04150 to 0.1154 mm / 0.001634 to
0.004543 in. Backlash between crank gear and oil pump gear - 0.04150 to
0.1090 mm / 0.001634 to 0.004291 in.
Replacement of Small End Bushing
Press out the used small end bushing with the replacing tool. Clean a
new small end bushing and bore, and apply engine oil to them. Make sure
that the oil hole of the connecting rod aligns the bushing hole. Then
press fit the new bushing with the replacing tool.
Connecting Rod Alignment
Make sure that the oil clearance of the small end bushing is less than
the allowable limit. Install the piston pin into the connecting rod.
Install the connecting rod on the alignment tool of the connecting rod.
Put a gauge on the piston pin, and move it against the face plate. If
the gauge does not touch fully against the face plate, measure the space
between the gauge pin and face plate. If the measurement is more than
the allowable limit, replace the connecting rod. Connecting rod
alignment - Allowable limit 0.05 mm / 0.002 in.
Side Clearance of Crankshaft
Set a dial indicator with its point on the end of the crankshaft. Move
the crankshaft to the front and rear to measure the side clearance. If
the measurement is more than the allowable limit, replace the thrust
bearings. If the same dimension bearing is not applicable because of the
crankshaft journal wear, replace it with an oversize one. Side clearance
of crankshaft - 0.15 to 0.31 mm / 0.0059 to 0.012 in.
Crankshaft Bend
Hold the 2 end journals of crankshaft with V blocks on the surface
plate. Set a dial indicator with its point on the middle journal. Turn
the crankshaft slowly and read the variation on the indicator. If the
measurement is more than the allowable limit, replace the crankshaft.
Crankshaft bend - Allowable limit 0.03 mm / 0.001 in.
Kubota L2501, L3200, L3400, L3800 - Engine
Troubleshooting
Engine is difficult to start or won't start
No fuel flow - Check the fuel tank and the fuel filter. Replace filter
if necessary.
Air or water is in the fuel system - Check to see if the fuel line
coupler bolt and nut are tight. Bleed the fuel system.
In winter, oil viscosity increases, and engine revolution is slow - Use
oils of different viscosities, depending on ambient temperatures. Use
engine block heater (Optional).
Battery becomes weak and the engine does not turn over quick enough -
Clean battery cables and terminals. Charge the battery. In cold weather,
always remove the battery from the engine, charge and store it indoors.
Install it on the tractor only when the tractor is going to be used.
Insufficient engine power
Insufficient or dirty fuel - Check the fuel system.
The air cleaner is clogged - Clean or replace the element.
Kubota D1703 engine stops suddenly.
Insufficient fuel. Refuel. Bleed the fuel system if necessary.
Exhaust fumes are black colored
Fuel quality is poor - Change the fuel and fuel filter.
Too much oil - Check the proper amount of oil.
The air cleaner is clogged - Clean or replace the element.
Exhaust fumes are blue or white colored
The inside of exhaust muffler is dumped with fuel - Heat the muffler by
applying load to the engine.
Injection nozzle trouble - Check the injection nozzle.
Fuel quality is poor - Change the fuel and fuel filter.
Kubota D1803 engine overheats
Engine overloaded - Shift to lower gear or reduce load.
Low coolant level Fill cooling system to the correct level; check
radiator and hoses for loose connections or leaks.
Loose or defective fan belt - Adjust or replace fan belt.
Dirty radiator core or grille screens - Remove all trash.
Coolant flow route corroded - Flush cooling system.
________________________________________________________________________________
________________________________________________________________________________________
 SPECIFICATIONS
 LOADERS
 ENGINES
 INSTRUCTIONS
 PROBLEMS
________________________________________________________________________________________
 B2320
B2320 B2630
B2630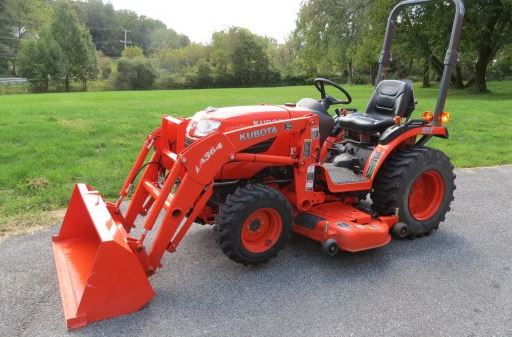 B2920
B2920 B3300SU
 BX2360
________________________________________________________________________________________
 L245
L245 L260
L260 L275
L275 L285
L285 L305
L305________________________________________________________________________________________
________________________________________________________________________________________
 D662
D662 D722
D722 D750
D750 D782
D782 D850
D850________________________________________________________________________________________
 LA302
LA302 LA304
LA304 LA340
LA340 LA344
LA344 LA351
LA351________________________________________________________________________________________
 BX2660
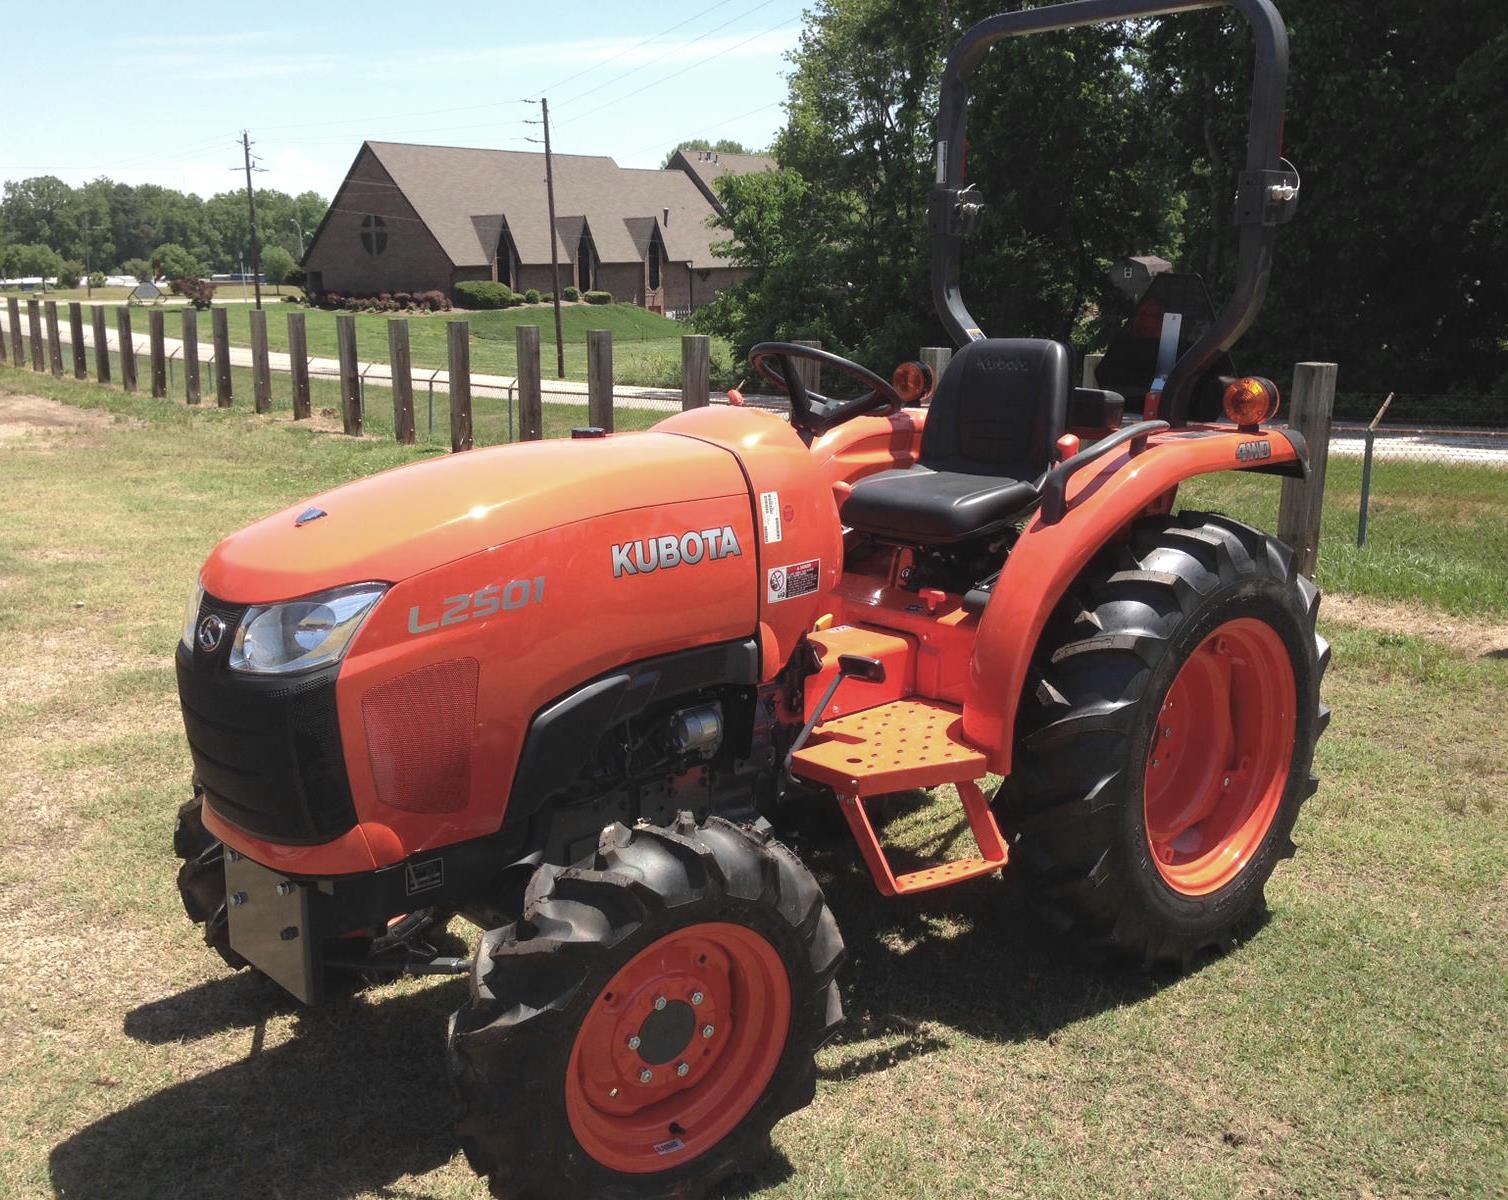 L2501
L2501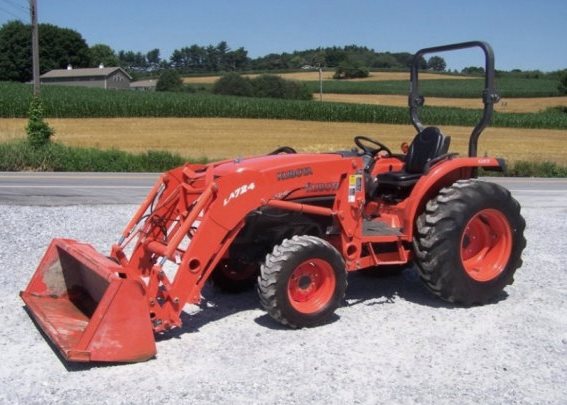 L3240
L3240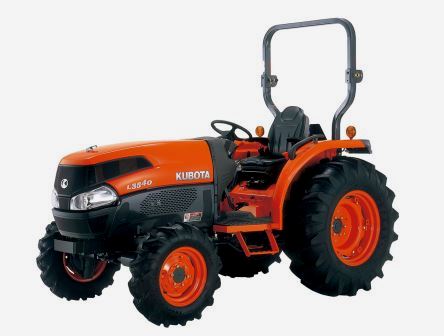 L3540
L3540 L3940
L3940________________________________________________________________________________________
 D902
D902 D905
D905 D950
D950 D1005
D1005 D1100
D1100________________________________________________________________________________________
________________________________________________________________________________________
 B1630
B1630 BF400
BF400 BF400G
 LA181
LA181 LA203
LA203________________________________________________________________________________________
 LA211
LA211 LA243
LA243 LA271
LA271 LA272
LA272 LA301
LA301________________________________________________________________________________________
 L175
L175 L185
L185 L210
L210 L225
L225 L235
L235________________________________________________________________________________________
 D1105
D1105 D1503
D1503 D1703
D1703 D1803
D1803 V1200
V1200________________________________________________________________________________________
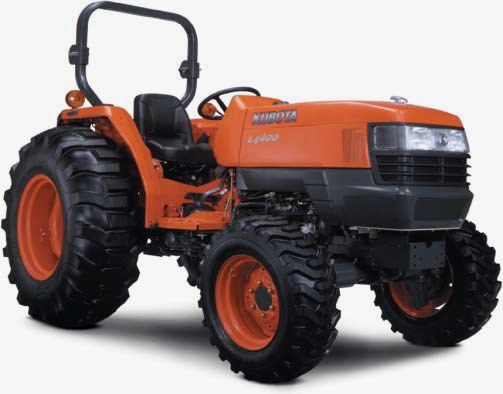 L4400
L4400 L4600
L4600 L5040
L5040 L5740
L5740 MX4700
________________________________________________________________________________________
 LA352
LA352 LA364
LA364 LA401
LA401 LA402
LA402 LA403
LA403________________________________________________________________________________________
 LA434
LA434 LA463
LA463 LA481
LA481 LA482
LA482 LA504
LA504________________________________________________________________________________________
 V1205
V1205 V1305
V1305 V1505
V1505 V2203
V2203 V2403
V2403________________________________________________________________________________________
 B2710
B2710 BX23S
BX23S B3350
B3350 BX1880
 L4701
L4701________________________________________________________________________________________
 LA513
LA513 LA514
LA514 LA524
LA524 LA525
LA525 LA534
LA534________________________________________________________________________________________
 LA555
LA555 LA680
LA680 LA681
LA681 LA682
LA682 LA703
LA703________________________________________________________________________________________
 Z482
Z482 Z602
Z602 Z750
Z750 Z1100
Z1100 Z1300
Z1300________________________________________________________________________________________
 M100GX
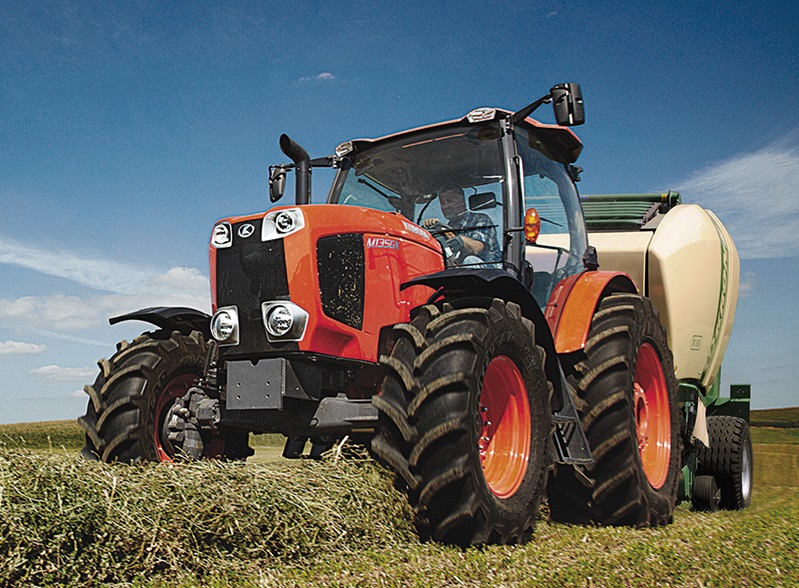 M135GX
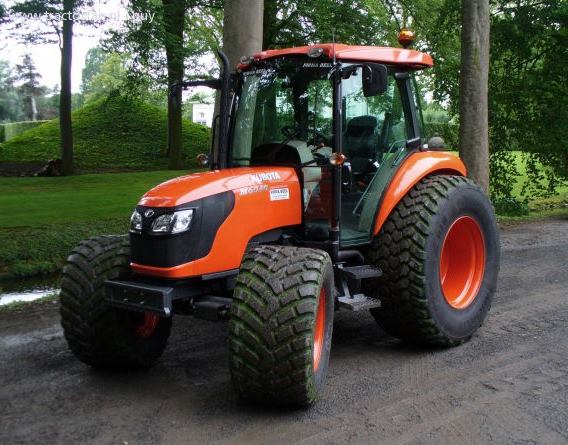 M6040
M6040 M8540
M8540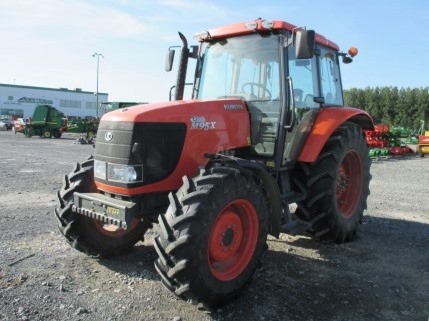 M95X
M95X________________________________________________________________________________________
 LA714
LA714 LA723
LA723 LA724
LA724 LA764
LA764 LA765
LA765________________________________________________________________________________________
 LA805
LA805 LA844
LA844 LA852
LA852 LA853
LA853 LA854
LA854________________________________________________________________________________________
 M5-091
 BX2680
 MX5200
 BX2380
 L3901
L3901________________________________________________________________________________________
 LA1002
 LA1055
 LA1065
 LA1153
 LA1154
________________________________________________________________________________________
 LA1251
 LA1301S
 LA1353
 LA1403
 LA1601S
________________________________________________________________________________________
 LA1854
 LA1944
 LA1953
 LA2253
 LM2605