________________________________________________________________________________
Repair of Case 1290, 1190 Tractor Power shift transmission
Remove planetary assemblies
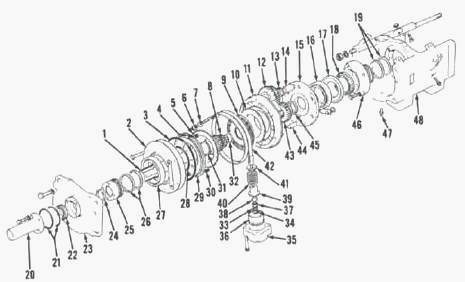
Fig.38. Front planetary assembly of Case 1190, 1194, 1690, 1390,
1290 tractor power shift transmission
1.Input shaft, 2.Clutch cylinder, 3."O'ring, 4.Spring, inner, 5.Clutch
plate steel ,6.Locknut, 7.Conical washer, 8.Seal, 9.Clutch plate bronze,
10.Backing plate, 11.Carrier & cylinder, 12.Planet gear, 13.Needle
roller bearing , 14.Bearing pin, 15.End cover, 16.Bearing, 17.Spacer
plate, 18.Sprag clutch, 19.Sealing rings, 20.Support tube, 21."O" ring,
22.Seal, 23.Front cover, 24.Bushing, 25.Support sleeve, 26.Sealing
rings, 27.Bearing, 28."O" ring, 29.Piston, 30.Spring, outer, 31.Thrust
washer, 32.Bushing, 33.Washer, 34.Snap ring, 35.Cylinder, 36.Piston,
37.Locknut, 38.Spherical washer, 39.Sleeve, 40.Spring, 41.Seat, 42.Brake
hand, 43.Sun gear, 44.Dowel, 45.Thrust washer, 46.Bearing carrier,
47.Locating screw, 48.Center carrier
Remove support sleeve (20) and front cover (23). Disconnect brake line
from front planetary brake cylinder (35) and remove cylinder. Loosen
front brake band locating screws and remove brake band adjusting nuts (6
and 37).
Remove sleeve (39), spring (40) and seat (41). Withdraw input shaft (1),
then remove brake band (42) and lift front planetary unit from center
housing. Remove hydraulic line for planetary brake cylinder from center
carrier. Remove spacer plate (17) and sprag clutch (18).
Turn center housing over, then remove rear brake band and rear planetary
assembly (Rear planetary) from housing in same manner as front unit.
Unbolt and remove bearing carrier (46—Front planetary) from center
housing. Remove spacer (20-Rear planetary), sprag clutch (21) and
carrier (42) from rear end housing (43) if necessary.
Front planetary overhaul
Mark clutch cylinder (2—Front planetary), carrier (11) and end cover
(15) so they can be reassembled in their original positions. Remove
mounting bolts, then separate clutch cylinder from planetary carrier.
Remove piston (29) from cylinder and remove and discard "O" rings (3 and
28). Remove inner and outer springs (4
and 30). Remove clutch plates (5, 9 and 10) keeping plates together for
use in reassembly.
Clutch plates are a matched set and are not available separately. Use a
hoist and chain to support power shift unit as shown when removing and
Installing unit from range gearbox.
Remove retaining bolts and separate end cover (15) from carrier (11).
Mark position of planetary gears (12) and gear pins (14) for proper
reassembly, then remove from end cover.
Case IH 1290, 1190 Tractor Clutch plates must be free of cracks,
distortion or excessive wear. Renew plates as necessary. Inspect springs
(4 and 30) and renew if distorted or weak. Check thrust washer, bearings
and planetary gears for wear or damage and renew as necessary.
Lubricate "O" rings (3 and 28) and install on piston (29). Carefully
install piston into cylinder. Position inner springs in clutch piston
and hold in place with petroleum jelly or grease.
Install:
- planetary gear pins, bearings and gears in their original positions
with gear timing marks pointing toward center of carrier.
- sun gear aligning timing marks as shown.
- thrust washer (45— Front planetary), with oil groove facing up, into
end cover (15).
- end cover over planetary gears aligning marks made during disassembly.
Tighten mounting bolts to 40 Nm (30 ft.-lbs.) torque and secure with
locking plates.
Assemble thick clutch backing plate (10), slotted bronze clutch plate
(9), thin steel spacer plate , it remaining slotted bronze plate (9) and
thin steel plate (5) onto clutch carrier (11).
- outer springs in carrier.
- clutch cylinder (2) with piston and inner springs onto carrier
aligning marks made during disassembly. Tighten mounting bolts to 27
N-m'(20 ft.-lbs.) torque and secure with locking plates.
Rear planetary overhaul
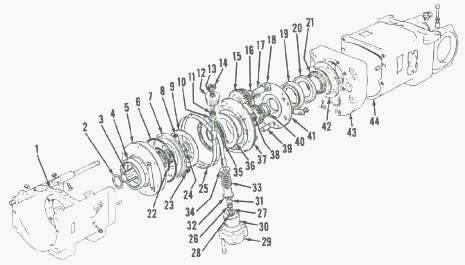
Fig.39. Rear planetary assembly of Case 1290, 1190 Tractor power
shift transmission
1.Center carrier, 2.Thrust washer, 3.Rear input shaft, 4.Bearing,
5.Carrier & cylinder, 6."O" ring, 7.Piston, 8.Spring inner, 9.Clutch
plate steel, 10.Conical washer, 11.Locknut, 12.Taper plug, 13.Stop
screw, 14.Locknut, 15.Planet gear, 16.Needle roller bearing, 17.Bearing
pin, 18.Spacer, 19.Bearing, 20.Spacer plate, 21.Sprag clutch, 22."O"
ring, 23.Spring outer, 24.Thrust washer, 25.Brake band, 26.Locknut,
27.Washer, 28.Snap ring, 29.Cylinder, 30.Piston, 31.Spherical washer,
32.Sleeve, 33.Spring, 34.Seat, 35.Clutch plate bronze, 36.Backing plate,
37.Carrier & cylinder, 38.Sun gear, 39.Dowel pin, 40.Thrust washer,
41.End cover, 42.Carrier, 43.End housing, 44.Case
Mark clutch cylinder (5—Rear planetary), carrier (37) and end cover (41)
so they can be reassembled in their original positions. Remove clutch
cylinder mounting bolts and separate planetary halves. Remove inner and
outer springs (8 and 23). Remove piston (7) from cylinder and remove and
discard "O" rings (6 and 22),
Lift input shaft (3) and clutch plates (9, 35 and 36) from carrier
keeping plates together for reassembly. Clutch plates are a matched set
and are not available separately. Remove mounting bolts and separate end
cover (41) from carrier.
Mark position of planetary gears (15), bearing pins (17) and dowels (39)
for reassembly, then remove sun gear and planetary gears. Remove thrust
washer (40) from sun gear. Use a suitable puller to remove bearings (4
and 19).
Clutch plates must be free of cracks, distortion or excessive wear.
Renew springs (8 and 23) if distorted or weak. Inspect thrust washers,
bearings, bearing pins and planetary gears for excessive wear or damage
and renew if necessary.
Install:
- new bearing (4—Rear planetary) on clutch cylinder (5), Lubricate "O"
rings (6 and 22) and install on piston, then carefully install piston
into cylinder.
- inner springs (8) and apply grease to hold springs in position during
assembly.
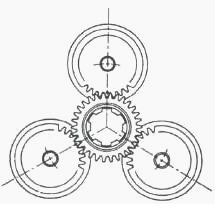
Fig.40. Planet gears must be timed as shown with punch marked
tooth of each gear pointing towards canter of sun gear
- bearing pins (17) in carrier (37) making sure they are in their
original positions. Assemble a short bearing (16), thrust washer (18)
with oil groove facing away from short bearing and a long bearing onto
bearing pins.
Install planetary gears on their original pins with gear timing marks
pointing toward center of carrier. Place thrust washer in sun gear
counter bore with oil groove side of washer facing up.
- sun gear with thrust washer towards carrier aligning timing marks.
- new bearing (19—Rear planetary), if removed, on end cover (41) and
position thrust washer (40) in cover. Position end cover over planetary
gears aligning assembly marks made during disassembly. Tighten mounting
bolts to 40 N-m (30 ft-lbs.) torque and secure with locking plates.
- input shaft (3) into planetary assembly.
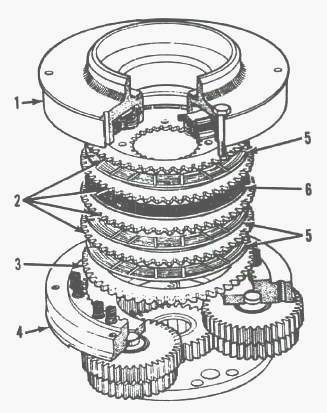
Fig.41. Install backing plate, grooved bronze clutch plates, smooth
bronze clutch plate and thin steel clutch plates for rear planetary
clutch In sequence shown
1.Cylinder assy, 2.Thin steel clutch plates, 3.Backing plate, 4.Carrier,
5.Grooved bronze clutch plate, 6.Smooth bronze clutch plate
- thick backing plate (3) into carrier (4). There are four thin steel
clutch plates (2), three grooved bronze clutch plates (5) and one smooth
bronze clutch plate (6). To
assemble plates in carrier, place one grooved bronze plate on top of
backing plate, then one thin steel plate, another grooved bronze plate,
a thin steel plate, then the
smooth bronze plate, a thin steel plate, a grooved bronze plate and
remaining thin steel plate last.
- outer clutch springs (23—Rear planetary). Align assembly marks and
install cylinder (5) on carrier. Tighten mounting bolts to 27 N-m (20
ft.-lbs.) torque, then bend
corners of locking plates against bolt heads.
Center carrier and front cover
Inspect sealing rings (19—Front planetary) in bearing carrier (46) and
renew as necessary.
Position thrust washer in carrier counter bore with oil groove facing
up. Install sealing rings in carrier grooves with chamfered side up on
top ring and down on bottom
ring. Stagger ring end gaps 180° from each other.
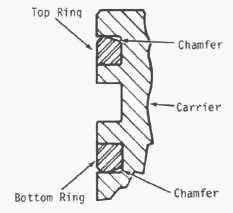
Fig.42. Sealing rings must be installed in center carrier with Inside
chamfer up on top ring and Inside chamfer down on bottom ring. Ring gaps
must be 180° from each
other
When reinstalling carrier in center housing, make certain lubrication
holes are in alignment. Tighten carrier mounting bolts to 40 N-m (30
ft.-lbs.) torque. Lubricate seal
rings with Case 1190, 1290 Tractor transmission fluid prior to
reassembly.
Renew thrust washer (31 —Front planetary), bushing (32) and oil seal (8)
in front input shaft (1) if necessary. Be sure to install thrust washer
with oil groove side
towards gear.
Pry oil seal (22—Front planetary) from front cover (23). Remove seal
rings (26) from front support sleeve (25). Remove sleeve mounting bolts
and remove sleeve
from front cover if renewal of bushing (24) is necessary.
Install:
- new bushing (24) flush with inner face of support sleeve (25), Apply
gasket sealer to mounting surface of sleeve, then install and tighten
bolts to 20 N-m (15 ft.-lbs.)
torque.
- sleeve sealing rings (26) with chamfered side up on top ring and
chamfered side down on bottom ring.
- new front oil seal (22-Front planetary) with lip facing inward.
Reinstall planetary assemblies
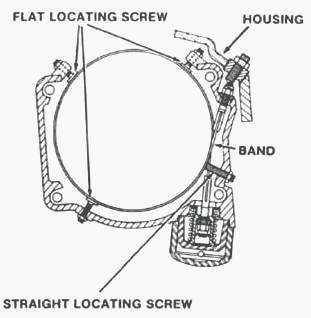
Fig.43. View of rear planetary brake band and housing showing location
of the four locating screws
Be sure brake band locating screws are in place in centre housing.
- rear brake band in housing, then position rear planetary in center
carrier.
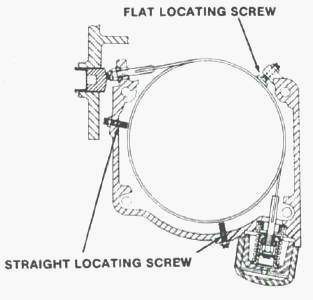
Fig.44. View of front planetary brake band and housing showing correct
position of the three locating screws
- sprag clutch into center bearing carrier with wide edge facing inward.
Position spacer over sprag clutch.
- front planetary brake hydraulic line.
- front planetary unit into carrier rotating unit clockwise during
installation.
- front brake band.
- front cover and tighten mounting bolts to 20 N-m (15 ft.-lbs.) torque.
- new "O" rings (21—Front planetary) on support sleeve (25) and tube
(20). Position support tube (20) on front cover so oil hole in tube is
towards bottom of power shift
housing and tighten mounting bolts to 12 N-m (9 ft.-lbs.) torque.
- brake band springs and adjusting nuts. Tighten adjusting nut on spring
end of band until spring length is 33.33 mm if new bands were installed,
or 35 mm if old bands
are being reused.
- brake piston and cylinder and tighten mounting bolts to 23-28 N-m
(17-20 ft.-lbs.) torque. Connect brake hydraulic lines. Turn brake band
locating screws clockwise
until they contact brake bands, then turn rear band locating screws
counterclockwise turn and turn front band locating screws
counterclockwise turn. Tighten locknuts
to secure locating screw adjustment.
Final planetary brake band adjustment must be made with tractor running.
Planetary brake band adjustment
Planetary brake bands provide braking on overrun, and wear will be
indicated by delay in shifting down or failure to hold in gear. Brake
bands may be adjusted if not
worn beyond limits of adjustment.
Case IH 1290, 1190 Tractor Transmission fluid must be at normal
operating temperature. Remove plugs from right side of transmission
cover.
Remove test port plug
from power shift control valve and install gage manifold with a 0-700
kPa (0-100 psi) gage in control valve test port.
Front brake band
Start engine, put range selector in neutral and put power shift in
fourth. Adjust engine speed until pressure gage reads 515 kPa (75 psi).
Tighten brake band adjusting
nut until engine speed drops 25 rpm. Depress clutch pedal, then loosen
adjusting nut four turns.
Apply sealer to threads of plug which covers adjusting nut. Install plug
and tighten until it contacts end of brake band, then loosen plug turn.
Rear brake band
Remove jam nut, adjusting screw and plug from left side of transmission
cover to gain access to rear brake band adjusting nut. Start engine, put
range selector in
neutral and put power shift in fourth. Increase engine speed until
pressure gage reading reaches 515 kPa (75 psi).
Turn brake band adjusting nut clockwise until engine speed drops 25 rpm.
Depress clutch pedal, then turn adjusting nut counterclockwise four
turns. Apply sealer to
threads of plug, then install plug.
Install:
- adjusting screw in plug and tighten screw until it contacts end of
brake band, then loosen H turn. Tighten jam nut. Remove pressure gage
and manifold.
- test port plug into control valve.
- plugs in transmission cover.
________________________________________________________________________________
________________________________________________________________________________________
________________________________________________________________________________________
| CASE IH TRACTORS SPECIFICATIONS |
________________________________________________________________________________________
________________________________________________________________________________________
________________________________________________________________________________________
________________________________________________________________________________________
________________________________________________________________________________________
________________________________________________________________________________________
________________________________________________________________________________________
________________________________________________________________________________________
________________________________________________________________________________________
________________________________________________________________________________________
________________________________________________________________________________________
________________________________________________________________________________________
| CASE IH FRONT END LOADERS SPECS |
________________________________________________________________________________________
________________________________________________________________________________________
________________________________________________________________________________________
________________________________________________________________________________________
________________________________________________________________________________________
________________________________________________________________________________________
________________________________________________________________________________________
________________________________________________________________________________________
________________________________________________________________________________________

 CASE IH SPECS
 J.I. CASE SPECS
 PROBLEMS
 LOADERS
 FARMALL 110A
 FARMALL 120A
 FARMALL 30C
 FARMALL 75C
 MAGNUM 280
 580E Backhoe
 580L Backhoe
 580N Backhoe
 580 Super L
 580SM Backhoe
 580SLE Backhoe
 580SN Backhoe
 580M Backhoe
 580 Super E
 580ST Backhoe
 MAGNUM 310
 MAGNUM 340
 MAXXUM 110CVX
 MAXXUM 120CVX
 MAXXUM 125
 1394
1394 1455XL
 1494
1494 1594
1594 3230
3230 4210
4210 585XL
585XL 633
633 695XL
695XL 733
733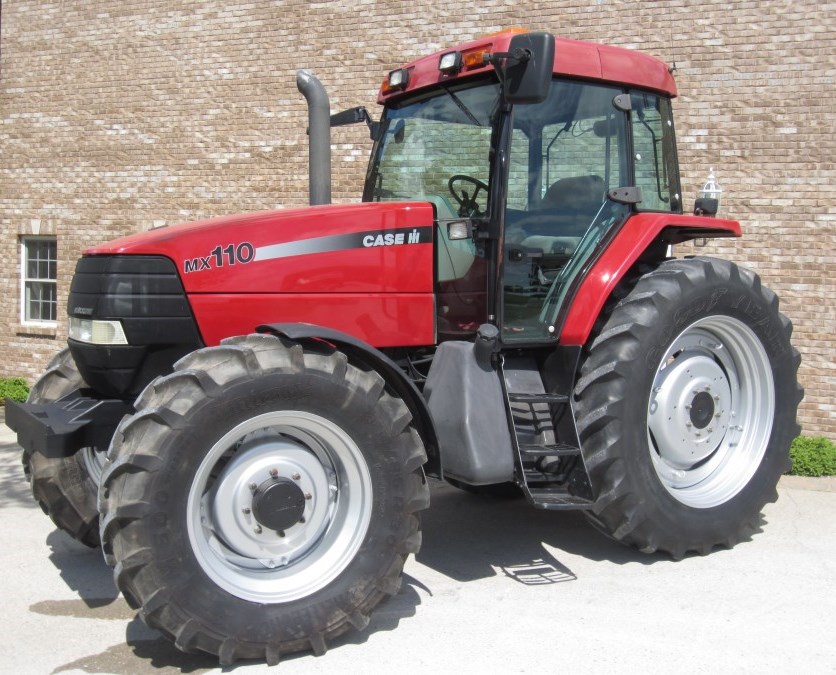 MX110
MX110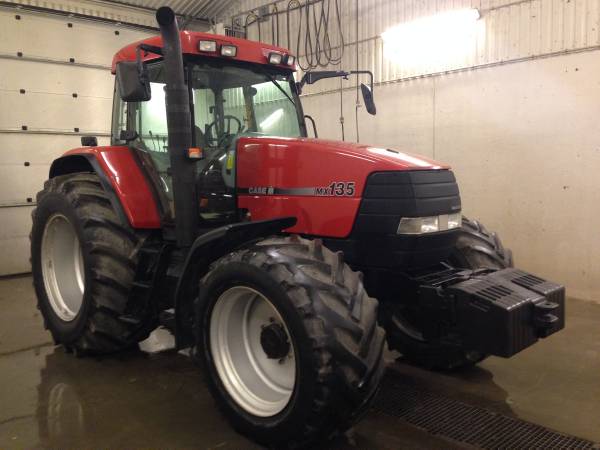 MX135
MX135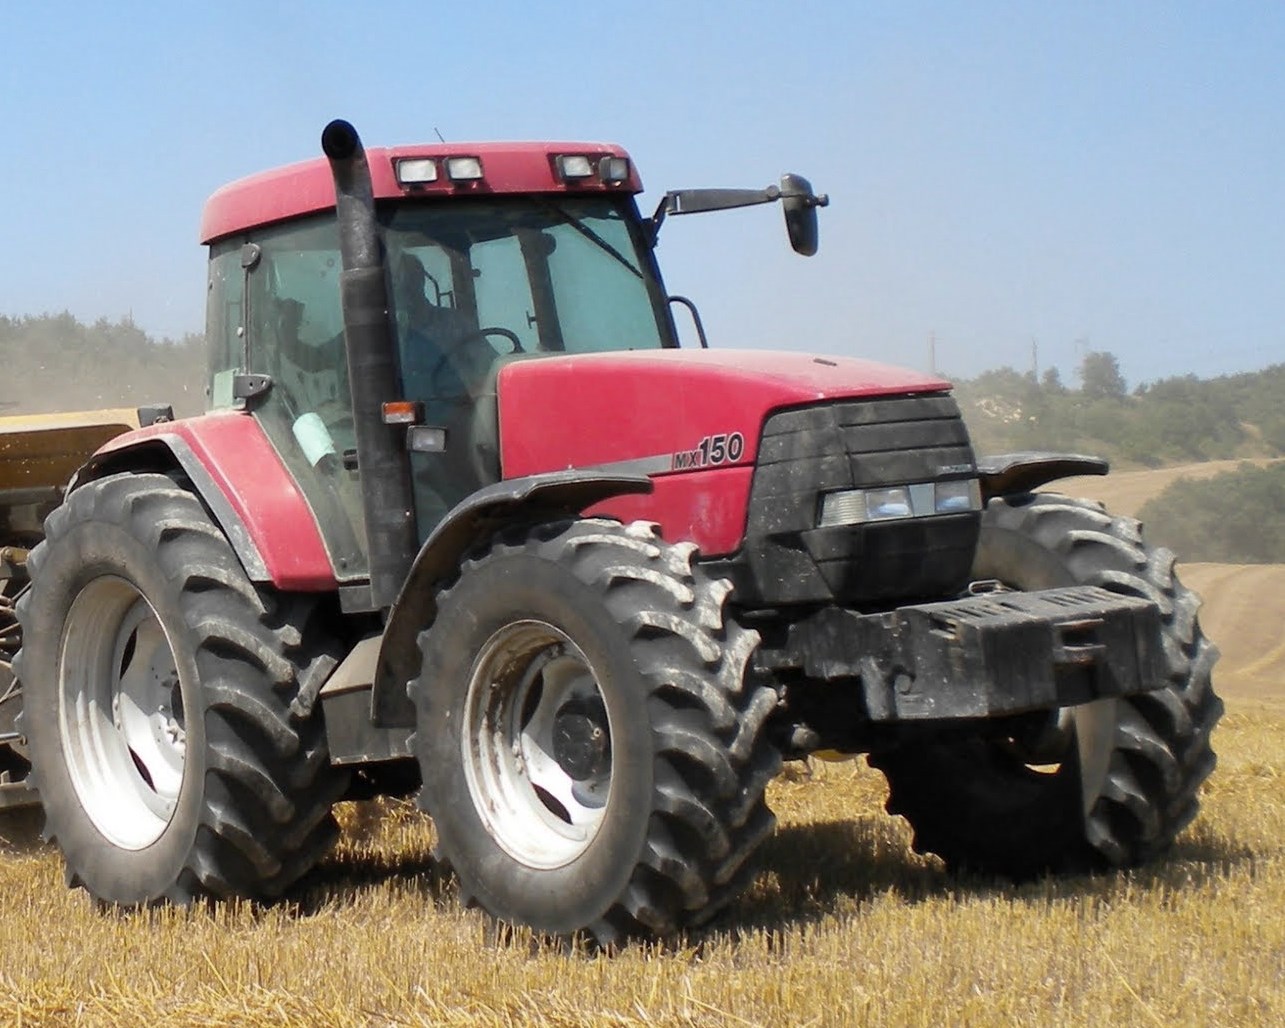 MX150
MX150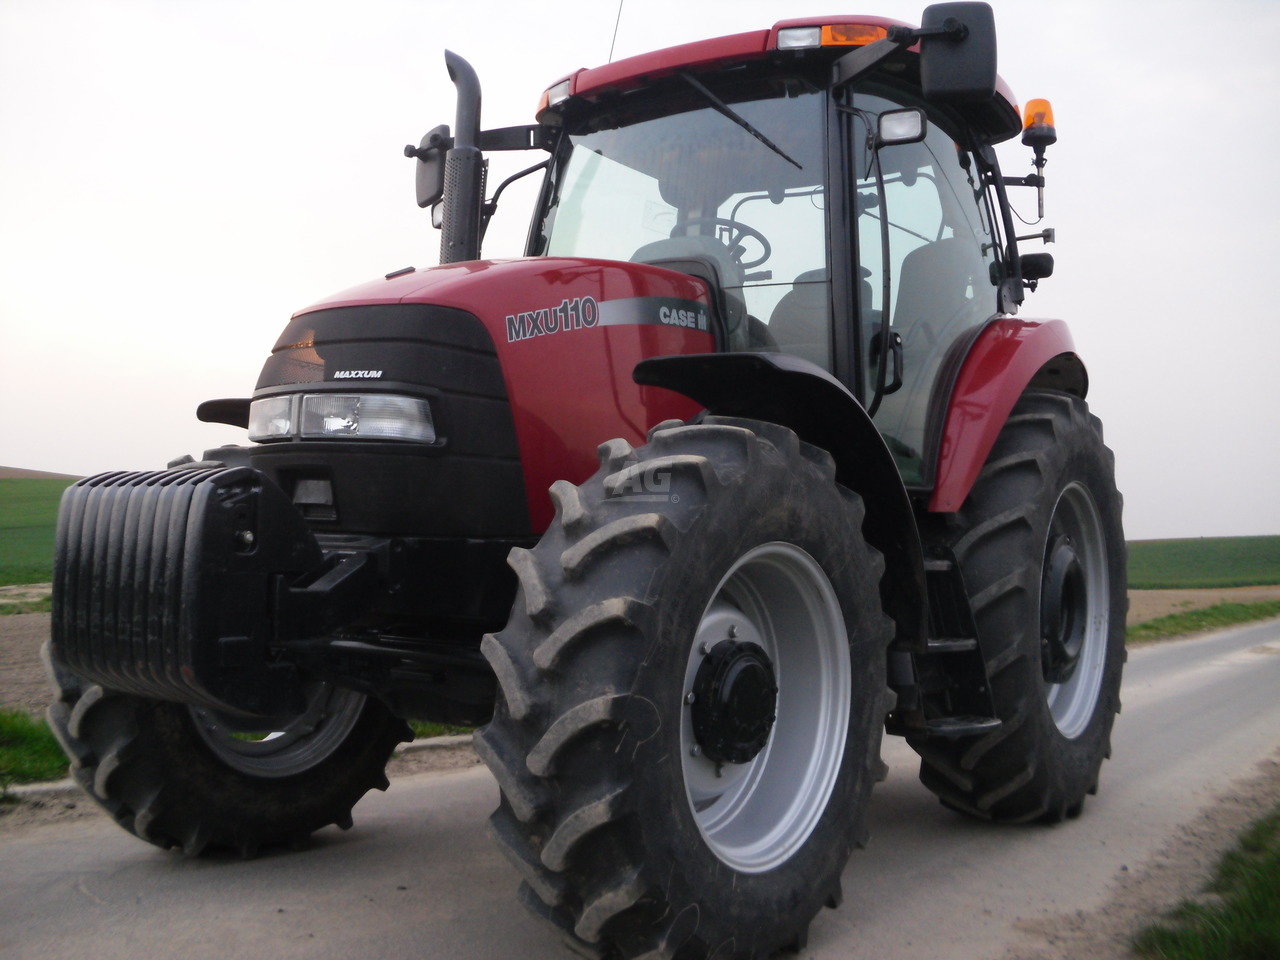 MXU110
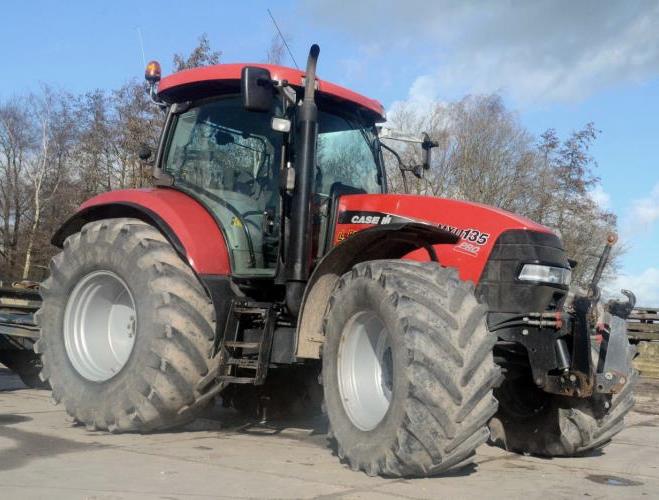 MXU135
 PUMA 175CVX
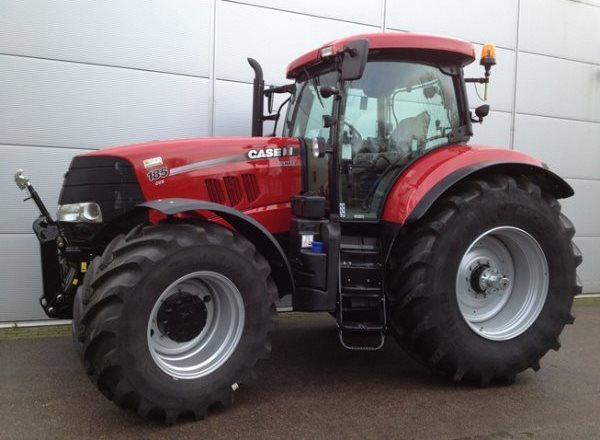 PUMA 185CVX
 PUMA 200CVX
 PUMA 240CVX
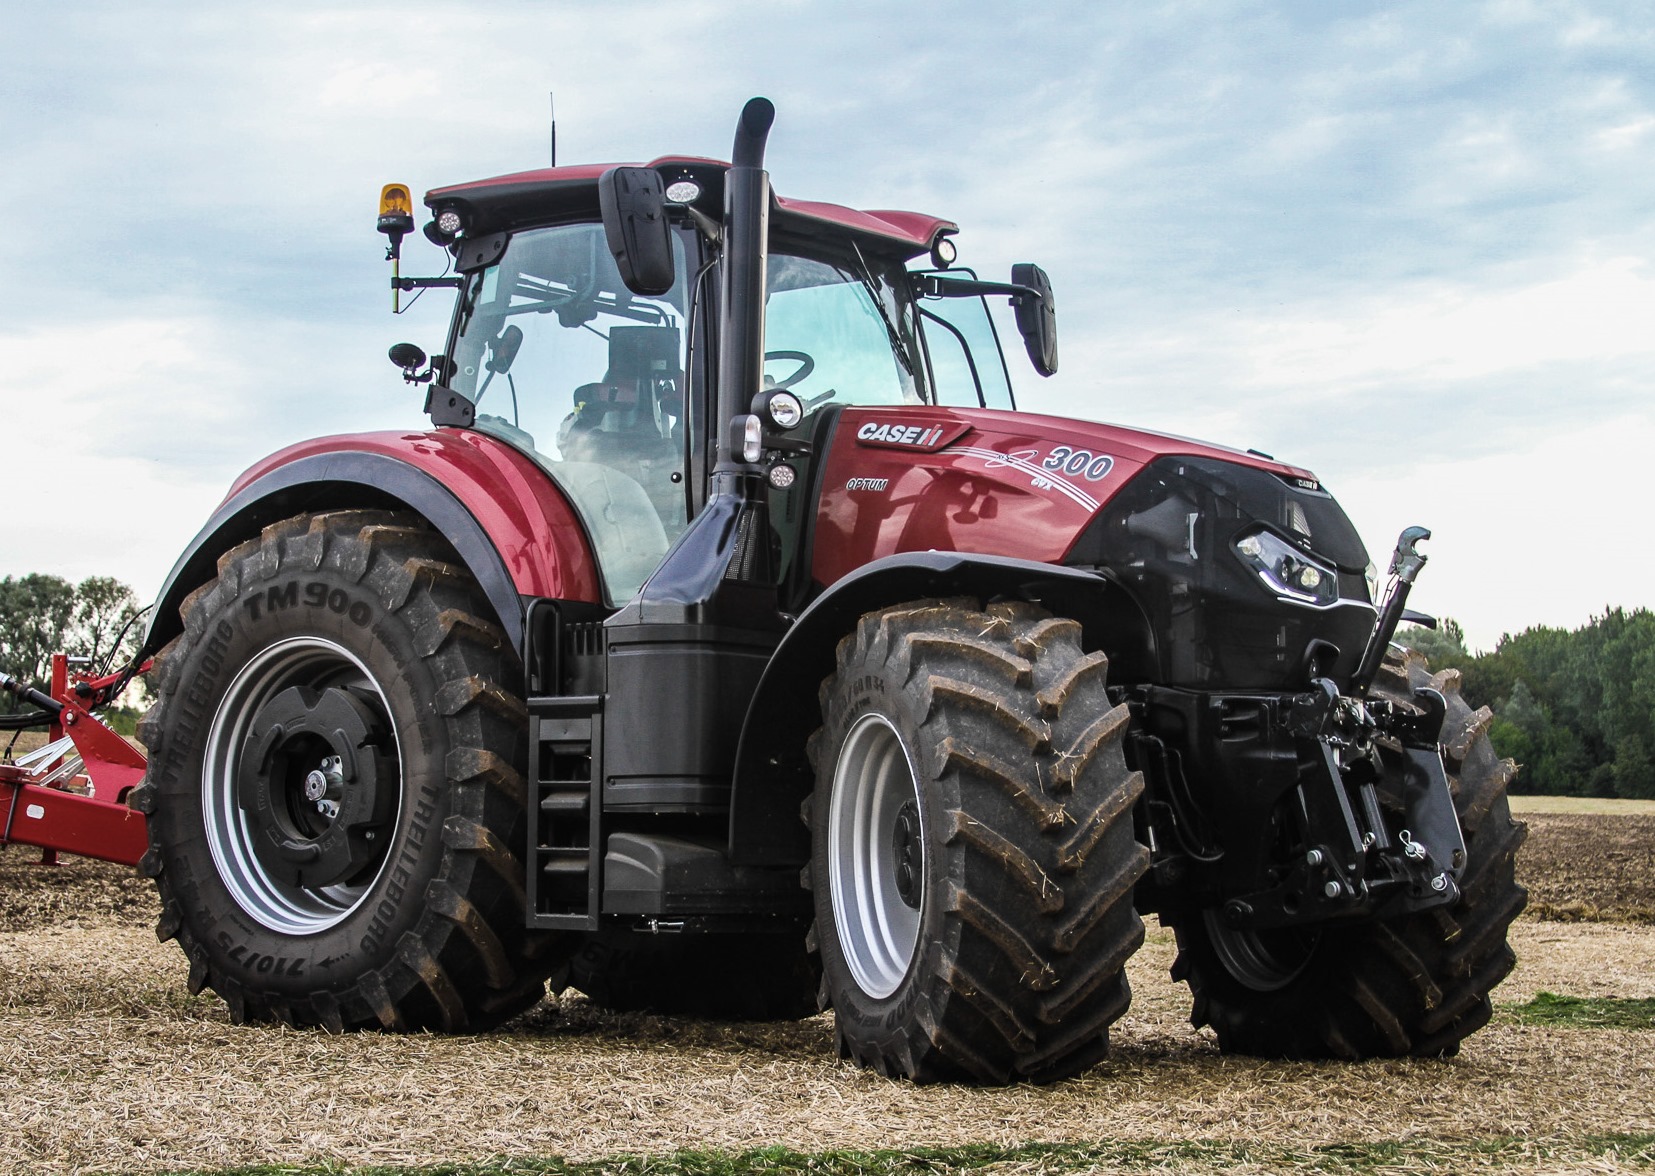 OPTUM 300
 FARMALL 50B
 FARMALL 95U
 FARMALL 125A
 PUMA 150
 PUMA 165
 MAGNUM 210
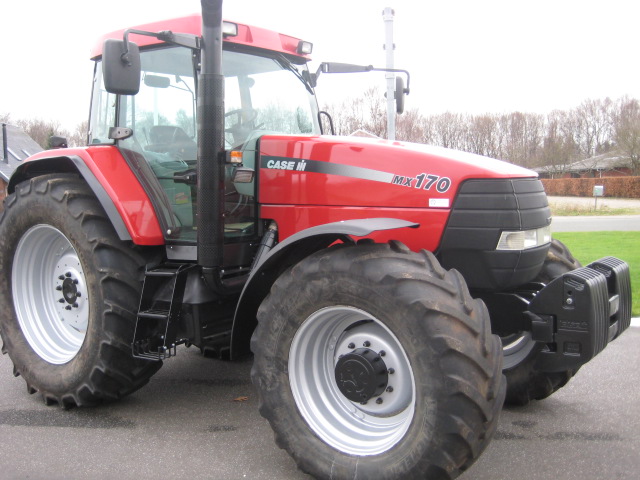 MX 170
 MAXXUM 150
 OPTUM 270
 MAGNUM 315
 FARMALL 70
 FARMALL 75N
 FARMALL 95C
 FARMALL 105N
 FARMALL 30B
 L103 Loader
 L104 Loader
 L105 Loader
 L106 Loader
 L107 Loader
 L108 Loader
 L130 Loader
 L160 Loader
 L300 Loader
 L340 Loader
 L350 Loader
 L360 Loader
 L530 Loader
 L540 Loader
 L545 Loader
 L550 Loader
 L555 Loader
 L560 Loader
 L565 Loader
 L570 Loader
 L575 Loader
 L720 Loader
 L730 Loader
 L735 Loader
 L740 Loader
 LRZ 95
 LRZ 100
 LRZ 120
 LRZ 130
 LRZ 150
 L745 Loader
 L750 Loader
 L755 Loader
 L760 Loader
 L765 Loader
 L770 Loader
 L775 Loader
 L780 Loader
 L785 Loader
 L795 Loader
 90 Loader
 890 Loader
 2200 Loader
 2250 Loader
 LX156 Loader