________________________________________________________________________________
John Deere 2025R Attachments
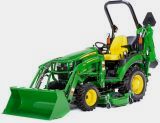
John Deere 2025R Front End Loader
220R Loader Specifications
Type of Attachment - Front End Loader
Compatibility - JD 2025R
Bucket Width - 1450 mm (57 in)
Bucket Mass - 88 kg (194 lb)
Hydraulic System Rated Flow - 12.7 L/min (3.4 gal/min)
Hydraulic System Maximum Pressure - 16690 kPa (166 bar) (2421 psi)
Maximum Lift Height To Pivot Pin - 2055 mm (81 in)
Reach At Maximum Lift Height with Bucket Dumped - 773 mm (30 in)
Dump Angle at Full Height - 35°
Dump Angle at Ground - 109°
Rollback Angle at Ground - 40°
Lift Capacity To Maximum Height at Pivot Point - 498 kg (1096 lb)
Lift Capacity To 1500 mm (59 in) at Pivot Pin - 556 kg (1223 lb)
Breakout Force At Pivot Point - 804 kg-force (1769 lbf)
Loader Raise Time - 5.0 s.
Loader Lower Time - 3.0 s.
Bucket Dump Time - 7.5 s.
Bucket Rollback Time - 4.6 s.
Remove Front Weights
- To prevent interference with the loader, remove all the front tractor
weights. Front weight bracket extensions are NOT compatible with the
loader. Remove all the front tractor weights.
Attach Ballast Box to John Deere
2025R Tractor with 3-Point Hitch - Engage the park brake
or place the transmission in PARK. Shut off engine and remove ignition
key. Attach the tractor draft links. Fasten with quick-lock pins (stored
on the tractor draft links). Align the center link with the upper hole
in the ballast box mounting straps and install the center link mounting
hardware. Start the engine. Raise the ballast box and check for
interference. If necessary, lower the ballast box to the ground and
adjust the center link and lift links.
Attach John Deere 220R Loader
- Start the engine. Drive forward and center JD 2025R tractor between
the loader masts. Continue forward, aligning the loader masts with
mounting frames. Engage the park brake or place the transmission in
PARK. Shut off the engine. Relieve the hydraulic pressure. If equipped
with a multicoupler, route the hose bundle into the hose guide.
Connect hydraulics - multicoupler: Raise the cover.
Push in the red knob and rotate the handle upward. Multicoupler mating
halves must align properly or damage to couplers can occur. Place the
loader coupler, into the tractor coupler by aligning pins with holes.
Rotate the handle downward to engage pins on 220R loader coupler.
Continue to rotate the handle all the way down until a click is heard,
locking couplers together. Connect hydraulics - quick couplers:
Remove the protective cap from the hose and plug from the coupler. Push
back the collar on the female coupler and insert the male coupler.
Connect the cap and plug together. Repeat procedure for all the
remaining hose connections.
Plug/Cap Color - Black. Hydraulic Function: Bucket Cylinder-Rod End
Plug/Cap Color - Yellow. Hydraulic Function: Bucket Cylinder-Head End
Plug/Cap Color - Blue. Hydraulic Function: Lift Cylinder-Head End
Plug/Cap Color - Red. Hydraulic Function: Lift Cylinder-Rod End
Start the engine. If necessary, continue to drive forward keeping the
bushing on the mounting frame in alignment with the notch in masts.
Place the transmission in NEUTRAL. Make sure that masts are fully seated
on mounting frames. Retract lift cylinders. Masts lower onto mounting
frames and parking stand raises up below the weight bracket. Use a
combination of extending bucket cylinders and retracting lift cylinders
until the loader masts move back and latches lock over mounting frame
bushings. Verify proper attachment, retract lift cylinders until the
tractor wheels raise off the ground, then raise the 220R loader to lift
the bucket from the ground.
H130 Loader Specifications
Type of Attachment - Front End Loader
Compatibility - JD 2025R
Height (to pin) - 78.9 in. (2000 mm)
Maximum lift height - 73.4 in. (1865 mm)
Clearance (full height-bucket level) - 66.9 in. (1699 mm)
Clearance (full height-bucket dumped) - 56.1 in. (1426 mm)
Overall length - 9.1 ft (2800 mm)
Dump angle - 38 deg.
Rollback angle - 24.5 deg.
Breakout force (at pin) - 2508 lb (1137 kg)
Breakout force (at pivot) - 1742.4 lb (792 kg)
Breakout force (at 0.5 m pivot) - 1216.6 lb (553 kg)
Lift to full height (at pin) - 1023 lb (464 kg)
Lift to 1.5m (at pin) - 1247 lb (565 kg)
Lift to full height (at pivot) - 810 lb (368 kg)
Lift to 0.5m (at pivot) - 565 lb (257 kg)
Raise time to height - 4.73 s
Bucket dump time - 4.73 s
Lowering time - 2.88 s
Rollback time - 2.88 s
120R Loader Specifications
Type of Attachment - Front End Loader
Compatibility - John Deere 2025R
Bucket Width - 1250 mm (49 in)
Bucket Mass - 70 kg (154 lb)
Hydraulic System Rated Flow - 26.5 L/min (7.0 gal/min)
Hydraulic System Maximum Pressure - 14 800 kPa (148 bar) (2146 psi)
Loader Raise Time - 3.3 s.
Loader Lower Time - 3.2 s.
Bucket Dump Time - 3.1 s.
Bucket Rollback Time - 2.2 s.
Maximum Lift Height To Pivot Pin - 1828 mm (72 in)
Bucket Level Clearance - 1671 mm (66 in)
Bucket Dumped Clearance - 1371 mm (54 in)
Digging Depth - 82 mm (3 in)
Reach At Maximum Lift Height with Bucket Dumped - 626 mm (25 in)
Bucket Reach on Ground with Bucket Leveled - 1186 mm (47 in)
Dump Angle at Full Height - 41°
Dump Angle at Ground - 115°
Rollback Angle at Ground - 30°
Lift Capacity To Maximum Height at Pivot Point - 342 kg (754 lb)
Lift Capacity To Maximum Height at 500 mm (19.7 in) Forward of Pivot
Point - 236 kg (520 lb)
Lift Capacity To 1500 mm (59 in) at Pivot Pin - 337 kg (743 lb)
Breakout Force At Pivot Point - 826 kg-force (1823 lbf)
Breakout Force 500 mm (19.7 in) Forward of Pivot Point - 599 kg-force
(1320 lbf)
Detach 120R Loader -
Start the engine. Release the park brake or place the transmission in
NEUTRAL. Dump the bucket 10-20° and lower to the ground. Retract lift
cylinders, raising the front wheels 25-50 mm (1-2 in) off the ground.
Move both mast latches upward into the UNLOCKED position. Remove the
hose bundle from the hose guide. Roll back the bucket level to the
ground. Extend lift cylinders until the parking stand contacts the
ground, masts lifts off mounting frames, latches automatically snap into
the locked position. Engage the park brake or place the transmission in
PARK. Shut off the engine. The 120R loader and implements can shift when
the hydraulic pressure is relieved. Relieve the hydraulic pressure.
Disconnect hydraulics: Push back the collar on the
female coupler and pull out the male coupler. Install the dust plug in
the female coupler and the cap on the male coupler.
Repeat for all the remaining hose connections. Store the hoses on the
boom. Do not lay the hoses on the ground.
John Deere 2025R Backhoe
270A Backhoe Specifications
Type of Attachment - Backhoe
Compatibility - John Deere 2025R
Digging Depth - 2130 mm (84 inches)
Swing Arc - 150 deg.
Weight with 16 in. Bucket - 323 kg (713 lb)
Loading Height (bucket at 60 deg.) - 1700 mm (67 inches)
Reach From Center Line of Swing Pivot - 2970 mm (117 inches)
Transport Height - 1900 mm (66 inches)
Bucket Rotation 180 deg.
Loading Reach (bucket at 60 deg.) - 1090 mm (43 inches)
Transport Overhang - 1090 mm (43 inches)
Undercut - 430 mm (17 inches)
Stabilizers Spread Width (Raised) - 1600 mm (63 inches)
Stabilizers Spread Width (Lowered) - 1900 mm (75 inches)
Boom Lifting Capacity - 116 kg (255 lb)
Dipperstick Digging Force - 6,68 kN (1502 lbf)
Bucket Digging Force - 11,0 kN (2474 lbf)
Digging Depth - 610 mm (24 inches) flat bottom
Operating 270A Backhoe Hydraulic
Thumb - The hydraulic thumb can be used to pick up
objects and secure them between the thumb and bucket. To operate the
thumb, pull out the knob on the thumb valve. The bucket cylinder and
hydraulic cylinder are now linked together into one circuit and
controlled by the bucket lever. When clamping on an object with the
thumb, it is normal that the bucket or thumb moves separately of each
other until one of them contacts the object. Upon contact, the
bucket/thumb stops and the opposite bucket/thumb moves and clamps onto
the object. It is normal that the bucket and 270A backhoe thumb do not
move at the same rate of speed during operation. Place the backhoe thumb
in the storage position when it is not in use. Activate the hydraulic
thumb by pulling out the knob on the thumb valve. Curl out the bucket
and hold until both bucket and backhoe thumb cylinders are fully
retracted. Push the knob on the backhoe thumb valve down. Thumb cylinder
is now out of the circuit and the bucket operates as normal.
260B Backhoe Specifications
Type of Attachment - Backhoe
Compatibility - John Deere 2025R
Digging Depth - 1,89 m (75 in)
Loading (Bucket at 60 degrees) Height - 1,52 m (60 in)
Reach from Center Line of Swing Pivot - 2,64 m (104 in)
Transport Height - 1,68 m (66 in)
Loading Reach (Bucket at 60 degrees) - 0,84 m (33 in)
Transport Overhang Length - 0,94 m (37 in)
Undercut Length - 0,43 m (17 in.)
Bucket Rotation - 180 degrees
Swing Arc Angle - 150 degrees
Hydraulic Stabilizer Spread (Raised) Width - approx. 1,47 m (58 in)
Hydraulic Stabilizer Spread (Lowered) Width - approx. 1,9 m (74 in)
Boom Lift - 129 kg. (285 lb)
SAE Dipperstick Digging Force - 5280 N (1187 lbf)
SAE Bucket Digging Force - 9057 N (2036 lbf)
Bucket Width - 9-in. (230 mm)
Struck Capacity - 0.49 cu. ft. (0.014 cu. m)
Heaped Capacity - 0.64 cu. ft. (0.018 cu. m)
Weight - 43 lb. (20 kg)
Attach 260B Backhoe to JD 2025R
Tractor - Park tractor safely on a flat level surface.
Remove John Deere 2025R tractor 3-point hitch assembly. Lift seat up to
clear tractor. Avoid damage to tractor and hydraulic hose. Check to be
sure that all hydraulic hoses are routed away from pinch points before
installing 260B backhoe to tractor. Lower rockshaft to lowest position.
Start engine and run at low idle. Back up tractor to within 8 inches of
backhoe. Stop tractor engine and engage parking brake. Ensure swing lock
pin is installed. Disconnect tractor power beyond hydraulic coupler
behind tractor and connect to backhoe coupler tip. Connect backhoe
hydraulic return line coupler to tractor coupler tip. Start tractor and
set engine to low idle. Lower backhoe stabilizers to raise backhoe up so
that the lower pins are above slots.
Back up tractor until backhoe pins contact tractor frame. Lower
stabilizers until backhoe pins engages into frame slots. Lower backhoe
boom until cross holes in mount frame and
backhoe align. Install lock pin through 260B backhoe and mount frame
from inside, and secure by inserting retainer pin into slot on frame.
Repeat for other side. From the backhoe
operator seat, bleed the hydraulic system by doing the following: Check
to be sure that operating area is clear. Raise and lower both
stabilizers. Raise and lower boom. Extend and
retract dipperstick. Curl and dump bucket. Swing boom from side to side.
Raise backhoe to transport position and install boom lock pin. Center
backhoe and install swing lock pin.
Raise both stabilizers until they lock.
John Deere 2025R Mower Deck
62" Mower Deck Specifications
Model - 62D Mid-Mount Mower Deck
Mower Type - Mulch or Side Discharge
Compatibility - JD 2025R
Cutting Blades - 3
Overall Width - 94 cm (37 in.)
Overall Length - 1,91 m (75.3 in.)
Cutting Height - 26 mm -150 mm (1-6 in.)
Cutting Width - 1,57 m (62 in.)
Weight - 125kg (275 lb)
Blade Bolt Torque - 68 Nm (50 lb-ft)
Gearbox Oil Capacity - 136 ml (4.6 oz)
Installing 62D Mower
-
Move all four quick release pins on mower wheel assemblies to open
position. Pull both J-pins on front of 62D mower outward and turn to
open position. Move lift pins to operating
position so tractor tires will not contact pins when driving over ramps.
Lower the lift kit rear draft arms: If using a mechanical lift kit (no
hydraulic cylinder), push the rockshaft control
lever fully forward. If using an independent lift kit (has hydraulic
cylinder), push the dual SCV lever fully forward. Align tractor front
tires with back of ramps on 62-inch mower.
Engage mechanical front wheel drive (MFWD). Put John Deere 2025R tractor
in low gear and drive slowly forward on to ramps until rear draft arms
fully engage brackets on both
sides of mower. Park machine safely. Pull J-pins outward and turn to
locked position, securing draft arms to brackets. Attach front draft arm
pivot assembly: Rotate assembly
upward and install on brackets on both sides of tractor frame. Lock pin
in bracket. Connect mower driveshaft to tractor: Pull back coupler on
driveshaft to lock collar open. Push
driveshaft onto tractor PTO shaft until coupler locks.
54-inch Mower Deck Specifications
Model - 54" Mower Deck
Mower Type - Mid-Mount
Cutting Blades - 3
Overall Width - 90 cm (35.5 in.)
Overall Length - 1,75 m (69 in.)
Cutting Height - 26-150 mm (1-6 in.)
Cutting Width - 1,37 m (54 in.)
Weight - 101kg (222 lb)
Blade Bolt Torque - 68 Nm (50 lb-ft)
Gearbox Oil Capacity - 136 ml (4.6 oz)
John Deere 2025R Snowblower
54-inch Snow blower Specifications
Model - Frontier SB1154
Type - Rear Mount
Compatibility - JD 2025R
Hitch - Cat. 1 iMatch
Steel skid shoes - Adjustable and replaceable
Cutting edge - Welded
Park Stand - Standard
Chute type - Two part
Chute deflector - Manual standard
Optional deflector adjustment - 3000 psi. (14,647 kPa)
Chute rotation - Manual or hydraulic 245 degrees
Working height - 26 in. (66.0 cm)
Transport width - 54 in. (137.2 cm)
Working width - 54 in. (137.2 cm)
Length - 41 in. (104.1 cm)
Roller chain - #60
Chain idler adjustment - Manual
Chute diameter - 8 in. (20.3 cm)
Auger diameter - 15 in. (38.1 cm)
Auger speed - 170 RPM
Impeller speed - 540 RPM
Impeller blades - 4
Impeller diameter - 24 in. (61.0 cm)
Tractor PTO speed - 540 RPM
Minimum tractor HP - 20 PTO HP
Maximum tractor HP - 40 PTO HP
Auger overload protection - Shearbolt
PTO overload protection - Shearbolt
Operating weight - 512 lb. (232.2 kg)
Shipping weight - 514 lb. (233.1 kg)
Driveline Installation - Separate the 54" snow blower from the three
point hitch. Remove paint from snowblower gearbox shaft and grease
driveline sliding surfaces and yoke. Remove
the bolts from the driveline yoke and connect the driveline to the
gearbox. Make sure the driveline is well attached on the shaft while
securing with the bolts and nuts. Tighten all
bolts. Attach safety chain over the upper link to prevent the guard from
spinning. If the snow blower is put in storing, install the other safety
chain in the ring intended to support the
driveline. If 54-inch snowblower is installed on 2025R tractor, connect
the other driveline part to the tractor shaft. Make sure it is locked
safely. Attach then the safety chain to
appropriate places on the tractor.
Chain Tension Adjustment - The premature wear of the chain may be caused
by tension being too tight. It is therefore important not to tighten
chain to its maximum. To adjust the
tension on the drive chain, loosen the bolt securing the idler sprocket
to the snowblower housing. To tighten the chain, lower the bolt. Leave
approximately 1/8" deflection in one
span of the chain. Retighten securely the bolt holding the idler
sprocket.
John Deere 2025R Front Blade
54 Inch Quick Hitch Front Blade Specifications
Type - Front Mount
Compatibility - JD 2025R
Blade Width, Straight - 54 in. (1.4 m)
Blade Width, Angled 15° - 52-3/16 in. (1.3 m)
Blade Width, Angled 27° - 48-1/8 in. (1.2 m)
Angling Positions, Right and Left - 0-27°
Blade Trip - Spring Trip
Blade Float - Hydraulic
Installing 54" Front Blade to Front Hitch
-
Put light coat of John Deere Moly High Temperature EP Grease or an
equivalent onto L-pins (one on each side) J-pin and pivot-point. Place
Blade on level surface. Lower front hitch.
Pull out locking pin lever. Locking pin lever on each side of front
hitch bracket must be in the unlatched position. Move machine forward
slowly until slot on front hitch bracket lines
up with pin on front blade. Raise front hitch until slot locks into
place under pin and locking pins. Lower front blade to the ground and
park machine. Visually inspect to ensure both
pins are fully engaged.
John Deere 2025R Rotary Tiller and Cutter
655 Rotary Tiller (55-inch) Specifications
Model - 655 Rotary Tiller
Compatibility - JD 2025R
Working Width - 55 in. (127 cm)
Working Depth - Up to 7 in. (17,8 cm)
Cutting-Circle Diameter - 15 in. (38 cm)
Tine Shaft Bearing - Heavy-duty roller-type with double-lip seals
Tines - Hybrid-shaped, high-carbon, heat-treated steel
Tines Per Spider - 7
No. of Spiders - 6
Drive - Enclosed gearcase, jackshaft
Final Drive Chain - No. 80 endless roller chain with 11/4-in. (3,2 cm)
pitch
Tractor PTO Drive - 540 rpm
Tine Shaft Speed - 196 rpm
Tine Tip Speed - 848 fpm (258 m/min.)
Skid Shoe Height Adjustment 3-7,5 cm (1.2-3 in.)
Tine Cutting Diameter 372mm (14.5 in.)
Gearbox Fluid Capacity 1L (2.2 pt)
Lateral Chaincase Fluid Capacity 1,250L (2.8 pt)
Mounting - Category 1 3-point hitch
Net Weight (Less Slip Clutch and Joint) - 436 lb. (198 kg)
655 Rotary Tiller may require adjustment depending on the amount of
chain deflection. Remove the chaincase cover. Align a straight edge
between the gears. Push the chain mid
point between the gears to check deflection. If deflection exceeds 0.25
in. (5mm) adjust the tensioner: Loosen jam nut enough to turn in screw
and increase tension. Hold screw in
position and tighten jam nut.
RC2048 Rotary Cutter (48 inch) Specifications
Model - Frontier RC2048 Rotary Cutter
Compatibility - JD 2025R
Cutting Width, in. (mm) - 48 (1220)
Cutting Height, in. (mm) - 1.5 to 9 (38 to 229)
Cutting Capacity (diameter), in. (mm) - 0 to 1 (0 to 25)
Cutting Chamber Depth, in. (mm) - 7.5 (190)
Hitch Type - Lift-Type
Hitch Category - 1, iMatch/Autohitch
Overall Width, in. (mm) - 51 (1291.4)
Overall Length, in. (mm) - 86.6 (2199.6)
Deck Shape - Flat-open round back
Deck Type - Single
Approx. Weight, lb. (kg) - 516 (234)
Deck Thickness, gauge (mm) - 11 (3)
Skirt Thickness, gauge (mm) - 11 (3)
Driveline Type - Shear Bolt or Slip Clutch
Gearbox HP Rating - 45
Blades Thickness, in. (mm) - 0.5 (13)
Blades Width, in. (mm) - 3 (76)
Blades Type - Heat Treated Suction
Blade Tip Speed, ft./min. (m/s) - 13,090 (66.5)
Blade Holder Type - Round pan-type
Blade Holder Diameter, in. (mm) - 22.3 (567)
Wheels Type - Solid Rubber or Laminated
Diameter Laminated, in. (mm) - 15 (381)
Width Laminated, in. (mm) - 3.75
Diameter Rubber, in. (mm) - 15 (381)
Width Rubber, in. (mm) - 3.75 (95.25)
Attaching PTO Driveline - Shut off tractor engine. Raise tractor PTO
shield, if equipped. Support driveline, cradling it in your hand. Pull
collar back toward RC2048 Rotary Cutter.
Align splines by rotating cutter driveline. Push driveline onto tractor
PTO shaft until collar snaps into place. Pull back on shield to make
sure driveline is locked. Do not pull back on
collar, this will release latch. Lower tractor PTO shield, if equipped.
Slip clutch components must be free to rotate when necessary. After
thirty days or more, linings of slip clutch
may draw moisture.
Linings may bond to metal parts causing slip clutch
to be ineffective, resulting in machine damage. Slip clutch operational
check. After the implement has
been stored for thirty days or more perform the following operational
check. Loosen bolts and lock nuts progressively until tension is
relieved. To aid in determining slippage,
scribe/mark a line across clutch plate and Belleville Spring. With
tractor at idle speed, engage tractor PTO drive 2 - 3 seconds. Clutch
should slip without turning blades. Tighten
bolts and lock nuts progressively, leaving a gap of 4mm between clutch
plate and Belleville spring.
________________________________________________________________________________
________________________________________________________________________________________
________________________________________________________________________________________
________________________________________________________________________________________
________________________________________________________________________________________
________________________________________________________________________________________
________________________________________________________________________________________
________________________________________________________________________________________
________________________________________________________________________________________
________________________________________________________________________________________
________________________________________________________________________________________
________________________________________________________________________________________
________________________________________________________________________________________
________________________________________________________________________________________
________________________________________________________________________________________
________________________________________________________________________________________
________________________________________________________________________________________
________________________________________________________________________________________
________________________________________________________________________________________
________________________________________________________________________________________
________________________________________________________________________________________
________________________________________________________________________________________
________________________________________________________________________________________
________________________________________________________________________________________
________________________________________________________________________________________
________________________________________________________________________________________
________________________________________________________________________________________
________________________________________________________________________________________
________________________________________________________________________________________
________________________________________________________________________________________
________________________________________________________________________________________
________________________________________________________________________________________
________________________________________________________________________________________
________________________________________________________________________________________
________________________________________________________________________________________
________________________________________________________________________________________
________________________________________________________________________________________
________________________________________________________________________________________
________________________________________________________________________________________
________________________________________________________________________________________
________________________________________________________________________________________
________________________________________________________________________________________
________________________________________________________________________________________
 JD SPECS
 JD LOADERS
 JD MAINTENANCE
 JD INSTRUCTIONS
 JD PROBLEMS
 JD 2025R
 JD 3039R
 JD 4044R
 JD 4105
 JD 4720
 420 Loader
 419 Loader
 510 Loader
 512 Loader
 520 Loader
 520M Loader
 540M NSL
 540 Loader
 440R Loader
 H180 Loader
 JD 5045E
 JD 5085E
 JD 5100M
 JD 6105R
 JD 6120M
 JD 6155M
 JD 6195R
 JD 6210R
 JD 7210R
 JD 7250R
 JD 7310R
 JD 8245R
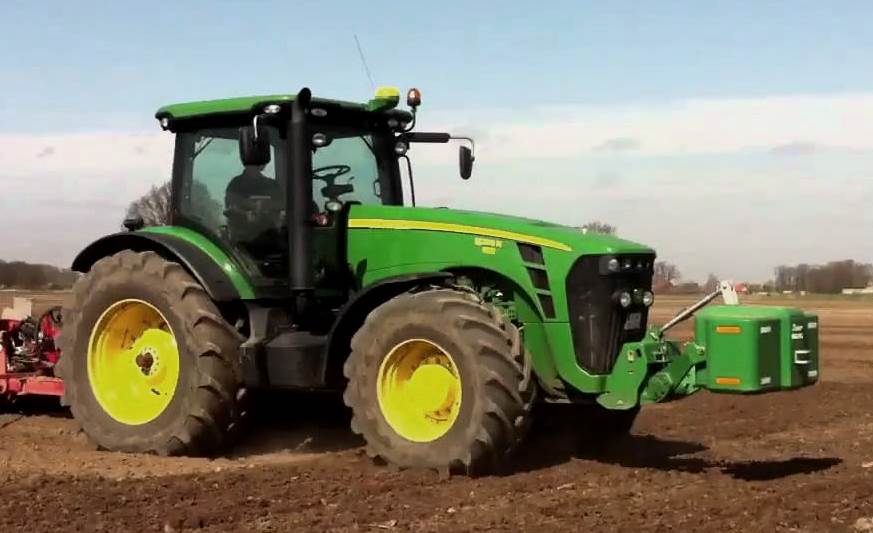 JD 8295R
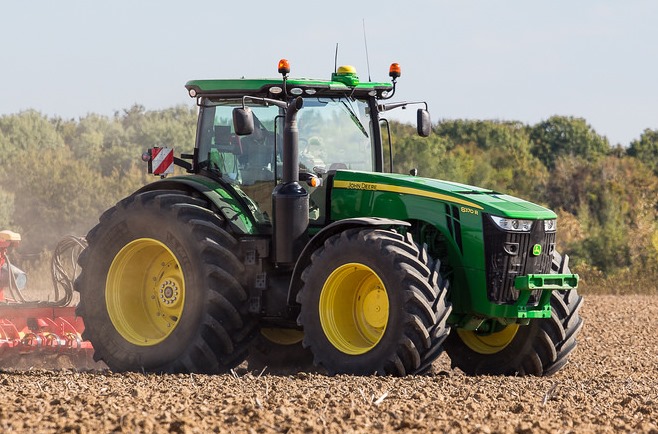 JD 8370R
 JD 9370R
 120R Loader
 D120 Loader
 H120 Loader
 45 Loader
 200CX Loader
 D160 Loader
 D170 Loader
 H160 Loader
 H165 Loader
 H240 Loader
 210 Loader
 220R Loader
 300E Loader
 300X Loader
 300CX Loader
 JD 9420R
 JD 9510R
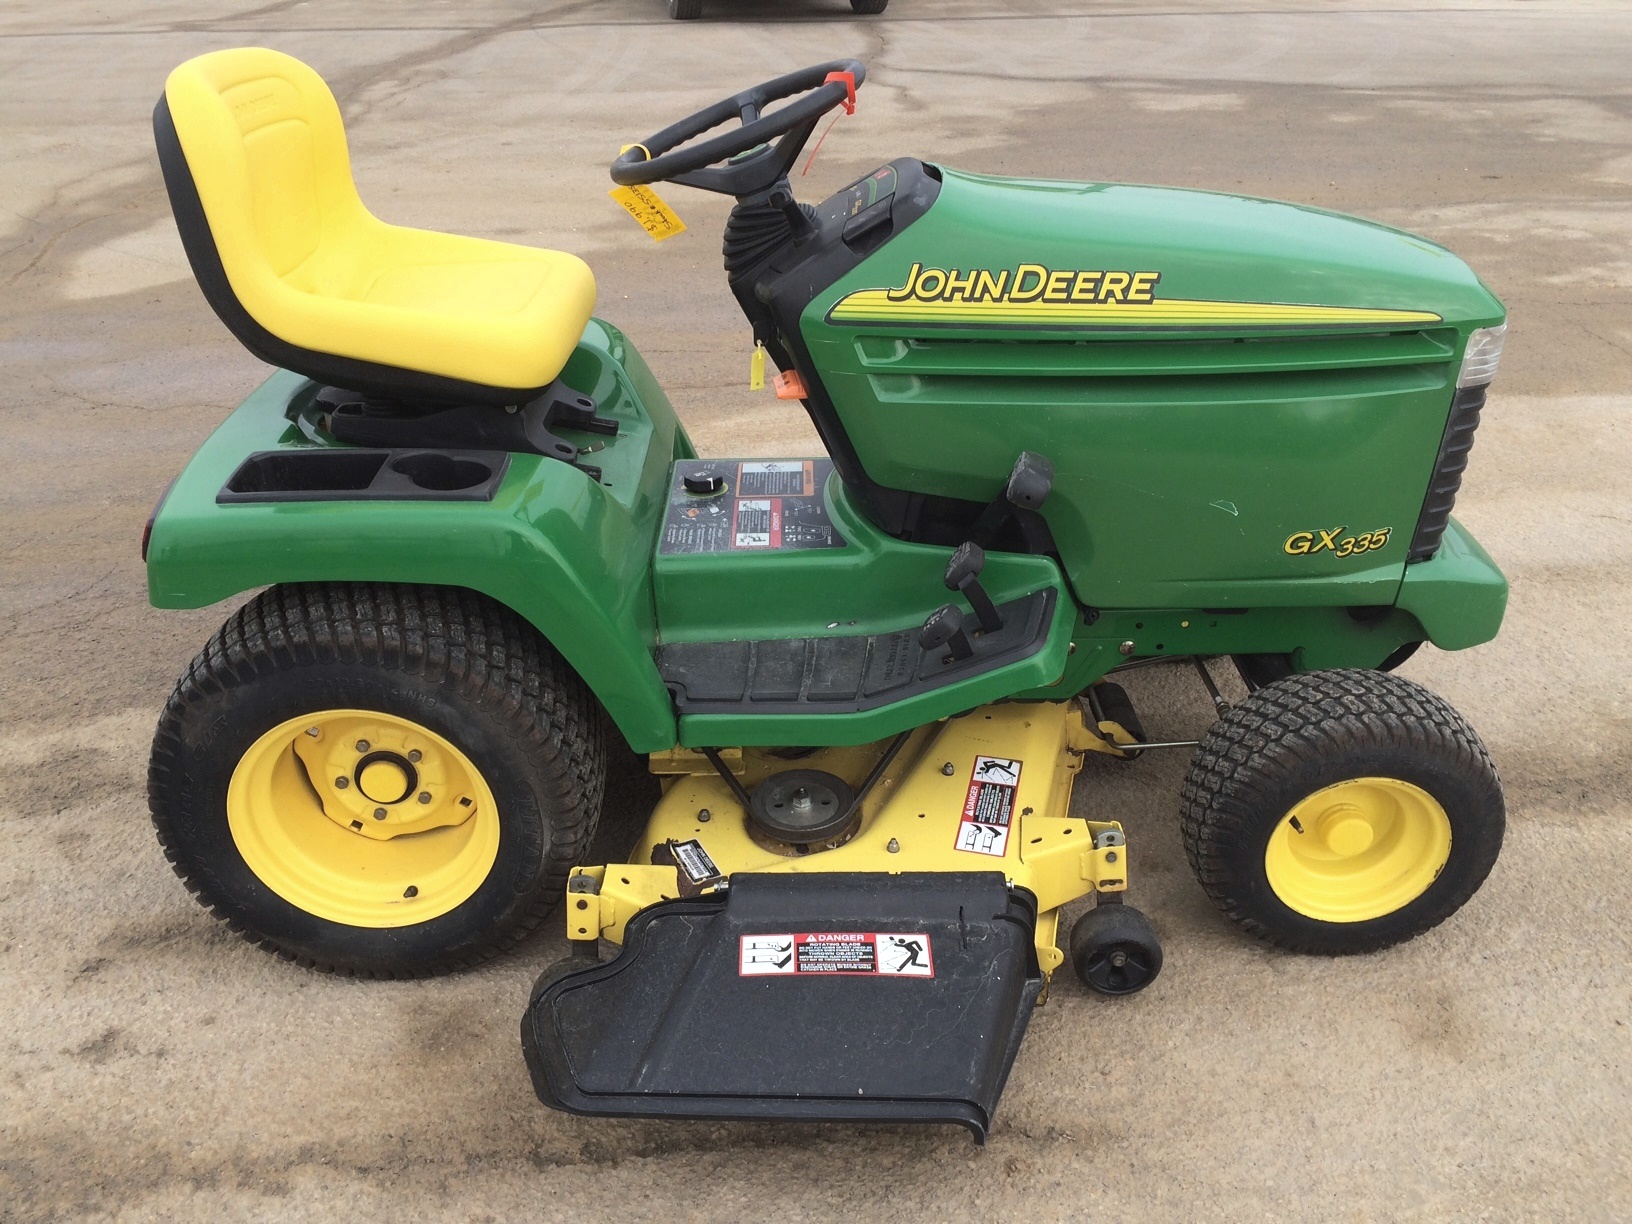 JD GX335
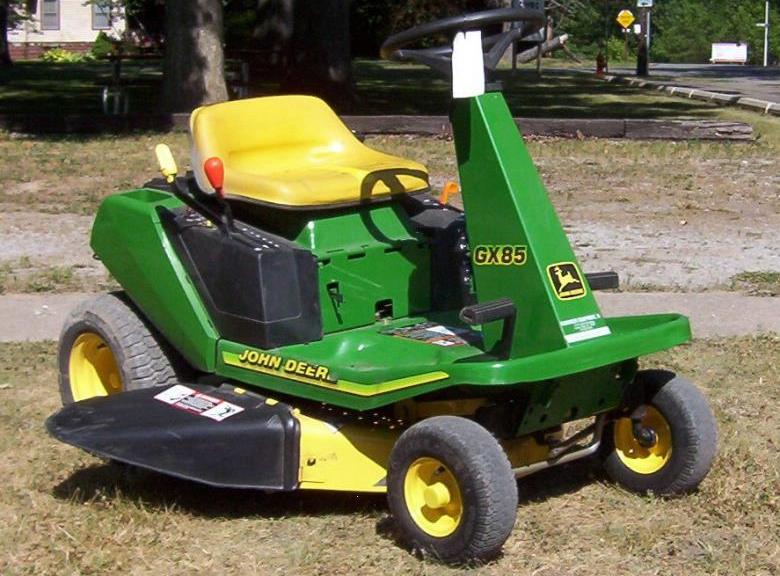 JD GX85
 JD LA105
 JD 5065M
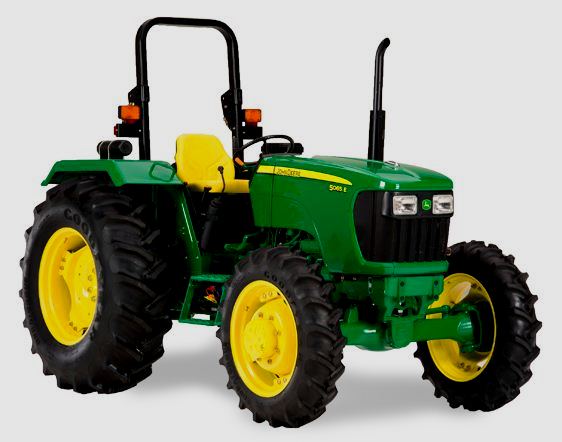 JD 5055D
 JD 5115R
 JD 5105M
 JD 6110R
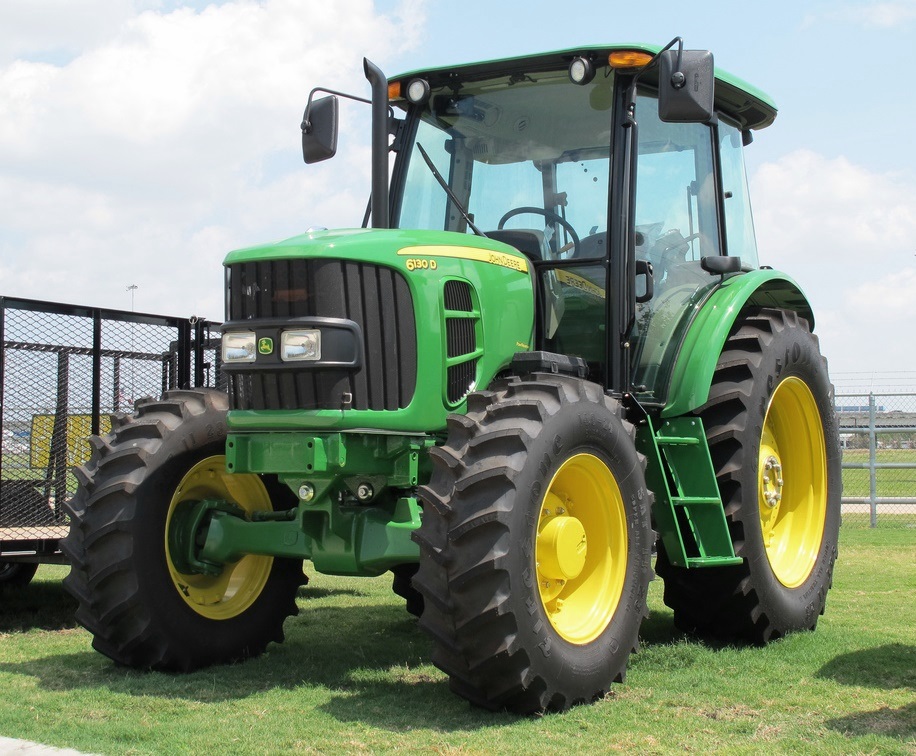 JD 6130D
 JD 6225
 JD 7530
 JD 4044M
 JD 7185J
 300 Loader
 300R Loader
 320R Loader
 400E Loader
 410 Loader
 430 Loader
 460 Loader
 521 Loader
 531 Loader
 541 Loader
 551 Loader
 631 Loader
 651 Loader
 661 Loader
 603R Loader
 JD D130
 JD D160
 JD 325
 JD 335
 JD 345
 JD 2520
 JD 3005
 JD 3720
 JD 1025R
 JD 3033R
 JD 5090EL
 JD 5100MH
 JD 5075GV
 JD 6090RC
 JD 6110B
 623R Loader
 643R Loader
 731 Loader
 746 Loader
 751 Loader
 533 Loader
 583 Loader
 633 Loader
 653 Loader
 683 Loader
 H260 Loader
 663R Loader
 663 Loader
 683R Loader
 753 Loader
 JD 6125J
 JD 6150RH
 JD 6210J
 JD 7195J
 JD 8310
 JD 6325
 JD 5525
 JD 5083EN
 JD 5100GN
 JD 5125R
 210C Backhoe
 300D Backhoe
 310G Backhoe
 410G Backhoe
 710G Backhoe
 80 Loader
 100 Loader
 146 Loader
 148 Loader
 158 Loader
 168 Loader
 175 Loader
 522 Loader
 542 Loader
 540R Loader
 562 Loader
 563 Loader
 673 Loader
 741 Loader
 L108 Automatic
 L120 Automatic
 LA110 Automatic
 LA120 Automatic
 LA150 Automatic
 LT155
LT155 LT160 Automatic
 LT180 Automatic
 LTR180
 X165
X165 E100
E100 E120
E120 E150
E150 LTR166
 LA135
LA135 LA165
LA165 LX277
LX277 LX288
LX288 LX255
LX255 S240
S240 GT235
GT235 G110 Automatic
 JD 3203
 JD 5520
 JD 316
 JD 420
 JD 425
 JD 445
 JD_5050D
 X300
X300 X304
X304 X310
X310 X110 Automatic
 H310 Loader
 H340 Loader
 H360 Loader
 H380 Loader
 H480 Loader
 240 Loader
 245 Loader
 260 Loader
 265 Loader
 600R Loader
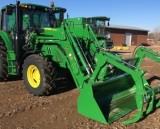 620R Loader
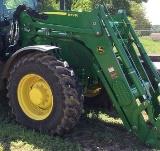 640R Loader
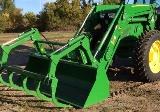 660R Loader
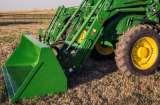 680R Loader
 JD_5039D
 X146R
X146R X360
X360 X155R
X155R X140 Automatic
 X350
X350 X380
X380 X500
X500 X590
X590 X700
X700 3036E
3036E 2038R
2038R 3038R
3038R 4049M
4049M JD 4100
 X738
X738 X740
X740 X748
X748 X749
X749 X950R
X950R JD 4510
 5045D
5045D 5050E
5050E 5060E
5060E 5078E
5078E