________________________________________________________________________________
JD 5045E, 5055E, 5065E, 5075E Engine and Drivetrain
John Deere 5045,
5055, 5065, 5075 Engine
Start the Engine
If the John Deere 5055E, 5045E, 5065E, 5075E tractor equipped with
creeper, start the engine with the range lever in neutral position and
gear lever in park position.
- Push hand throttle forward off idle position (approximately 1/3 of
full throttle). Engine may not start with throttle pulled completely
down.
- Start engine only from operator's seat with transmission in NEUTRAL.
Dont run a cold engine at full throttle. Depress clutch pedal and turn
key switch fully
clockwise to engage starter. Release key when engine starts. If key is
released before engine starts, wait until starter and engine stop
turning before trying again.
- Dont operate starter more than 20 seconds at a time. If engine does
not start, wait at least two minutes for the starter motor to cool
before trying again. If engine
does not start in four attempts, refer to Troubleshooting.
Check Engine Indicators and Gauges
If charging system or oil pressure indicators fail to go out, or
temperature gauge indicates hot, stop engine and determine the cause.
Coolant Temperature Gauge - The needle on the temperature gauge rises as
engine warms up. If needle reaches red zone, stop engine and determine
the cause.
Check coolant level in recovery tank and radiator when engine cools.
Also check grille, radiator and radiator screen for plugging. Check fan
belt tension.
Oil Pressure Indicator - Oil pressure indicator will light if engine oil
pressure is low. Indicator should light when key is turned to RUN
position and go out when engine
starts. Never operate engine without sufficient oil pressure. If
indicator stays lit for longer than five seconds under normal operating
conditions, stop engine and
check for cause.
Charging System Indicator - Charging system indicator will light when
alternator output is low. Indicator should light when key is turned to
RUN position, and go out
when engine starts. If indicator stays lit for longer than five seconds
in normal operation, stop engine and check for cause.
Air Restriction Indicator - Air restriction indicator will light if air
cleaner becomes plugged. Service air cleaner as soon as possible.
Fuel Level Gauge - Stop to refuel before fuel gauge reaches empty mark.
Use diesel fuel only. See Fuel, Lubricants and Coolant for fuel
specifications. Should
tractor run out of fuel and not start in several tries, air must be bled
from fuel system.
Recommended Engine Speeds and Operating Procedures
Tachometer shows engine rpm, read in hundreds.
Warming Up Engine - Do not place JD tractor under full load until it is
properly warmed up. Idle engine at 1200—1500 rpm for several minutes.
Run engine at about
1900 rpm and under light load until engine reaches normal operation
condition.
Avoid Idling Engine - Allowing engine to idle at low rpm uses fuel
inefficiently, and can cause a build-up of carbon in the engine. If John
Deere 5065, 5055, 5045,
5075 tractor must be left with the engine running more than three or
four minutes, minimum engine speed should be 1200 rpm.
Observe Engine Work and Idle Speeds - Slow idle speed should be 800—875
rpm. At light or no load, full throttle speed will increase to 2575—2650
rpm. Normal
working speed is 1600—2400 rpm rated speed. Within these limits engine
can be put under full load. For correct PTO speed, run engine at 2400
rpm for standard
540 rpm operation.
Restarting Stalled Engine - Should the engine stall when operating under
load, depress clutch and restart it immediately to prevent abnormal heat
build-up and
continue with normal operation, or operate at slow idle for one or two
minutes before stopping.
5075, 5055, 5065, 5045 John Deere Tractor PTO
Operate PTO
- Move control lever inward and forward to engage PTO. Power Take Off
indicator will light when PTO is engaged.
- A warning alarm will sound for a few seconds if you leave seat with
PTO engaged.
- Turn key OFF to stop engine and make sure all mechanisms have stopped
before cleaning out machine or making any adjustments to PTO driven
implement.
- Pull control lever back to disengage Power Take Off.
Adjust PTO Clutch Operating Cable
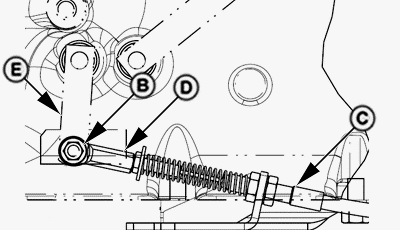
A - Power Take Off Clutch Lever, B - Spring Lock Screw, C - Cable, D -
Yoke, E - PTO Lever
- Move PTO lever (A) to rear (disengaged) position.
- Remove spring lock screw (B).
- Rotate PTO lever (E) counter clockwise until free play is removed
(slight resistance encountered).
- Adjust yoke (D) until spring lock screw can be installed through yoke
and lever.
- Install spring lock screw through yoke and lever.
Service Engine
Check Engine Oil Level
- Park JD tractor on level ground and pull out dipstick. Oil level
should be between two marks on dipstick. Dont operate engine when oil
level is below low mark on
dipstick.
- If level is low, add oil through oil filler hole until even with upper
mark. Dont over fill. Use seasonal viscosity grade oil.
Check Coolant Level
Periodically check coolant level in radiator. If cap should become
defective, coolant would not be drawn from recovery tank, and could
cause the engine to
overheat. Replace cap as necessary.
- Check level in coolant tank.
- If engine is cool and level is below “LOW” add coolant to recovery
tank to bring to “LOW”.
Change Engine Oil and Filter
Change oil and filter a minimum of once a year.
- Run engine to heat oil.
- The approximate engine crankcase oil capacity is 8.5 L (9 qt).
- Remove oil drain plug and drain oil.
- Replace engine oil filter while changing oil. Apply a film of oil on
the new oil filter gasket and install new filter. Hand tighten plus 1/2
turn.
- Install drain plug.
- Change engine oil every 125 hours if diesel fuel has a sulfur content
greater than 0.7 percent.
- Add seasonal viscosity grade oil.
- Engine Crankcase Oil Capacity - 8.5 L (9 qt). Engine oil should be
changed annually as a minimum.
Service Air Cleaner
A dual element air cleaner is standard. A dirty primary element is
indicated when the air restriction indicator on instrument panel
illuminates. A dirty element can
result in loss of power or excessive smoke. Check unloader valve
frequently. Empty as often as needed to keep it from filling with dust.
If valve is allowed to fill with
dust, air cleaner element will plug rapidly.
Service air cleaner when indicator light illuminates, every 250 hours or
at least once a year. Replace primary element at least one a year. The
secondary element
should be removed only when being replaced, normally once a year.
Inspect and Adjust Alternator/Fan Belt
- Replace if worn or damaged. Run 5045E, 5055E, 5065E, 5075E John Deere
engine for five minutes to warm a cold belt. Let a hot belt cool for 15
minutes before
adjustment.
- Check tension by pressing belt midway between pulleys. Belt should
deflect about 19 mm (3/4 in.) at 89 N (20 lb force).
- Pry against alternator frame only.
- Adjust tension by loosening cap screw and mounting bolt. Apply force
to alternator frame until belt tension is correct. Tighten cap screw and
bolt.
Check Neutral Start System - JD tractor is equipped with interlocks to
prevent inadvertent movement when the engine is started. Turning the key
switch with the
clutch pedal depressed should crank the engine if all of the following
conditions exist: Gear shift lever in NEUTRAL, PTO lever in disengaged
position.
Replace Fuel Filter
Replace FuelGard filter element at least once a year.
- Close fuel shut-off.
- Remove retaining ring and filter.
- Install new filter with retaining ring hand tight.
- Open fuel shut-off and bleed air from filter.
Flush Cooling System
For efficient operation, drain old coolant, flush the entire system, and
fill with clean antifreeze solution at least once every two years.
- Drain coolant - Remove radiator cap. Open drain valve on radiator and
drain coolant from radiator. Drain coolant from engine block.
- Thermostat must be removed to ensure a thorough flush. Remove
thermostat cover, remove thermostat, and install cover (without
thermostat). Tighten cap
screws to specification. Thermostat Cover Cap Screws Torque - 47 Nm (35
lb-ft).
- Flush system with water - Close all drain valves/plugs and fill system
with clean water. Run engine about 10 minutes to stir up possible rust
or sediment. Stop
engine and drain water from system before rust and sediment settle.
- Flush system with radiator cleaner - Close all drain valve/plugs,
reinstall cold start aid switch and fill the cooling system with a good
commercial radiator cleaner
and water. Follow instructions provided with cleaner. Stop engine and
immediately drain system.
- Flush system with water - Close all drain valves/plugs, reinstall cold
start aid switch and fill with clean water to flush the system. Run the
engine about 10 minutes,
then drain out flushing water.
- Remove thermostat cover and clean off the gasket material. Apply
gasket sealant to new gasket and install thermostat and cover. Tighten
cap screws to
specification.
- Fill with fresh coolant - Close all drain valves/plugs and fill with a
mixture of antifreeze, soft water, and coolant conditioner as specified
in the Fuels, Lubricants, and
Coolant section.
- Check coolant level - Fill radiator to the top of the filler neck and
fill the recovery tank to the “LOW” mark. Run the engine until operating
temperature is reached.
Let the engine cool (preferably overnight) and recheck the coolant
level. Coolant level with a cold engine should be at the “LOW” mark. An
engine at operating
temperature should have a coolant level at the “FULL” mark. When filling
the cooling system it may require several operating/cooling periods to
stabilize the coolant
level in the system. Add make-up coolant to the recovery tank as needed
to bring the coolant level to the correct mark.
Replace Alternator/Fan Belt
- Loosen cap screw and bolt and rotate the alternator to free the belt.
- Remove belt from drive pulley.
- Belt can be pulled around fan to remove.
- Install new belt in reverse order of removal.
- Adjust belt tension.
Bleed Fuel System
- Fuel tank must be full of fuel. To avoid injection pump damage Dont
attempt to start the engine while bleeding the fuel system.
- Loosen fuel return line. Loosen filter base bleed screw. Push primping
pump until fuel runs out smoothly without spiting, then tighten bleed
screw.
- Loosen injection pump bleed screw. Push priming pump until fuel runs
out smoothly without spitting, then tighten fuel return line and bleed
screw.
JD 5045, 5055, 5065, 5075 Transmission
Range shift lever provides three forward speed ranges. Speed shift lever
provides three forward speeds and one reverse speed. Using range and
speed shift
levers in different combinations, nine forward speeds and three reverse
speeds can be obtained. Range shift must be in neutral for the engine to
be started.
Shifting Top Shaft Synchronizer (TSS) Transmission (If equipped)
To prevent unnecessary clutch wear, never rest a foot on clutch pedal
while operating tractor. The clutch pedal must be fully depressed in
order to make a speed
shift. If the clutch pedal is not fully depressed, the shift lever can
not be moved beyond neutral in the H-pattern. Should this occur, depress
the clutch pedal further. If
the clutch pedal free travel is out of specification, readjust the
clutch pedal linkage. The TSS transmission allows any forward gear or
reverse to be shifted while in
motion. However, the clutch must be disengaged and then engaged by means
of clutch pedal. Make sure to depress clutch pedal fully and release it
gradually to
take up load smoothly.
For JD 5075E, 5055E, 5065E, 5045E tractors with two wheel drive the
transmission allows only second gear and reverse to be shifted while in
motion. Top shaft
synchronizer works only on speed gears, including reverse. To shift into
a different range, tractor must first be brought to a complete stop, and
the engine speed
brought down. After the tractor is stopped, the clutch must be depressed
fully to make the range shift. Depressing the clutch fully and reducing
engine speed while
shifting ranges will prevent damage to the transmission. Once the shift
has been made, then increase engine speed.
Select a Gear - To extend drive train life and avoid excessive soil
compaction and rolling resistance when using ballast, operate one gear
lower than normal.
The tractor may be operated in any gear with engine speeds between 1800
rpm and 2400 rated engine rpm. Within these limits the engine can be put
under full
load. For light load operation, use a higher gear and lower engine
speed. This saves fuel and reduces wear. Ground Speed Estimates for
different tire sizes are
located in Specifications.
Use Brakes - Before operating tractor on a road, lock pedals together.
Use brake lightly and cautiously at transport speeds. Use individual
brakes to assist in
making sharp turns. Disengage brake pedal locking bar and depress only
one brake pedal. To stop tractor, depress both brake pedals. To prevent
unnecessary
wear, never ride the brakes by resting a foot on the pedals. Reduce
speed if towed load is not equipped with brakes and weighs more than the
tractor. Avoid hard
braking applications. Use additional caution when transporting towed
loads under adverse conditions, when turning or stopping on inclines.
Use Differential Lock - Dont operate John Deere 5065, 5045, 5055, 5075
tractor at high speed or attempt to turn with differential lock engaged.
To prevent damage
to drivetrain. Dont engage differential lock when one wheel is spinning
and the other is completely stopped by the respective brake. When one
wheel starts to lose
traction, engage differential lock by depressing pedal down. Keep the
pedal pressed till the traction at both the tires equalizes and tractor
comes out of the ditch. If
lock does not disengage, depress one brake pedal and then the other. If
tires repeatedly slip, then get to traction, then slip again, hold pedal
in the engaged position.
Check Transmission-Hydraulic System Oil Level
- Remove dipstick and wipe it clean. Insert dipstick fully. Oil level
should be between full mark and end of dipstick.
- Add oil if level is low.
Replace Transmission-Hydraulic Filter
- Remove filter. Apply a film of oil to new gasket and install new
filter. Hand tighten plus 1/2 turn.
- Run engine several seconds and recheck transmission-hydraulic oil
level.
- Add transmission fluid if required.
Check and Adjust Clutch Pedal Free Play
- Measure free play at top of pedal stroke. Adjust linkage to obtain 20
mm to 25 mm free play.
- To adjust linkage, loosen lock nut, unlatch the connecting clip pin
and remove. Rotate clevis.
- After making adjustment, replace clip, and recheck free play. When
free play is correct, tighten lock nut.
Change Transmission-Hydraulic Oil and Filter
- Lower rockshaft to remove trapped oil.
- The approximate transmission case oil capacity is 38 L (10 gal) for
2-WD tractors and 39 L (10.30 gal) for MFWD tractors.
- Remove drain plug from transmission case and drain out oil. Dispose of
waste oil properly.
- If equipped with MFWD DANA axle, also remove drain plug in drop
housing.
- Replace filter while changing oil. Apply a film of oil to new filter
gasket and install new filter. Hand tighten only.
- Fill system with transmission-hydraulic oil. Transmission Oil Capacity
(2-WD/MFWD) - 38L/39L.
- Check oil level at dipstick after filling, and again after operating
for five minutes.
Clean Transmission-Hydraulic Pickup Screen
- Drain transmission-hydraulic oil. The approximate transmission case
oil capacity is 38 L (10 gal) for 2-WD tractors and 39 L (10.30 gal) for
MFWD tractors.
- Remove two cap screws and remove screen cover.
- Remove screen and examine it for damage. Replace if necessary. Clean
screen in solvent and blow dry with compressed air.
- Carefully install screen so the front of screen is inserted in hole at
front of differential case.
- Fill system with transmission-hydraulic oil.
- Check oil level at dipstick after filling, and again after operating
for five minutes.
John Deere 5055E, 5045E, 5065E, 5075E Axles and Wheels
Operating Mechanical Front Wheel Drive (If Equipped)
Use mechanical front wheel drive (MFWD) as required for better traction.
Mechanical front wheel drive greatly increase traction. When this option
is used, extra
caution is needed on slopes. Compared to 2-Wheel drive, a mechanical
front wheel drive tractor maintains traction on steeper slopes, increase
the possibility of a
tip over. When driving on icy, wet or graveled surfaces, reduce speed
and be sure tractor is properly ballasted to avoid skidding and loss of
steering controls,
engage mechanical front wheel drive.
To extend tire life engage mechanical front heel drive when needed. Dont
engage when driving on hard surfaces. Dont install tire chains on
tractor front wheels,
chains will strike and damage tractor. To prevent transmission damge.
Dont engage or disengage mechanical front wheel drive on the go. Depress
clutch pedal
and stop tractor before engaging or disengaging MFWD. Push shift lever
forward to engage, and pull lever back to disengage MFWD.
Adjust Front Axle Tread Width
- Jack up front end of tractor. Dont place jack under engine oil pan.
- When making large tread adjustments it may be necessary to change the
tie rod length before or during axle adjustments.
- Remove four nuts and tapered bolts from front axle (2 on each side).
- Slide axle knees to desired position. Both sides should be adjusted to
same spacing.
- Reinstall axle nuts and bolts on each side. Tighten bolts to
specification.
Check MFWD Axle Oil Level
- Park JD 5045, 5055, 5065, 5075 tractor so that oil fill mark on MFWD
hub is level with the ground. Remove filler plug. Oil level should be
even with bottom of the
filler plug hole.
- Remove plug to check oil level in axle housing. Oil level should be
even with bottom of hole.
- If level is low, add HY-GARD Gear Lubricant or its equivalent.
Lubricate Front Axle Pivot Pin - Lubricate DANA MFWD Axle front pivot
and rear pivot with several shots of multipurpose grease. Adjustable 2WD
axle pivot pin
also requires lubrication of the front and rear pivot bushing jerks with
multipurpose grease.
Change Oil in MFWD (DANA Axle)
- Tractor should be positioned on level ground to assure correct oil
levels when filling.
- Each front wheel hub has a drain/fill plug.
- Remove drain/fill plugs. When draining the wheel hubs, rotate the
wheels so the drain/fill holeis in the 6 o'clock position. Drain oil.
- Rotate the wheels so oil level mark is parallel to the ground.
- Install drain plug.
- Fill differential housing at fill locations with HY-GARD Gear
Lubricant. Fill hubs to level mark, and differential housing to bottom
of fill hole.
Front Wheel Hub lubrication (2WD)
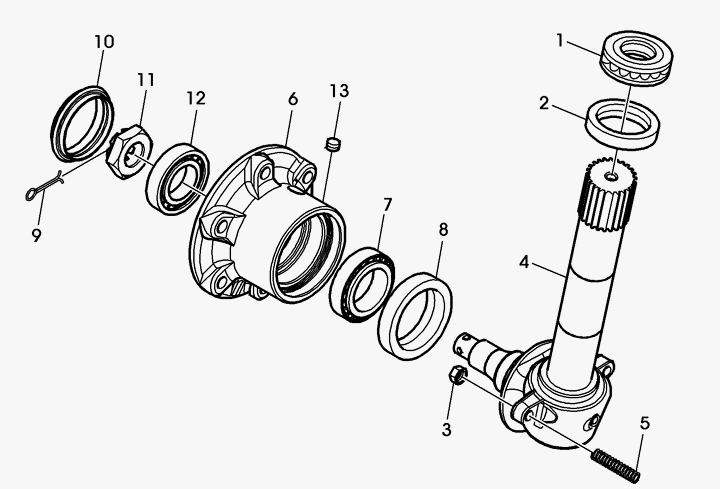
1 - Thrust Bearing, 2 - Seal, 3 - Nut, 4 - Knuckle, 5 - Stud, 6 - Hub, 7
- Bearing, 8 - Sealing Ring, 9 - Cotter Pin, 10 - Cover, 11 - Retaining
Nut, 12 - Bearing, 13 -
Plug
- Loosen front wheel cap screw.
- Raise front end of tractor. Support 5045E, 5055E, 5065E, 5075E John
Deere tractor securely on stands before removing a wheel.
- Remove wheel. Remove cover (10), cotter pin (9) and retaining nut (11)
to remove wheel hub (6).
- Bearings (7 and 12) are press fitted into hub (6), and will come out
along with hub.
- Lubricate hub (6) with several shots of multipurpose grease though
zerk at spindle plug (13). Remove spindle plug (13) and install grease
zerk if required.
- Install hub assembly (6) and retaining nut (11). Tighten nut until a
slight drag is felt while turning hub.
- Back off nut just enough to install cotter pin (9) in hole of spindle.
- Apply flexible sealant to mating surface of cover and hub. Install
cover.
- Install hub cap and wheels. Tighten lug bolts to specification.
Tighten bolts again after driving tractor 100 m (109 yd) and again after
three hours and 10 hours use.
Lubricate Rear Axle Bearings - Lubricate rear axle fittings, both sides,
with several shots of multi-purpose grease.
Check Toe-In (Two-Wheel Drive JD Tractor)
- Park machine on level surface.
- Turn steering wheel so front wheels are in the straight-ahead
position. Stop engine.
- Measure distance between tires at hub level in front of axle. Record
measurement and mark the tires.
- Move tractor back about 1 m (3 ft), so mark is at hub level behind the
axle. Again, measure distance between tires at same point on tire.
Record measurement.
- Determine the difference between front and rear measurements. If the
front measurement is smaller, toe is “in”. If the rear is smaller, toe
is “out”.
- Distance at front of tires should be 3—6 mm (1/8—1/4 in.) less than
distance measured at rear of tires. Adjust toe-in if necessary.
Check Toe-In (MFWD JD 5055, 5045, 5065, 5075 Tractor)
- Disengage MFWD and park tractor on smooth, level surface. Steer front
wheels straight ahead. Stop engine.
- Measure distance between centerline of tires at hub level in front of
axle, using an outside bar of each tire or an inside bar of each tire.
Record measurement and
mark the tires.
- Move tractor back about 1 m (3 ft), so mark is at hub level behind the
axle. Again, measure distance between tires at same point on tire.
Record measurement.
- Determine the difference between front and rear measurements. If the
front measurement is smaller, toe is IN. If the rear is smaller, toe is
OUT. The difference
may be in either direction (toe-in or toe-out), but should be less than
3 mm (1/8 in.). Adjust toe-in if necessary.
Tread Setting (Multi-Position MFWD Wheels)
Wheel tread on MFWD axle with multi-position wheels can be adjusted by
repositioning or exchanging the rims or by reversing the wheel disks.
Wheel tread can
also be adjusted by exchanging the complete wheel to the opposite side
of the tractor .(This maneuver permits the change from disk-dished-in to
disk-dished out
operations without disassembling the wheel). When Changing MFWD wheels
from one side to other, the arrow on side wall of tire points in the
direction of forward
rotation. In certain applications, MFWD equipped tractors may operate
with the arrows in the opposite direction. See Select Front Tire Rolling
Direction.
The relationship of the wheel disk and rim in obtaining the different
tread setting is shown in the diagrams, before attempting to change
tread settings, will save
unnecessary labour. After setting wheel spacing, tighten MFWD wheel
rim-to-disk bolts and MFWD wheel disk-to-hub nuts to specification.
Drive tractor 100 m
(109 yd) and tighten again.
John Deere 5055E, 5065E, 5075E, 5045E Transmission Troubleshooting
| Transmission oil overheats | Low oil supply. | Fill system with correct oil. |
| Clogged transmission-hydraulic oil filter. | Replace filter. | |
| Internal hydraulic leak. | ||
| Hitch feedback linkage improperly adjusted. | Reset linkage. | |
| Hydraulic motor not plumbed correctly. | ||
| Low transmission pressure. | Low oil supply. | Fill system with correct oil. |
| Clogged transmission-hydraulic oil filter. | Replace filter. |
________________________________________________________________________________
________________________________________________________________________________________
________________________________________________________________________________________
________________________________________________________________________________________
________________________________________________________________________________________
________________________________________________________________________________________
________________________________________________________________________________________
________________________________________________________________________________________
________________________________________________________________________________________
________________________________________________________________________________________
________________________________________________________________________________________
________________________________________________________________________________________
________________________________________________________________________________________
________________________________________________________________________________________
________________________________________________________________________________________
________________________________________________________________________________________
________________________________________________________________________________________
________________________________________________________________________________________
________________________________________________________________________________________
________________________________________________________________________________________
________________________________________________________________________________________
________________________________________________________________________________________
________________________________________________________________________________________
________________________________________________________________________________________
________________________________________________________________________________________
________________________________________________________________________________________
________________________________________________________________________________________
________________________________________________________________________________________
________________________________________________________________________________________
________________________________________________________________________________________
________________________________________________________________________________________
________________________________________________________________________________________
________________________________________________________________________________________
________________________________________________________________________________________
________________________________________________________________________________________
________________________________________________________________________________________
________________________________________________________________________________________
________________________________________________________________________________________
________________________________________________________________________________________
________________________________________________________________________________________
________________________________________________________________________________________
________________________________________________________________________________________
________________________________________________________________________________________
 JD SPECS
 JD LOADERS
 JD MAINTENANCE
 JD INSTRUCTIONS
 JD PROBLEMS
 JD 2025R
 JD 3039R
 JD 4044R
 JD 4105
 JD 4720
 420 Loader
 419 Loader
 510 Loader
 512 Loader
 520 Loader
 520M Loader
 540M NSL
 540 Loader
 440R Loader
 H180 Loader
 JD 5045E
 JD 5085E
 JD 5100M
 JD 6105R
 JD 6120M
 JD 6155M
 JD 6195R
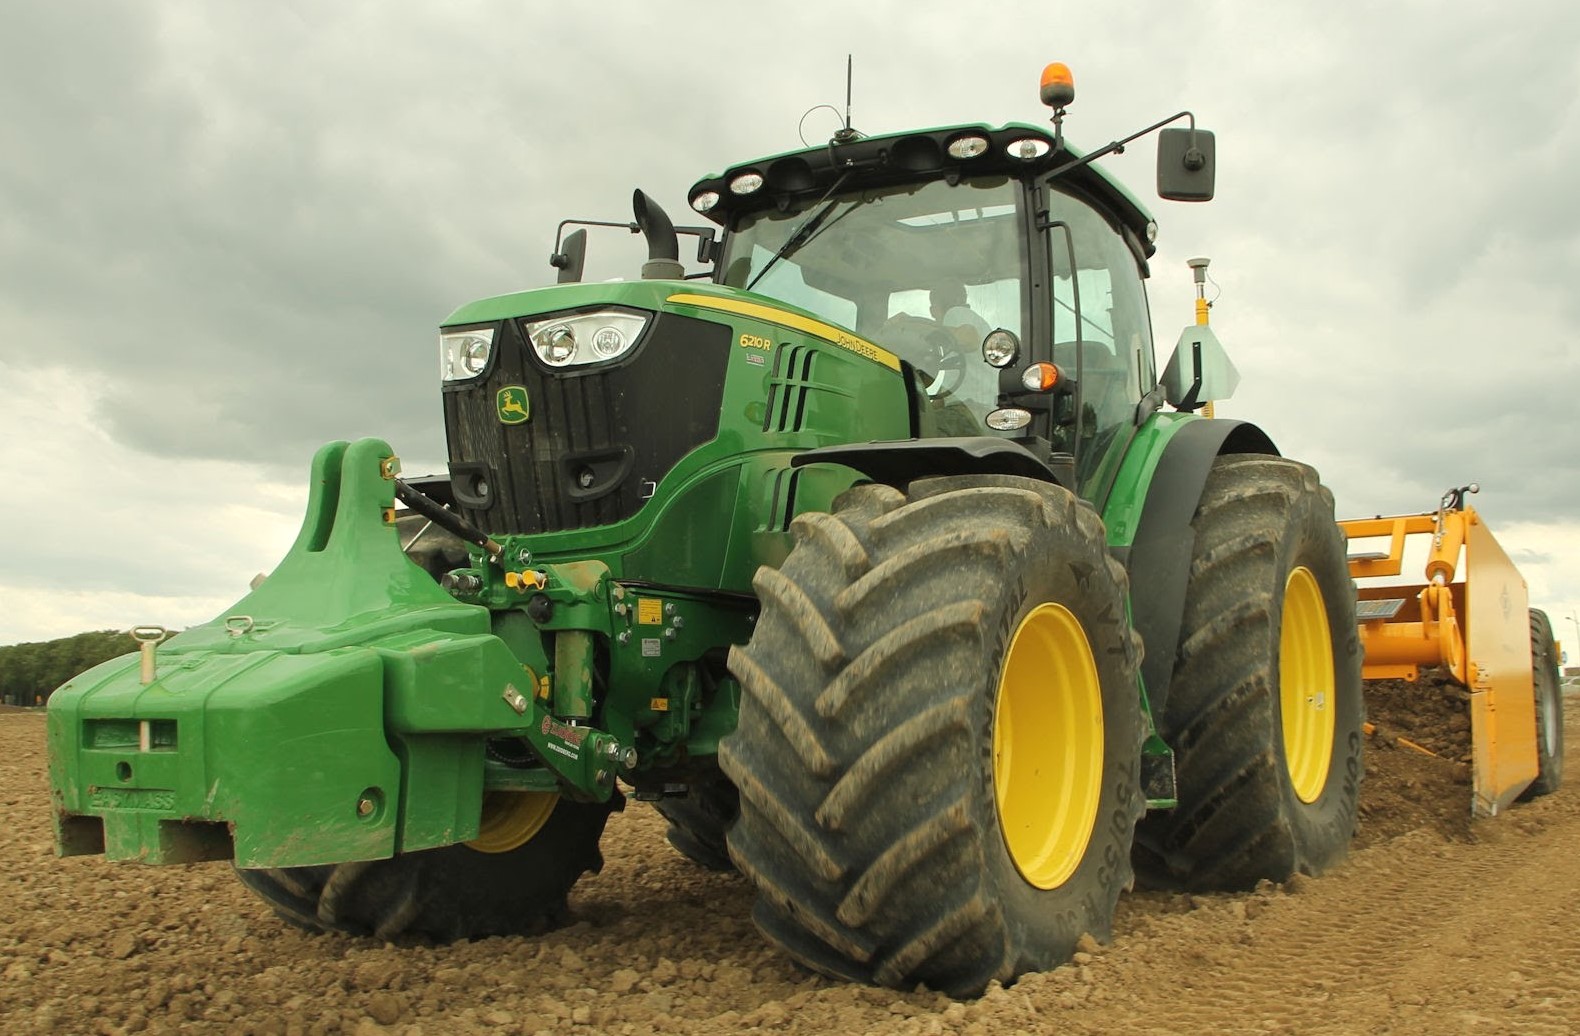 JD 6210R
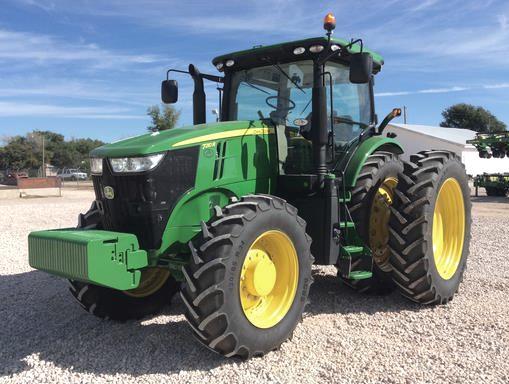 JD 7210R
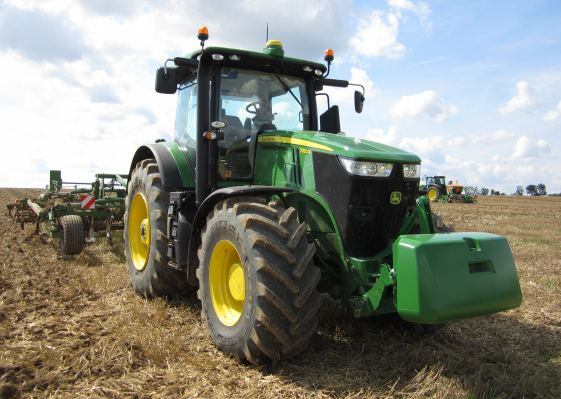 JD 7250R
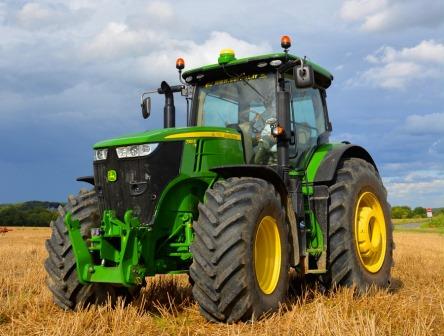 JD 7310R
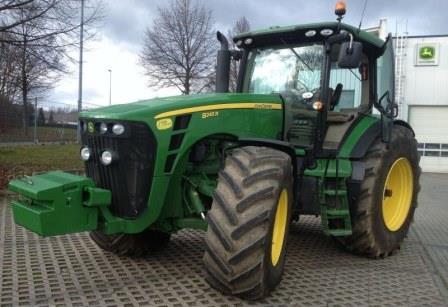 JD 8245R
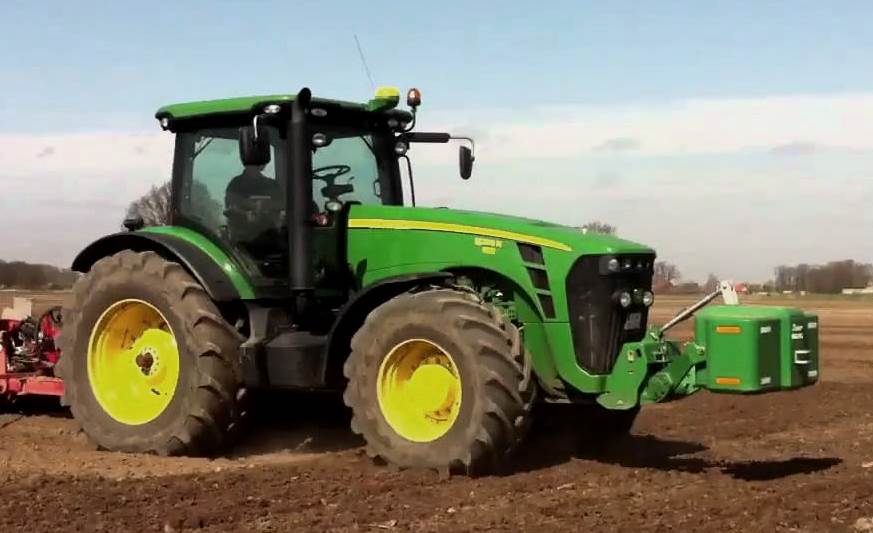 JD 8295R
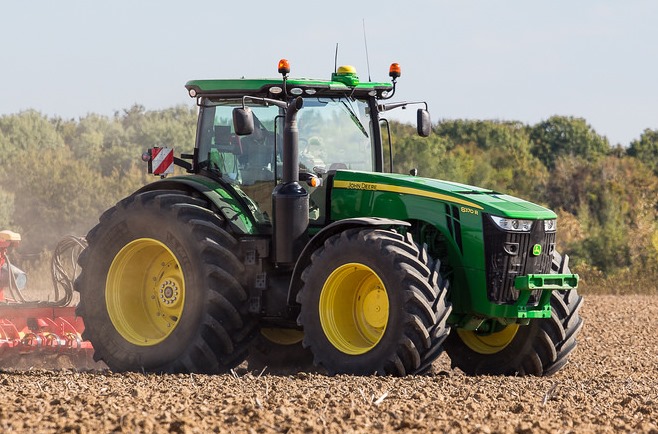 JD 8370R
 JD 9370R
 120R Loader
 D120 Loader
 H120 Loader
 45 Loader
 200CX Loader
 D160 Loader
 D170 Loader
 H160 Loader
 H165 Loader
 H240 Loader
 210 Loader
 220R Loader
 300E Loader
 300X Loader
 300CX Loader
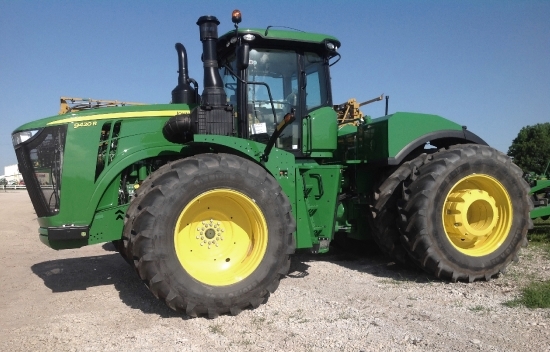 JD 9420R
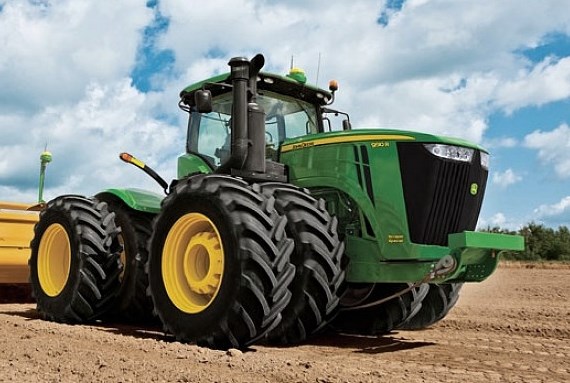 JD 9510R
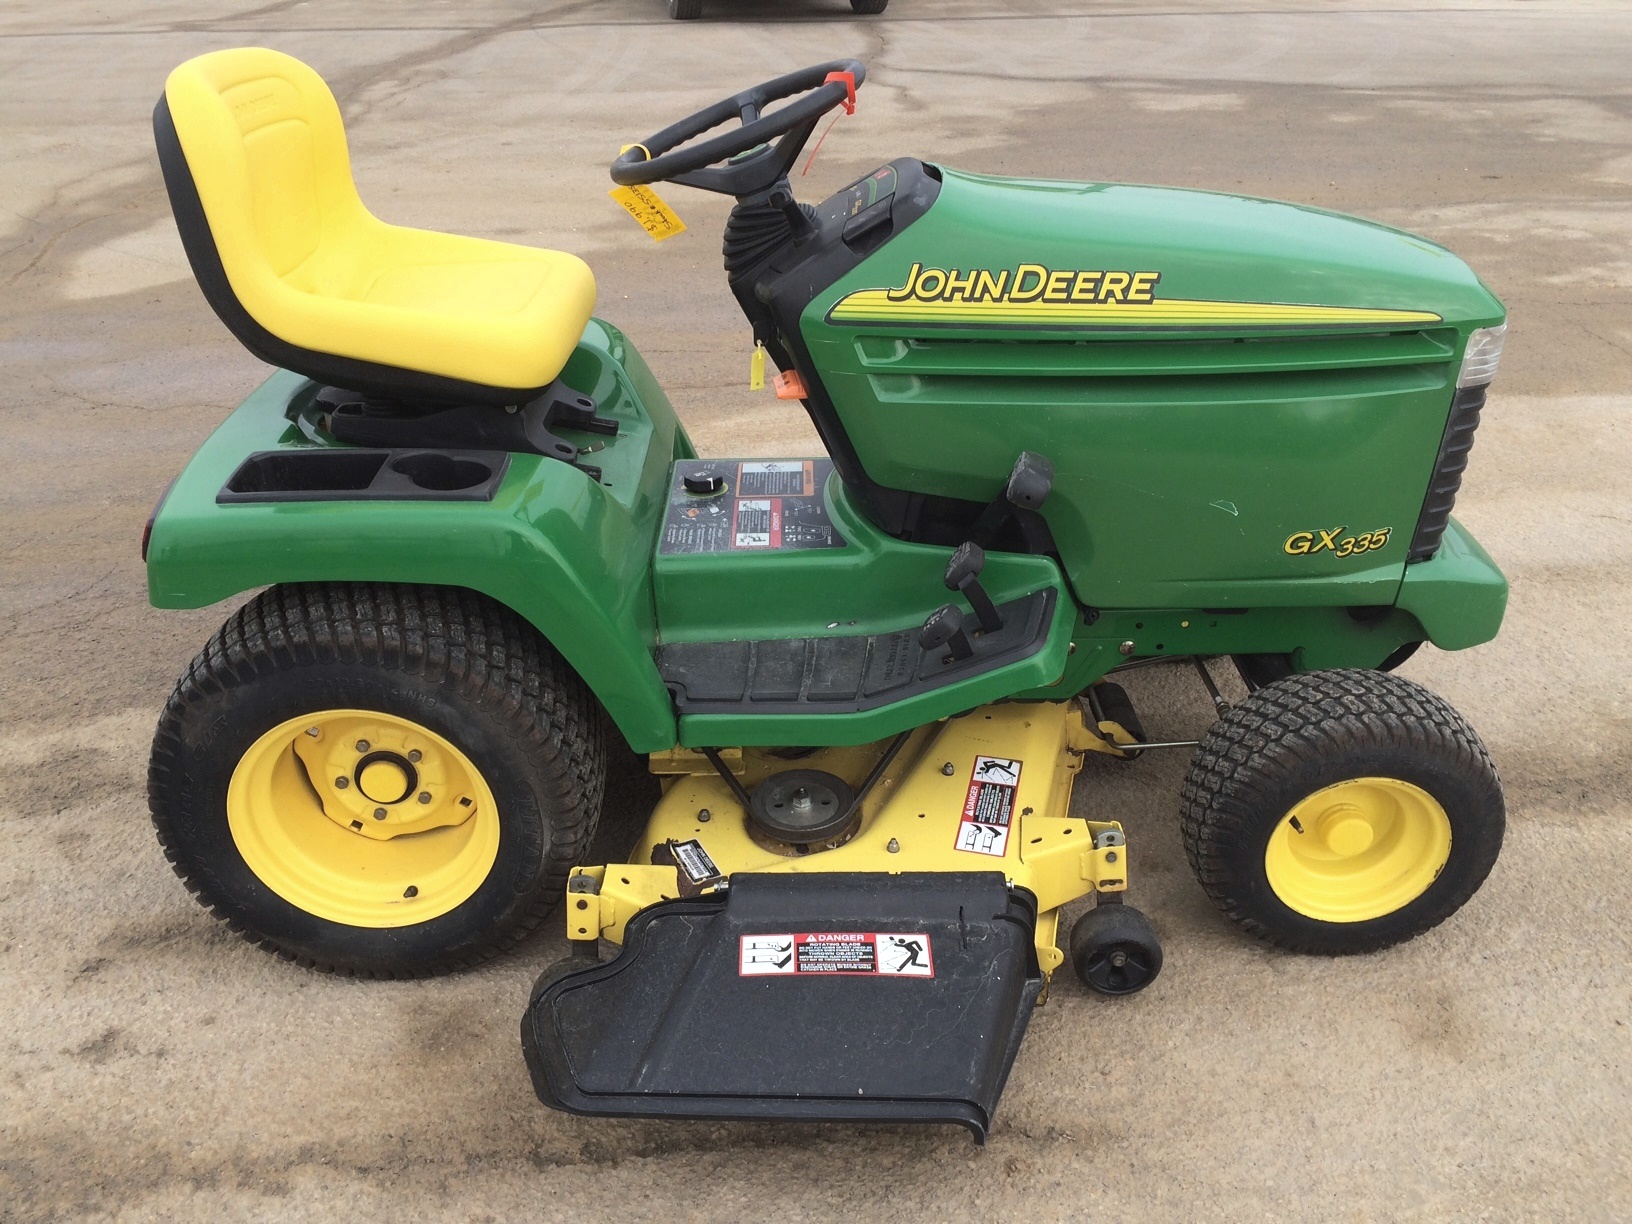 JD GX335
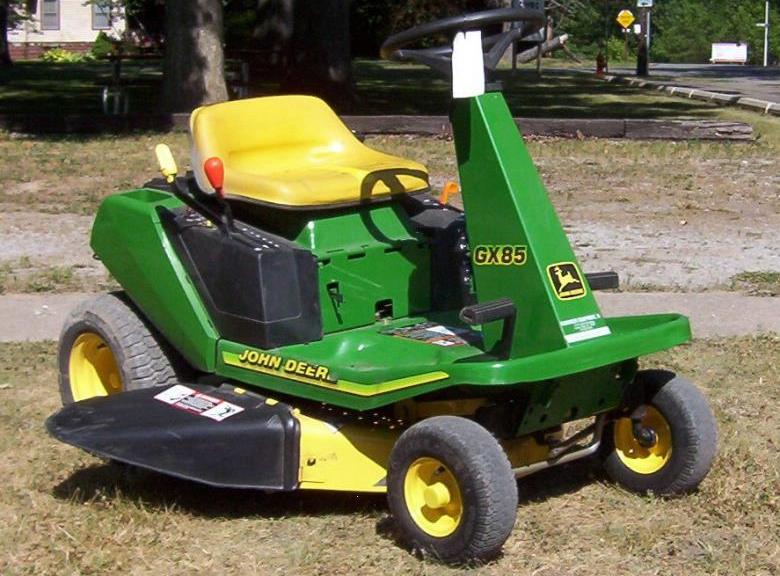 JD GX85
 JD LA105
 JD 5065M
 JD 5055D
 JD 5115R
 JD 5105M
 JD 6110R
 JD 6130D
 JD 6225
 JD 7530
 JD 4044M
 JD 7185J
 300 Loader
 300R Loader
 320R Loader
 400E Loader
 410 Loader
 430 Loader
 460 Loader
 521 Loader
 531 Loader
 541 Loader
 551 Loader
 631 Loader
 651 Loader
 661 Loader
 603R Loader
 JD D130
 JD D160
 JD 325
 JD 335
 JD 345
 JD 2520
 JD 3005
 JD 3720
 JD 1025R
 JD 3033R
 JD 5090EL
 JD 5100MH
 JD 5075GV
 JD 6090RC
 JD 6110B
 623R Loader
 643R Loader
 731 Loader
 746 Loader
 751 Loader
 533 Loader
 583 Loader
 633 Loader
 653 Loader
 683 Loader
 H260 Loader
 663R Loader
 663 Loader
 683R Loader
 753 Loader
 JD 6125J
 JD 6150RH
 JD 6210J
 JD 7195J
 JD 8310
 JD 6325
 JD 5525
 JD 5083EN
 JD 5100GN
 JD 5125R
 210C Backhoe
 300D Backhoe
 310G Backhoe
 410G Backhoe
 710G Backhoe
 80 Loader
 100 Loader
 146 Loader
 148 Loader
 158 Loader
 168 Loader
 175 Loader
 522 Loader
 542 Loader
 540R Loader
 562 Loader
 563 Loader
 673 Loader
 741 Loader
 L108 Automatic
 L120 Automatic
 LA110 Automatic
 LA120 Automatic
 LA150 Automatic
 LT155
LT155 LT160 Automatic
 LT180 Automatic
 LTR180
 X165
X165 E100
E100 E120
E120 E150
E150 LTR166
 LA135
LA135 LA165
LA165 LX277
LX277 LX288
LX288 LX255
LX255 S240
S240 GT235
GT235 G110 Automatic
 JD 3203
 JD 5520
 JD 316
 JD 420
 JD 425
 JD 445
 JD_5050D
 X300
X300 X304
X304 X310
X310 X110 Automatic
 H310 Loader
 H340 Loader
 H360 Loader
 H380 Loader
 H480 Loader
 240 Loader
 245 Loader
 260 Loader
 265 Loader
 600R Loader
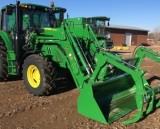 620R Loader
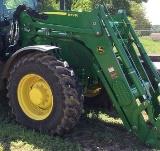 640R Loader
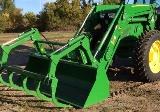 660R Loader
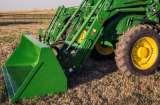 680R Loader
 JD_5039D
 X146R
X146R X360
X360 X155R
X155R X140 Automatic
 X350
X350 X380
X380 X500
X500 X590
X590 X700
X700 3036E
3036E 2038R
2038R 3038R
3038R 4049M
4049M JD 4100
 X738
X738 X740
X740 X748
X748 X749
X749 X950R
X950R JD 4510
 5045D
5045D 5050E
5050E 5060E
5060E 5078E
5078E