________________________________________________________________________________
John Deere 3032E Attachments

John Deere 3032E Front End Loader
305 Loader Specifications
Type of Attachment - Front End Loader
Compatibility - John Deere 3032E
Lift capacity at pivot pin (max. ht.) - 1,186 lb. (539 kg)
Lift capacity at 500 mm ahead of pivot pin - 845 lb. (389 kg)
Lift capacity to 59 in. at pivot pin - 1,294 lb. (588 kg)
Lift capacity to 59 in. at 500 mm ahead - 977 lb. (444 kg)
Max. lift height at pivot pin - 84 in. (2140 mm)
Reach at max. height - 24 in. (605 mm)
Breakout force at pivot pin - 1,704 lbf. (7579 N)
Dump angle - 43.8 deg.
Rollback angle - 31.4 deg.
Loader raising/lowering time - 3.31/2.75 sec.
Bucket dump time/regen - 1.75/1.00 sec.
Bucket rollback time - 1.88 sec.
Attach John Deere 305 Loader
- Attach ballast box to JD 3032E tractor. Drive into 305 loader until
the boom and cylinders are inside the mounting frames. Turn tractor
engine off and remove key. Move control lever up, down, and side-to-side
several times to relieve hydraulic system pressure. Attach hydraulic
connectors according to color code. Start tractor. Pivot bucket to align
holes in boom with mounting frame holes. Turn tractor engine off and
remove key.
Install pivot pins and quick lock pins in boom. Move control lever into
float position. Remove and place storage hooks in tractor tool box. Move
cylinder rods by hand until aligned with holes in mounting frame.
Install pivot pins and quick lock pins. Start John Deere 3032E tractor,
raise boom slightly, and dump bucket to 45 degrees below level. Lower
bucket to ground and apply slight pressure. Do not raise front tires off
ground. Shut off tractor and remove key. Remove parking stands and place
in storage position. Check for proper 305 loader operation in response
to control lever.
Check and Adjust Bucket Anti-Spill
Limit Switches - Loosen nuts and adjust switch until
roller contacts sensor bar and switch arm is compressed. Using a
continuity tester, confirm switch is closed (has continuity) when switch
actuator is compressed. Tighten nuts. Move sensor bar until cam
indentation on bar is centered under switch. Using a continuity tester,
confirm switch is open (no continuity) when switch actuator is extended.
Repeat steps for remaining switch.
D160 Loader Specifications
Type of Attachment - Front End Loader
Compatibility - JD 3032E
Lifting capacity at pivot pin (maximum height) - 1186 lb. (539 kg)
Lifting capacity at 0,5 m ahead of pivot pin - 845 lb. (389 kg)
Lifting capacity to 59 in. at pivot pin - 1294 lb. (588 kg)
Lifting capacity to 59 in. at 0,5 m ahead - 977 lb. (444 kg)
Maximum Lifting height at pivot pin - 84 in. (2,14 m)
Reach at maximum height - 24 in. (0,61 m)
Breakout force at pivot pin - 1704 lb. (760 kg)
Breakout force at 0,5 m - 1204 lb. (537 kg)
Dump angle - 43,8 degrees
Rollback angle - 31,4 degrees
Loader raising/lowering time - 3,31/2,75 sec.
Bucket dump time/regen - 1,75/1,00 sec.
Bucket rollback time - 1,88 sec.
Attach D160 Loader when Equipped
with Parking Kit - Attach ballast box to JD 3032E
tractor. Drive into D160 loader until boom and cylinders are positioned
inside mounting frames. Turn tractor engine off. Before connecting hoses
ensure that couplers are free of dirt and debris. Identify hose
connections using color codes on couplers and label. Connect couplers.
Start tractor engine. Pivot bucket to align bushings. Engage tractor
parking brake and place transmission in PARK. Turn John Deere 3032E
tractor engine off and remove key. Insert a tapered pin or drift through
back of mounting frame to align bushings and install pivot pin. Install
pivot pin through mounting frame and boom. Fasten with quick-lock pin.
Move tractor control lever into float position. Remove support and place
in tractor storage compartment. Align cylinder bushing with mounting
frame bushing. Install pivot pin and fasten with quick-lock pin. Repeat
steps on
opposite side. Start tractor, raise boom slightly, and dump bucket to
45° below level. Lower bucket to ground and apply slight pressure. DO
NOT raise front tires off ground. Shut off tractor and remove key.
Remove quick-lock pins, pins, and parking stands. Place parking stands
in ends of storage tube. Fasten using pins and quick-lock pins. Check
for proper D160 loader operation in response to control lever.
Root Grapple
60" Root Grapple Specifications
Model - Frontier AV20H Root Grapple
Overall Width - 60” (1524 mm)
Weight - 381 lbs
Compatibility - 300/400 Loader
Number of Tines - 5
Tine Spacing (in/mm) - 15” (381 mm)
Hydraulic Cylinders 1
Bore x Stroke - 2.0” x 8.0” (50.8 mm x 203.2 mm)
Grapple Clamps - 1
Clamp Opening - 27.0” (685.8 mm)
53" Root Grapple Specifications
Model - Frontier AV20F Root Grapple
Overall Width - 53-inch (1480 mm)
Weight - 200 lbs
Compatibility - 200/300 Loader
Number of Tines - 5
Tine Spacing (in/mm) - 15 in. (381 mm)
Hydraulic Cylinders - 1
Bore x Stroke - 2.0 in. x 8.0 in. (50.8 mm x 203.2 mm)
Grapple Clamps - 1
Clamp Opening - 30.0 in. (760 mm)
John Deere 3032E Backhoe
370B Backhoe Specifications
Type of Attachment - Backhoe
Compatibility - John Deere 3032E
Digging Depth - 208 cm (82 in.)
Loading Height (Bucket at 60 degrees) - 179 cm (70.5 in.)
Reach from Center Line of Swing Pivot - 297 cm (117 in.)
Transport Height - 199 cm (78.5 in.)
Loading Reach (Bucket at 60 degrees) - 118 cm (46.3 in.)
Transport Overhang - 110 cm (42 in.)
Undercut - 43 cm (17 in.)
Bucket Rotation - 180 degrees
Swing Arc Angle - 150 degrees
Hydraulic Stabilizer Spread Width (Raised) - 118 cm (46.3 in.)
Hydraulic Stabilizer Spread Width (Lowered) - 188 cm (74 in.)
Boom Lift Capacity - 136,8 kg. (301 lb.)
Dipperstick Digging Force - 7020N (1577 lbf.)
Bucket Digging Force - 11980N (2692 lbf.)
Bucket Width - 300 mm (12 in.)
Struck Capacity - 0.019 m3 (0.66 ft3)
Heaped Capacity - 0.022 m3 (0.76 ft3)
Attach 370B Backhoe JD 3032E to
Tractor - Remove and install the center link to storage
hanger on the 370B backhoe seat frame. Raise tractor 3-point hitch
assembly. Install lift arm stop. Raise backhoe seat to clear the
machine. Check to be sure that all hydraulic hoses are routed away from
pinch points before installing backhoe to tractor. Start engine and run
at low idle. Back up the tractor to within 8 in. of backhoe. Stop
tractor engine and engage park brake. Verify swing pin is installed, if
not, install. Disconnect tractor power beyond hydraulic coupler behind
tractor. Connect backhoe hydraulic supply and tank line couplers to
machine couplers. Place power beyond hose in the storage hanger below
the supply coupler.
Start tractor and set engine to low idle. Lower backhoe stabilizers to
raise the backhoe until lower shaft is above hooks. Back up tractor
until lower shaft contacts machine frame. Lower stabilizers until lower
shaft rests in hooks. Remove boom lock pin. Lower 370B backhoe boom
until cross holes in mount frame and backhoe align. Install lock pin
through backhoe and mount frame from inside on right-hand and left-hand
sides. Install retainer pin on right-hand and left-hand sides. From the
backhoe operator seat, bleed the hydraulic system by doing the
following: Check to be sure that operating area is clear. Raise and
lower both stabilizers. Raise and lower boom. Extend and retract the
dipperstick. Curl and dump the bucket. Swing boom from side to side.
Raise backhoe to transport position and install boom lock pin.
John Deere 3032E Snowblower
54" Snowblower Specifications
Model - Frontier SB1154
Snow blower Type - Rear Mount
Compatibility - JD 3032E
Hitch - Cat. 1 iMatch
Steel skid shoes - Adjustable and replaceable
Cutting edge - Welded
Park Stand - Standard
Chute type - Two part
Chute deflector - Manual standard
Optional deflector adjustment - 3000 psi. (14,647 kPa)
Chute rotation - Manual or hydraulic 245 degrees
Working height - 26 in. (0,66 m)
Transport width - 54 in. (1,37 m)
Working width - 54 in. (1,37 m)
Length - 41 in. (1,04 m)
Roller chain - #60
Chain idler adjustment - Manual
Chute diameter - 8 in. (203 mm)
Auger diameter - 15 in. (380 mm)
Auger speed - 170 RPM
Impeller speed - 540 RPM
Impeller blades - 4
Impeller diameter - 24 in. (0,61 m)
Tractor PTO speed - 540 RPM
Minimum tractor HP - 20 PTO HP
Maximum tractor HP - 40 PTO HP
Auger overload protection - Shearbolt
PTO overload protection - Shearbolt
Operating weight - 512 lb. (232.2 kg)
Shipping weight - 514 lb. (233.1 kg)
64" Snow blower Specifications
Model - Frontier SB1164
Snowblower Type - Rear Mount
Compatibility - JD 3032E
Hitch - Cat. 1 iMatch
Steel skid shoes - Adjustable and replaceable
Cutting edge - Welded
Park Stand - Standard
Chute type - Two part
Chute deflector - Manual standard
Optional deflector adjustment - 3000 psi. (14,647 kPa)
Chute rotation - Manual or hydraulic 245 degrees
Working height - 26 in. (0,66 m)
Transport width - 64 in. (1,62 m)
Working width - 64 in. (1,62 m)
Length - 41 in. (1,05 m)
Roller chain - #60
Chain idler adjustment - Manual
Chute diameter - 8 in. (203 mm)
Auger diameter - 15 in. (381 mm)
Auger speed - 170 RPM
Impeller speed - 540 RPM
Impeller blades - 4
Impeller diameter - 24 in. (0,61 m)
Tractor PTO speed - 540 RPM
Minimum tractor HP - 20 PTO HP
Maximum tractor HP - 50 PTO HP
Auger overload protection - Shearbolt
PTO overload protection - Shearbolt
Operating weight - 531 lb. (240.9 kg)
Shipping weight - 533 lb. (241.8 kg)
John Deere 3032E Rear Blade
60-inch Rear Blade Specifications
Model - Frontier RB1060
Compatibility - JD 3032E
Working Width - 60" (152 cm)
Operating Weight (Mass) - 262 lbs (119 kg)
Tractor Size - 12 to 30 hp (9 to 22 kW)
3-Point Hitch - Category 1
Implement Code for Tractor Ballast - 15.0
Angle 360° - Locks at 0°, 15°, 30° forward right or left
Blade Tilt - 0°, 15° either side
Pitch Adjustment - In top link of tractor 3-point hitch
72-inch Rear Blade Specifications
Model - Frontier RB1072
Compatibility - JD 3032E
Working Width - 72" (183 cm)
Operating Weight (Mass) - 283 lbs (128 kg)
Tractor Size - 12 to 30 hp (9 to 22 kW)
3-Point Hitch - Category 1
Implement Code for Tractor Ballast - 16.2
Offset - None 12" (30 cm) right or left
Angle 360° - Locks at 0°, 15°, 30° forward right or left
Blade Tilt - 0°, 15° either side
Pitch Adjustment - In top link of tractor 3-point hitch
John Deere 3032E Mower and Cutter
60-inch Side Discharge Grooming Mower
Specifications
Model - Frontier GM1060
Type - Rear Mount
3-Point Hitch - Category 1
Cutting Width - 60 inch
Cutting Height Range - 1" - 5-1/2"
Operating Weight with Chain Shielding - 653 lbs
Blade Speed (feet per minute) - 18,100
Blade Speed (RPM) - 3,295
Blade Spindles - 3
Number of Blades - 3
Universal Drive Series - ASAE Cat. 3
Caster Wheels - 3.25x10
Tractor PTO Speed RPM - 540
Recommended Maximum Tractor Horsepower - 60 HP
Mower Frame Thickness - 8 GA
Implement Code for Tractor Ballast - 37
72-inch Side Discharge Grooming Mower
Specifications
Model - Frontier GM1072
Type - Rear Mount
3-Point Hitch - Category 1
Cutting Width - 72 inch
Cutting Height Range - 1" - 5-1/2"
Operating Weight with Chain Shielding - 719 lbs
Blade Speed (feet per minute) - 18,100
Blade Speed (RPM) - 2,748
Blade Spindles - 3
Number of Blades - 3
Universal Drive Series - ASAE Cat. 3
Caster Wheels - 3.25 x 10
Tractor PTO Speed RPM - 540
Recommended Maximum Tractor Horsepower - 60 HP
Mower Frame Thickness - 8 GA
Implement Code for Tractor Ballast - 43
Cutting height adjustment
- Level Frontier GM1072 mower from side to side. Check by measuring from
mower frame to the ground at each deck rail. Verify that the same amount
of spacers are under all caster arms. Loosen cap screws that attach
caster arm assembly to deck. Set mower on the ground. Retighten cap
screws. This equalizes the clearance in the bolt holes. Adjust front of
mower level with or slightly lower than the rear to obtain best mowing
results. Control cutting height by adjusting front and rear caster
wheels. To raise rear of mower, move caster adjustment spacers under
rear caster arms. To raise front of mower, move spacers under front
caster wheel arms.
Belt Replacement -
Check pulley shafts and bearings for wear. Check pulley grooves for
cleanliness. Make sure spindles turn freely and without wobble. If
grooves require cleaning, moisten a cloth with a nonflammable, non-toxic
degreasing agent or commercial detergent and water.
MX5 Rotary Cutter (60-inch) Specifications
Model - MX5 Rotary Cutter
Cutting Width - 1.52 m (60 in.)
Cutting Height - 25-241 mm (1-9-1/2 in.)
Overall Width - 1624 mm (64 in.)
Overall Length - 2595 mm (102 in.)
Body Depth - 216 mm (8-1/2 in.)
Upper Deck Thickness - 3 mm (1/8 in.)
Lower Deck Thickness - 3 mm (1/8 in.)
Total Thickness - 6 mm (1/4 in.)
Skirt Thickness - 6 mm (1/4 in.)
Horsepower (minimum) - 18.6 kW (25 hp)
Power Take-Off (PTO) - 540 rpm
Hitch Type - Integral Hitch, Category 1
Driveline Size - Category 3
Driveline Protection (Tractor-to-Gear Case) - Self-Adjusting Slip Clutch
Blades Holder - Round Pan (Stump Jumper)
Blades Type - Suction, 13 x 102 mm (1/2 x 4 in.)
Blade Tip Speed (540 PTO rpm) - 72.9 m/s (14,347 ft/min)
Brush Cutting Capacity - 50 mm (2 in.)
Weight - 330 kg (728 lb)
Disassembling and Inspecting Slip
Clutch (MX5 Rotary Cutter) - Remove PTO driveline.
Remove locking collar assembly as follows: Pull back on locking collar.
Remove snap ring. Remove parts. Place clutch in vise and remove cap
screws and lock nuts until tension is relieved. Friction disks may
appear to be part of the hub or yoke, tap lightly on edge to separate.
Inspect clutch components for wear or damage. Repair or replace parts as
necessary.
Attaching PTO Driveline
- Shut off tractor engine. Raise tractor PTO shield, if equipped.
Support driveline, cradling it in your hand. Pull collar back toward MX5
Rotary Cutter. Align splines by rotating cutter driveline. Push
driveline onto tractor PTO shaft until collar snaps into place. Pull
back on shield to make sure driveline is locked. Do not pull back on or
rotate collar, this will release latch. Lower tractor PTO shield, if
equipped.
________________________________________________________________________________
________________________________________________________________________________________
________________________________________________________________________________________
________________________________________________________________________________________
________________________________________________________________________________________
________________________________________________________________________________________
________________________________________________________________________________________
________________________________________________________________________________________
________________________________________________________________________________________
________________________________________________________________________________________
________________________________________________________________________________________
________________________________________________________________________________________
________________________________________________________________________________________
________________________________________________________________________________________
________________________________________________________________________________________
________________________________________________________________________________________
________________________________________________________________________________________
________________________________________________________________________________________
________________________________________________________________________________________
________________________________________________________________________________________
________________________________________________________________________________________
________________________________________________________________________________________
________________________________________________________________________________________
________________________________________________________________________________________
________________________________________________________________________________________
________________________________________________________________________________________
________________________________________________________________________________________
________________________________________________________________________________________
________________________________________________________________________________________
________________________________________________________________________________________
________________________________________________________________________________________
________________________________________________________________________________________
________________________________________________________________________________________
________________________________________________________________________________________
________________________________________________________________________________________
________________________________________________________________________________________
________________________________________________________________________________________
________________________________________________________________________________________
________________________________________________________________________________________
________________________________________________________________________________________
________________________________________________________________________________________
________________________________________________________________________________________
________________________________________________________________________________________
 JD SPECS
 JD LOADERS
 JD MAINTENANCE
 JD INSTRUCTIONS
 JD PROBLEMS
 JD 2025R
 JD 3039R
 JD 4044R
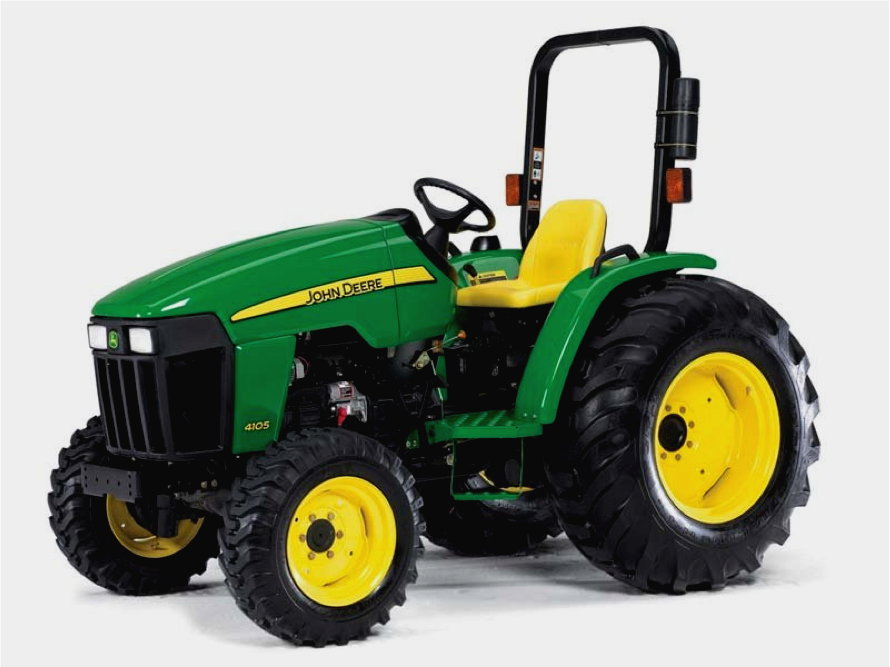 JD 4105
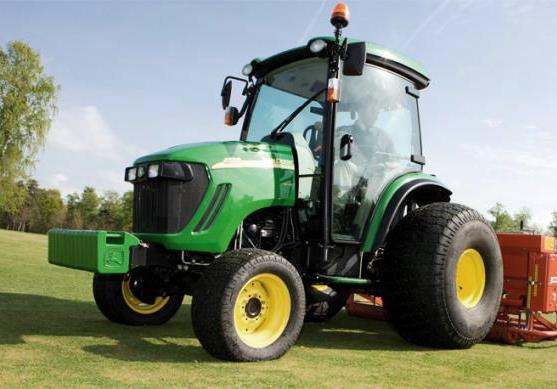 JD 4720
 420 Loader
 419 Loader
 510 Loader
 512 Loader
 520 Loader
 520M Loader
 540M NSL
 540 Loader
 440R Loader
 H180 Loader
 JD 5045E
 JD 5085E
 JD 5100M
 JD 6105R
 JD 6120M
 JD 6155M
 JD 6195R
 JD 6210R
 JD 7210R
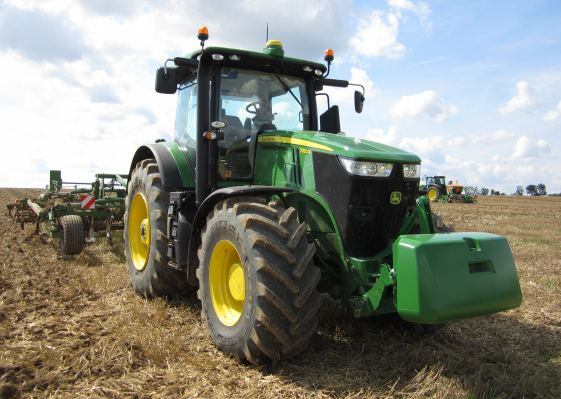 JD 7250R
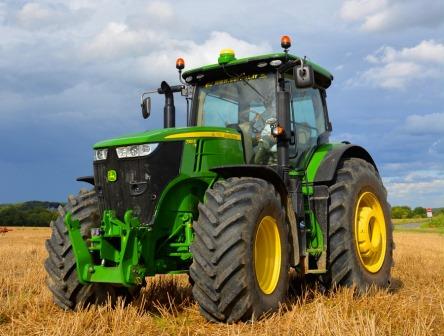 JD 7310R
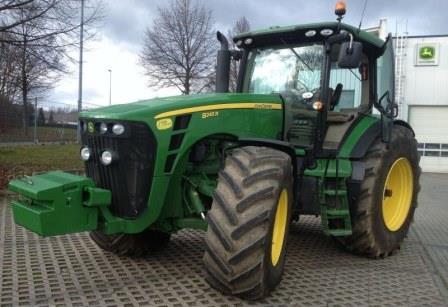 JD 8245R
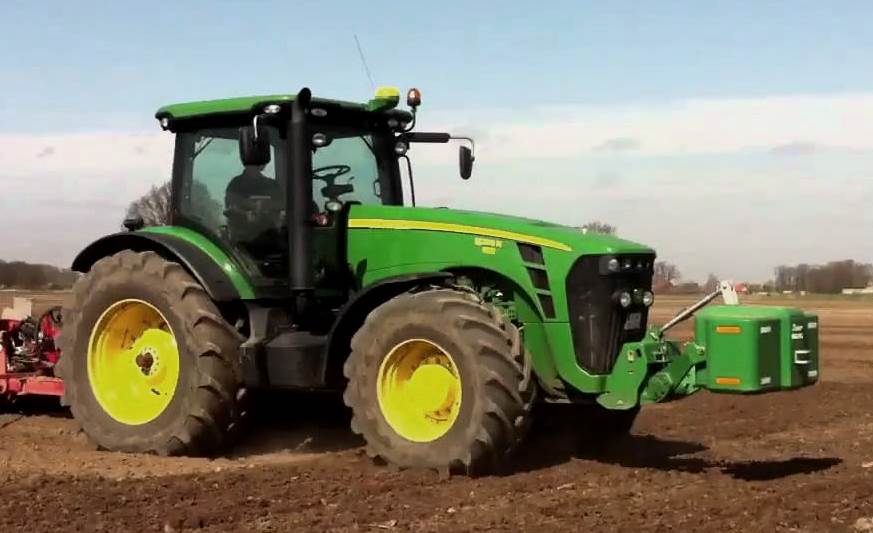 JD 8295R
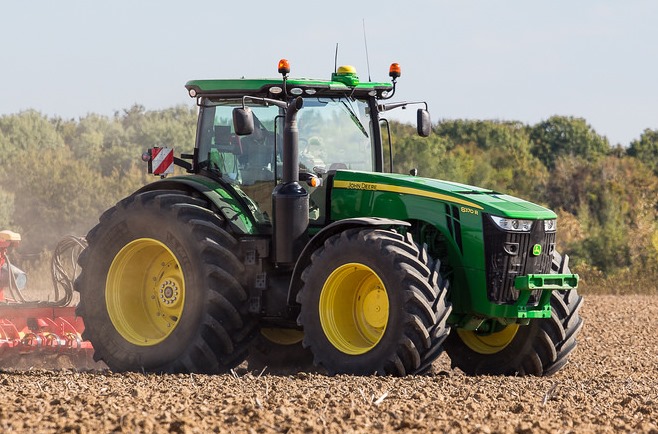 JD 8370R
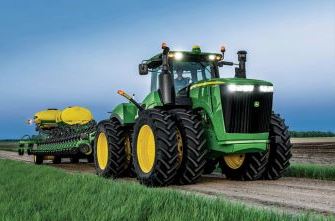 JD 9370R
 120R Loader
 D120 Loader
 H120 Loader
 45 Loader
 200CX Loader
 D160 Loader
 D170 Loader
 H160 Loader
 H165 Loader
 H240 Loader
 210 Loader
 220R Loader
 300E Loader
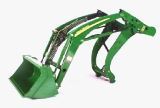 300X Loader
 300CX Loader
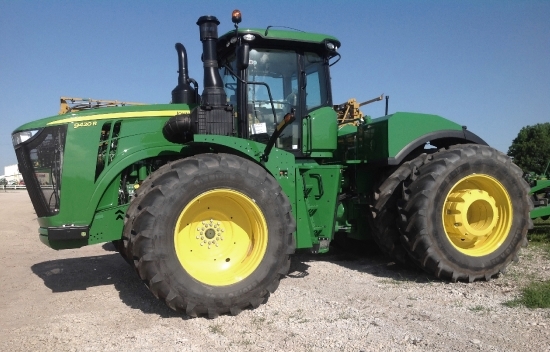 JD 9420R
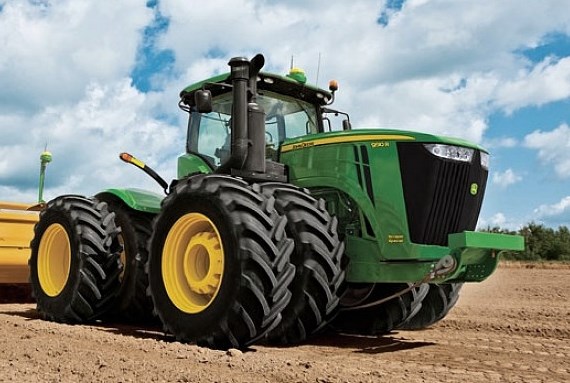 JD 9510R
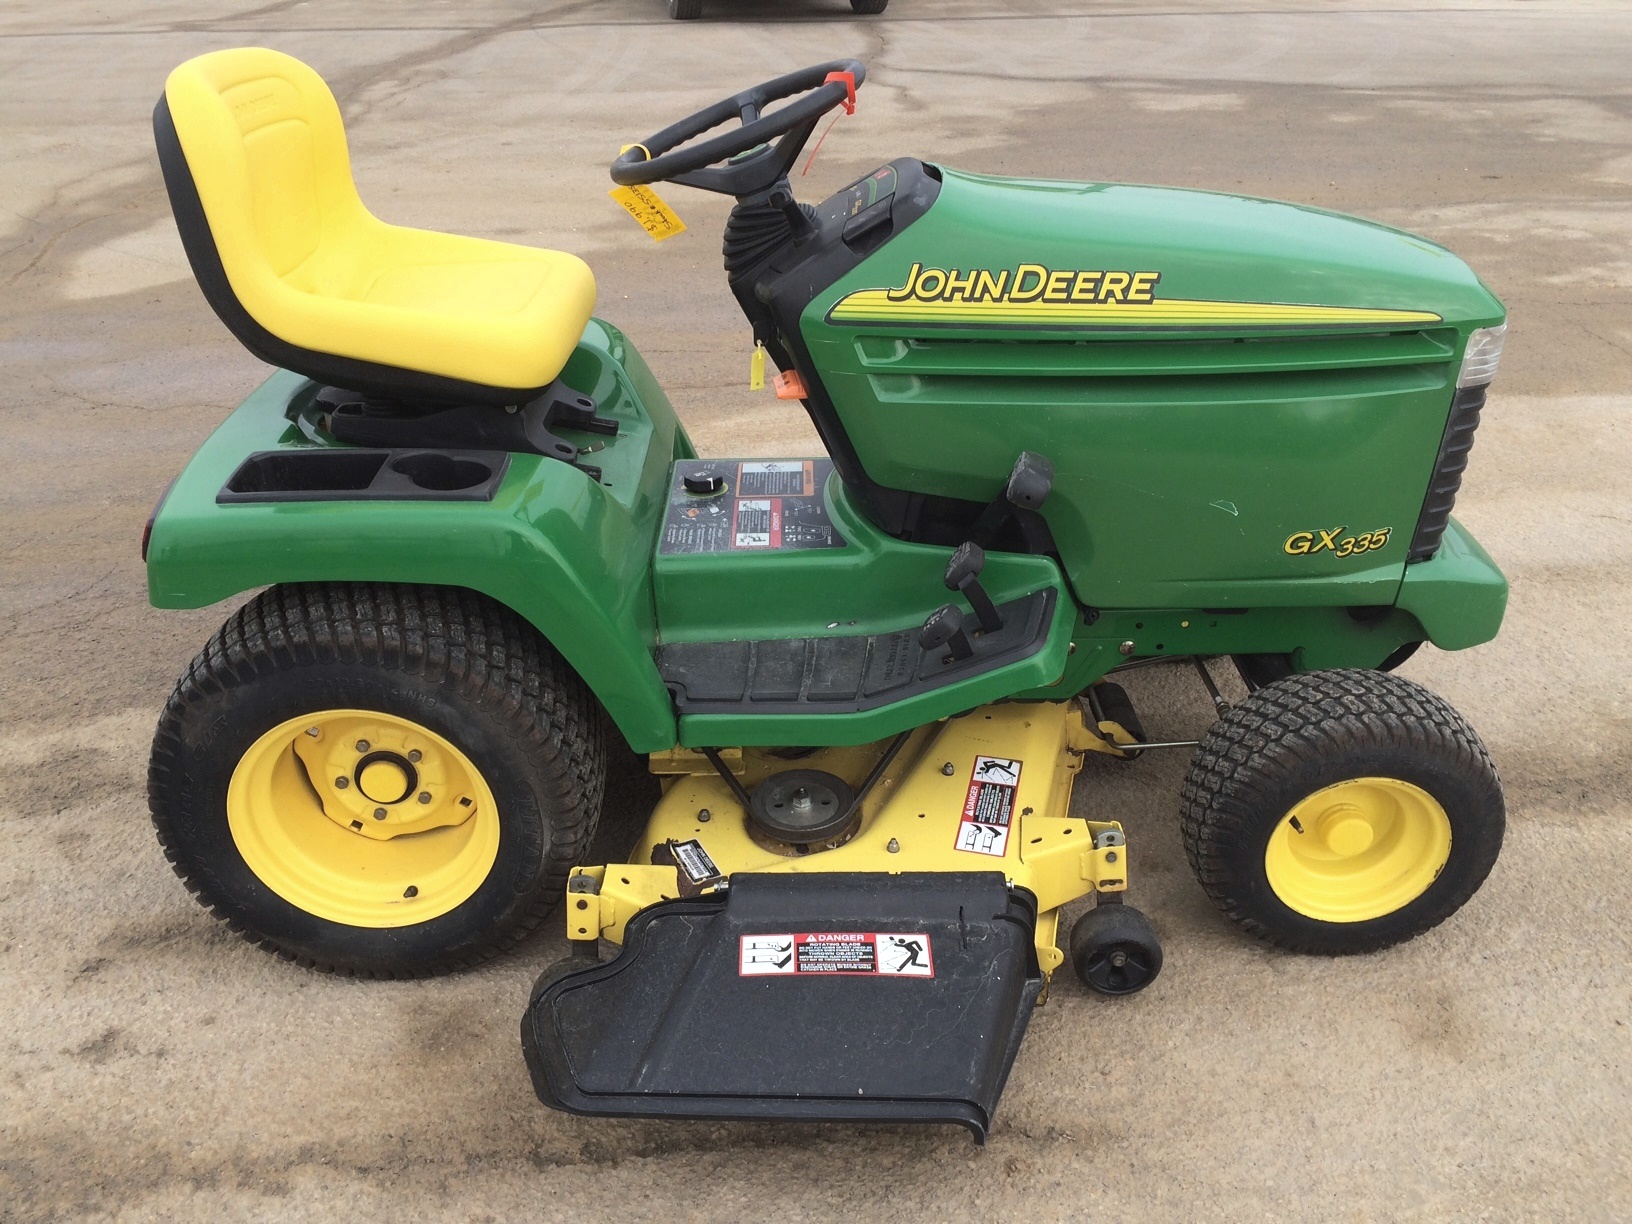 JD GX335
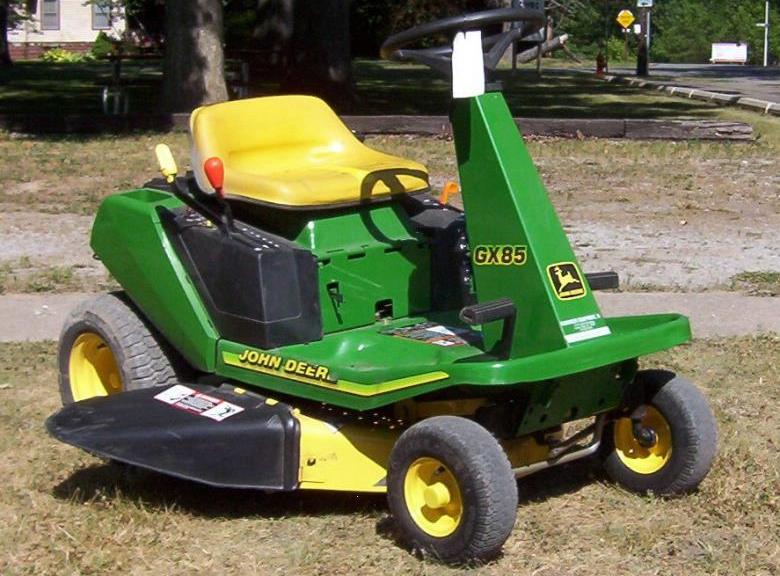 JD GX85
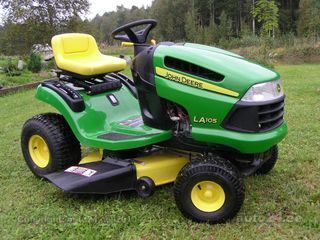 JD LA105
 JD 5065M
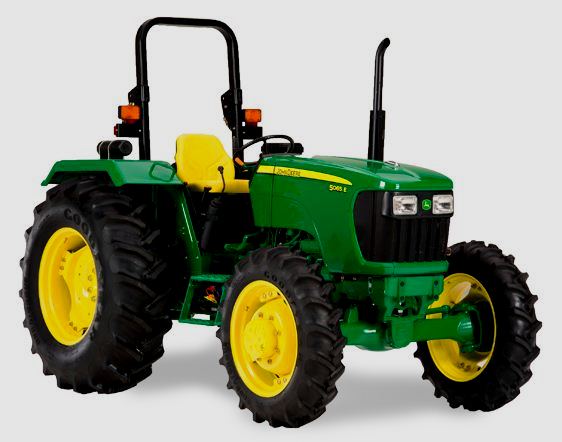 JD 5055D
 JD 5115R
 JD 5105M
 JD 6110R
 JD 6130D
 JD 6225
 JD 7530
 JD 4044M
 JD 7185J
 300 Loader
 300R Loader
 320R Loader
 400E Loader
 410 Loader
 430 Loader
 460 Loader
 521 Loader
 531 Loader
 541 Loader
 551 Loader
 631 Loader
 651 Loader
 661 Loader
 603R Loader
 JD D130
 JD D160
 JD 325
 JD 335
 JD 345
 JD 2520
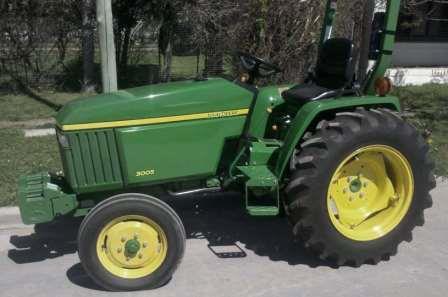 JD 3005
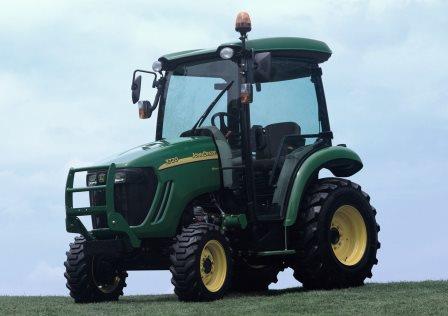 JD 3720
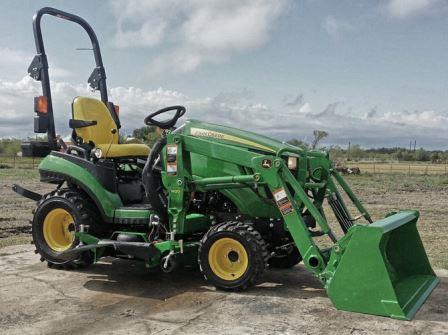 JD 1025R
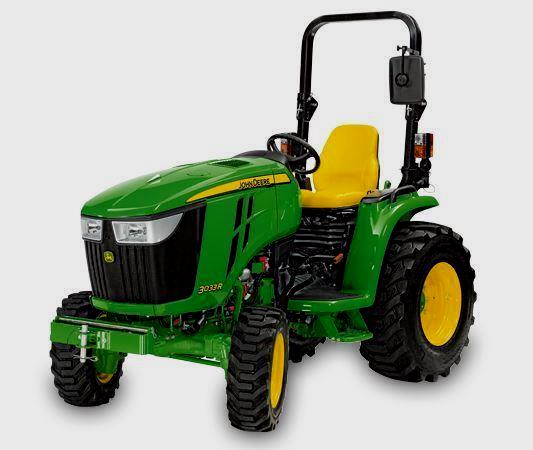 JD 3033R
 JD 5090EL
 JD 5100MH
 JD 5075GV
 JD 6090RC
 JD 6110B
 623R Loader
 643R Loader
 731 Loader
 746 Loader
 751 Loader
 533 Loader
 583 Loader
 633 Loader
 653 Loader
 683 Loader
 H260 Loader
 663R Loader
 663 Loader
 683R Loader
 753 Loader
 JD 6125J
 JD 6150RH
 JD 6210J
 JD 7195J
 JD 8310
 JD 6325
 JD 5525
 JD 5083EN
 JD 5100GN
 JD 5125R
 210C Backhoe
 300D Backhoe
 310G Backhoe
 410G Backhoe
 710G Backhoe
 80 Loader
 100 Loader
 146 Loader
 148 Loader
 158 Loader
 168 Loader
 175 Loader
 522 Loader
 542 Loader
 540R Loader
 562 Loader
 563 Loader
 673 Loader
 741 Loader
 L108 Automatic
 L120 Automatic
 LA110 Automatic
 LA120 Automatic
 LA150 Automatic
 LT155
LT155 LT160 Automatic
 LT180 Automatic
 LTR180
 X165
X165 E100
E100 E120
E120 E150
E150 LTR166
 LA135
LA135 LA165
LA165 LX277
LX277 LX288
LX288 LX255
LX255 S240
S240 GT235
GT235 G110 Automatic
 JD 3203
 JD 5520
 JD 316
 JD 420
 JD 425
 JD 445
 JD_5050D
 X300
X300 X304
X304 X310
X310 X110 Automatic
 H310 Loader
 H340 Loader
 H360 Loader
 H380 Loader
 H480 Loader
 240 Loader
 245 Loader
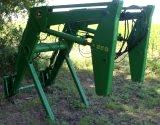 260 Loader
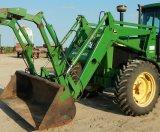 265 Loader
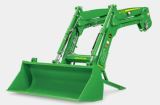 600R Loader
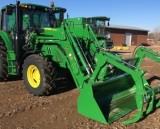 620R Loader
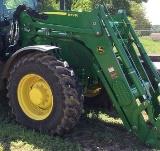 640R Loader
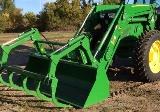 660R Loader
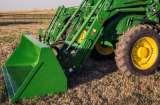 680R Loader
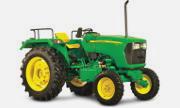 JD_5039D
 X146R
X146R X360
X360 X155R
X155R X140 Automatic
 X350
X350 X380
X380 X500
X500 X590
X590 X700
X700 3036E
3036E 2038R
2038R 3038R
3038R 4049M
4049M JD 4100
 X738
X738 X740
X740 X748
X748 X749
X749 X950R
X950R JD 4510
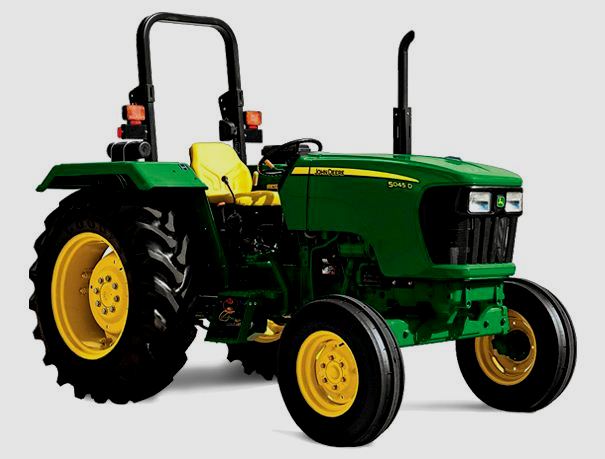 5045D
5045D 5050E
5050E 5060E
5060E 5078E
5078E