________________________________________________________________________________
4044M, 4044R, 4052M, 4052R, 4066 John Deere Service Engine
- 4044, 4052, 4066 Diesel Engine
- 4044, 4052, 4066 Service Engine
- 4044, 4052, 4066 Transmission
- 4044, 4052, 4066 Hitch
- 4044, 4052, 4066 Hydraulics and PTO
- 4044, 4052, 4066 Troubleshooting
Checking Engine Oil Level
Failure to check the oil level regularly
could lead to 4044, 4052, 4066 John Deere Tractors engine problems if
oil level is low:
- Check oil level before operating.
- Check oil level when the engine is cold and not running.
- Keep level between the Full and the Add marks.
- Shut off engine before adding oil.
Check engine oil when engine is cold. If engine is warm, allow to cool
for at least 5 minutes before checking oil. Check engine oil with
machine parked on a level surface.
- Park machine safely.
- Remove dipstick, located at the right side of the engine. Wipe with a
clean cloth.
- Install dipstick.
- Remove dipstick.
- Check oil level on dipstick. Oil level should be between levels (Full
and Add) on dipstick.
- If oil level is low: Raise hood. Remove right side panel. Remove oil
fill cap. Add recommended engine oil until level is within operating
range on dipstick. Do not overfill. Install dipstick.
- If oil is above full level on dipstick, drain to proper level.
- Install right side panel.
- Lower hood.
Changing JD Tractors Engine Oil and Filter
- Run engine to warm the oil.
- Park machine safely.
- Remove right side panel.
- Place drain pan under oil drain plug, located on underside of engine.
- Remove drain plug.
- Wipe dirt from around oil filter.
- Turn filter counterclockwise to remove.
- Put a light coat of clean engine oil on gasket of new filter.
- Install replacement oil filter by turning filter clockwise until
gasket contacts filter base. Tighten additional 1/2 turn.
- Install drain plug. Do not overtighten.
- Remove oil fill cap.
- Add approximately 4.5 L (1.2 gal.) engine oil.
- Install oil fill cap.
- Start and run engine at idle to check for leaks.
- Stop engine. Fix any leaks before operating.
- Check engine oil level. Add oil if necessary.
- Install right side panel.
Servicing Air Filter Elements
Dirt and debris can enter the JD 4044M, 4044R, 4052M, 4052R, 4066M,
4066R Tractors engine through a damaged filter element: All air filter
assemblies are
similar.
Servicing Primary Air Filter Element
- Park machine safely.
- Allow engine to cool.
- Raise hood.
- Remove hold-down strap.
- Tilt canister up, release latches, and remove air filter canister
cover.
- Remove and discard primary filter element. Clean out any dirt in
canister, taking care not to damage secondary filter element. Replace
with a new primary filter
element.
- Install air filter canister cover with rubber dust unloading valve
pointing downward.
- Secure latches.
- Position canister back in place and install hold-down strap.
- Check instructions molded into canister cover for proper installation.
- Lower hood.
Servicing Secondary Air Filter Element
Secondary filter element does not need routine replacement. Visually
inspect it without removing from canister. Do not attempt to clean
secondary element. If
secondary element is replaced, install new primary and secondary filter
elements immediately to prevent dust from entering air intake system.
- Remove air filter canister cover.
- Remove and discard primary filter element.
- Remove and discard secondary filter element. Replace with a new
secondary filter element.
- Install new primary filter element.
- Replace air filter canister cover.
- Position canister back in place and install hold-down strap.
- Lower hood.
4044, 4052, 4066 John Deere Servicing Cooling System
Checking Cooling System
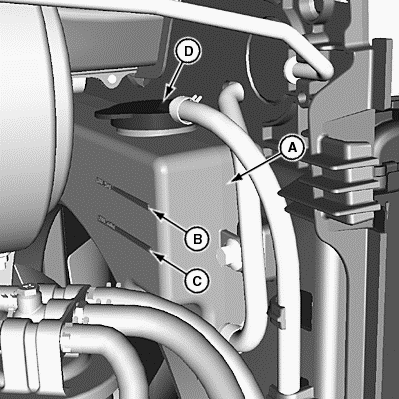
A - Recovery Tank, B - Full Line, C - Low Line, D - Tank Cap
- Park machine safely.
- Allow JD Tractor engine to cool.
- Raise hood.
- Check recovery tank (A) coolant level:
- If engine is warm, coolant level should be between the FULL line (B)
and the LOW line (C).
- If engine is cold, coolant level should be at the LOW line (C) on the
recovery tank.
- Remove recovery tank cap (D) if needed to add coolant.
- Add recommended coolant.
- Install recovery tank cap.
- Lower hood.
Draining Cooling System
- Allow engine to cool.
- Raise hood.
- Remove right side panel.
- Slowly open radiator cap to the first stop to release all pressure.
- Close radiator cap tightly.
- Position drain pan under radiator. Open petcock and drain coolant.
- Drain coolant from JD 4044M, 4044R, 4052M, 4052R, 4066M, 4066R engine
depending on model.
- Locate engine block drain plug at right side of engine, behind oil
filter. Position drain pan under drain plug, remove drain plug, and
allow all coolant to drain. Locate
engine coolant hose at right side of engine, connected to oil filter.
Position drain pan under hose, remove hose clamp, and allow all coolant
to drain.
- When coolant drains from the recovery tank, remove the radiator cap.
- Close radiator petcock and install engine block drain plug or coolant
hose and clamp.
- Flush cooling system.
Flushing Cooling System
- Fill cooling system with clean water and John Deere Cooling System
Cleaner or John Deere Cooling System Quick Flush or an equivalent.
Follow directions on
the container.
- Install and tighten radiator cap.
- Start and run engine until it reaches operating temperature.
- Stop engine.
- Open petcock and engine block drain plug or coolant hose and clamp.
- Drain cooling system immediately before rust and dirt settle.
- Close petcock and engine block drain plug or coolant hose and clamp.
Filling Cooling System
Using incorrect coolant mixture can damage the radiator:
- Do not operate engine with plain water.
- Do not exceed a 50% mixture of coolant and water.
- Aluminum engine blocks and radiators require approved ethylene glycol
base coolant.
Follow the directions on the container for correct mixture ratio.
- Allow radiator to cool.
- Remove radiator cap.
- Fill cooling system. Open operator station cooling system capacity is
6 L (1.6 gal.). Cab cooling system capacity is 8 L (2.1 gal.).
- Install and tighten radiator cap.
- Run engine until it reaches operating temperature.
- Stop JD 4044, 4052, 4066 engine.
- Allow engine to cool. (Some coolant may be drawn into the radiator
from the recovery tank during cool down.)
- Check recovery tank coolant level. After engine cools, coolant level
should be at the FULL COLD line on the recovery tank.
- Remove cap from recovery tank to add coolant if necessary.
- Install right side panel.
- Lower hood.
Cleaning Cooling Fins
Compressed air can cause debris to fly a long distance.
- Clear work area of bystanders.
- Wear eye protection when using compressed air for cleaning purposes.
- Reduce compressed air pressure to 210 kPa (2.1 bar) (30 psi).
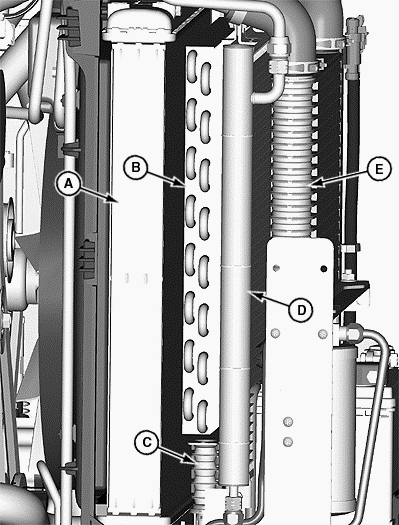
A - Radiator, B - Transmission Oil Cooler, C - Fuel Cooler (JD 4066R
Only), D - Air Conditioning Condenser (Cab Models Only), E - Charge Air
Cooler (JD 4066M
Only)
Reduce compressed air pressure to 210 kPa (2.1 bar) (30 psi) when
cleaning radiator and cooling fins. Spray compressed air straight into
radiator. Do not spray
radiator on an angle or cooling fins can be bent.
- Allow engine to cool.
- Raise hood.
- Using compressed air or water, remove all dirt and debris from fins at
front and rear of the following: Radiator, including fan shroud.
Transmission oil cooler.
Checking and Cleaning Fuel Filter Sediment Bowl and Replacing Filter
Change filter when fuel level is low.
- Park machine safely. Allow 4044M, 4044R, 4052M, 4052R, 4066M, 4066R
John Deere engine to cool.
- Check fuel sediment bowl. If water and deposits are detected, remove
bowl and replace fuel filter.
- Move the fuel shutoff valve to the closed position.
- Position drain pan under fuel filter sediment bowl.
- Turn sediment bowl counterclockwise to remove.
- Remove and discard the fuel filter.
- Clean bowl.
- Install new filter to filter head.
- Install sediment bowl.
- Open fuel shutoff valve. Fuel system is self-bleeding.
- Turn key to the ON position for 10—15 seconds before attempting to
start; electric pump purges air from sediment bowl.
Replacing Inline Fuel Filter
Change filter when fuel level is low.
- Remove right side panel.
- Position drain pan under fuel filter.
- Wipe dirt from around filter.
- Turn filter counterclockwise to remove.
- Install replacement filter by turning filter clockwise until gasket
contacts filter base. Tighten additional 1/2 turn.
- Start and run engine at idle to check for leaks.
Cleaning Cab Air Filter
Remove any rear implement before servicing cab air filter. Do not stand
on 3-point hitch or PTO shield.
- Remove two wing bolts, washers, and filter base.
- Remove filter from filter base, and clean with compressed air. Inspect
filter for damage. Replace if necessary.
- Install filter into base.
- Install filter base, making sure six tabs on roof panel are installed
into slots in filter base.
- Secure base assembly into roof panel with two washers and wing nuts.
- 4044, 4052, 4066 Diesel Engine
- 4044, 4052, 4066 Service Engine
- 4044, 4052, 4066 Transmission
- 4044, 4052, 4066 Hitch
- 4044, 4052, 4066 Hydraulics and PTO
- 4044, 4052, 4066 Troubleshooting
________________________________________________________________________________
________________________________________________________________________________________
________________________________________________________________________________________
________________________________________________________________________________________
________________________________________________________________________________________
________________________________________________________________________________________
________________________________________________________________________________________
________________________________________________________________________________________
________________________________________________________________________________________
________________________________________________________________________________________
________________________________________________________________________________________
________________________________________________________________________________________
________________________________________________________________________________________
________________________________________________________________________________________
________________________________________________________________________________________
________________________________________________________________________________________
________________________________________________________________________________________
________________________________________________________________________________________
________________________________________________________________________________________
________________________________________________________________________________________
________________________________________________________________________________________
________________________________________________________________________________________
________________________________________________________________________________________
________________________________________________________________________________________
________________________________________________________________________________________
________________________________________________________________________________________
________________________________________________________________________________________
________________________________________________________________________________________
________________________________________________________________________________________
________________________________________________________________________________________
________________________________________________________________________________________
________________________________________________________________________________________
________________________________________________________________________________________
________________________________________________________________________________________
________________________________________________________________________________________
________________________________________________________________________________________
________________________________________________________________________________________
________________________________________________________________________________________
________________________________________________________________________________________
________________________________________________________________________________________
________________________________________________________________________________________
________________________________________________________________________________________
________________________________________________________________________________________
 JD SPECS
 JD LOADERS
 JD MAINTENANCE
 JD INSTRUCTIONS
 JD PROBLEMS
 JD 2025R
 JD 3039R
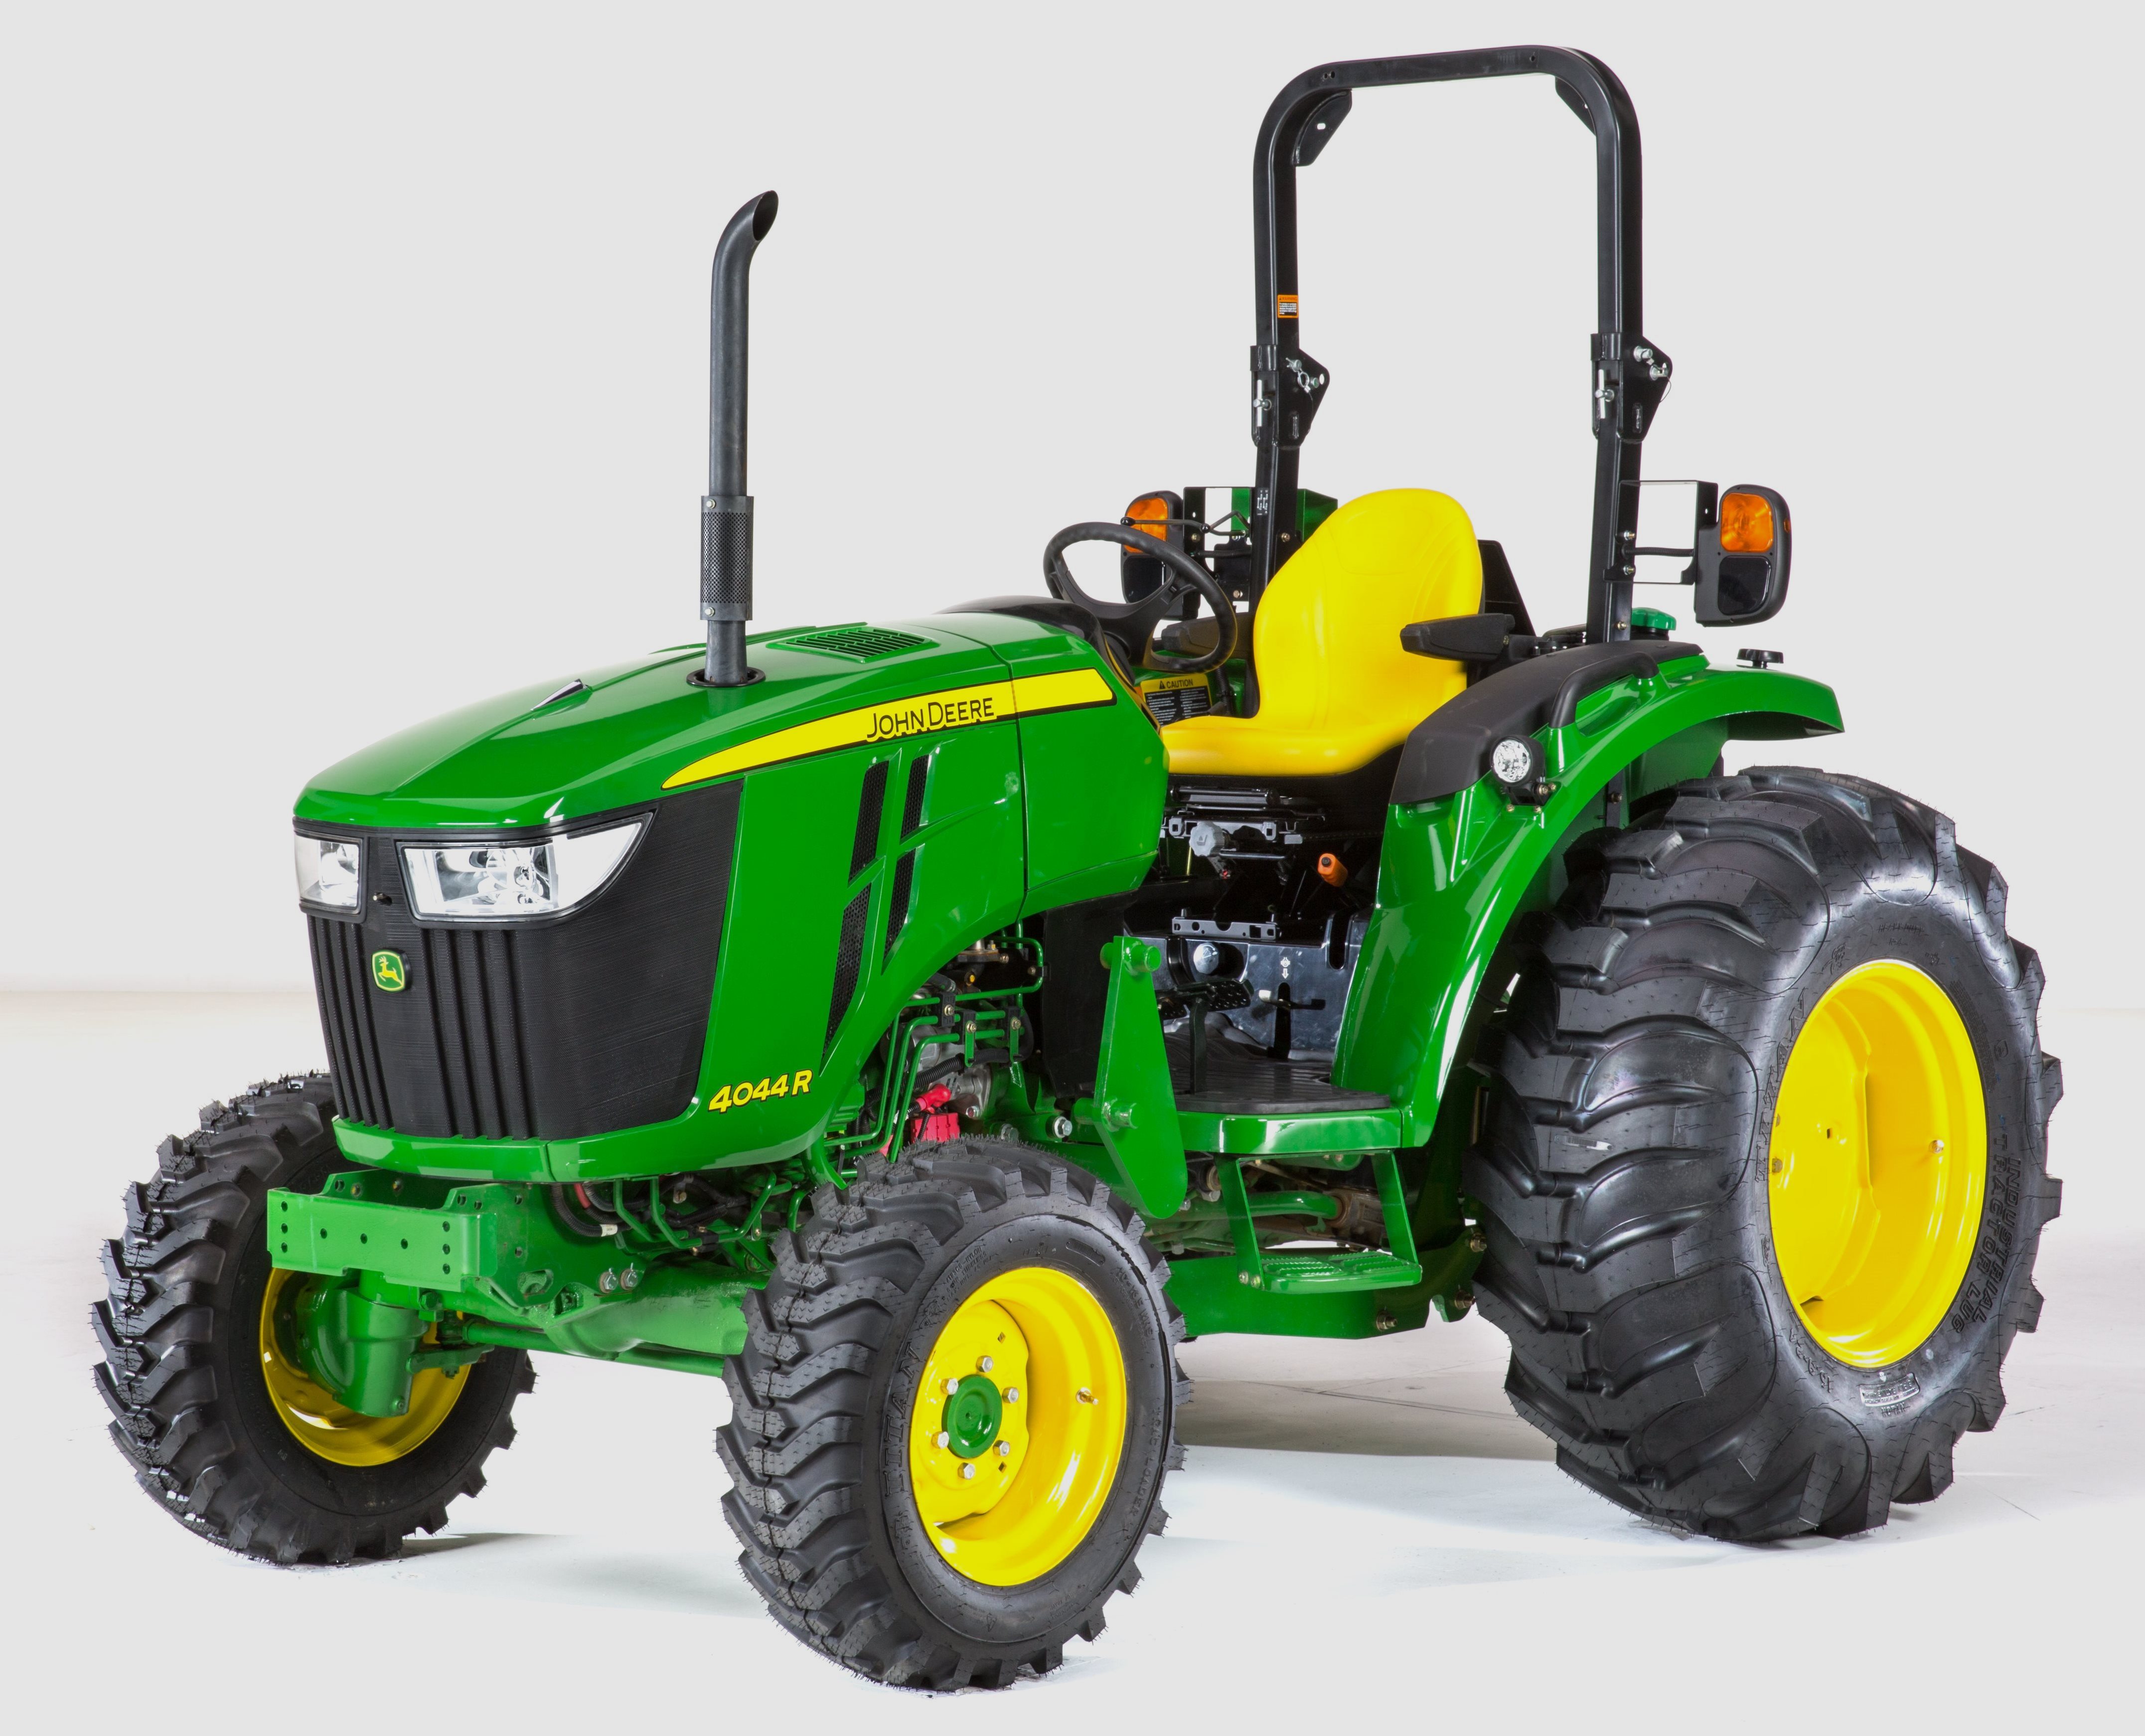 JD 4044R
 JD 4105
 JD 4720
 420 Loader
 419 Loader
 510 Loader
 512 Loader
 520 Loader
 520M Loader
 540M NSL
 540 Loader
 440R Loader
 H180 Loader
 JD 5045E
 JD 5085E
 JD 5100M
 JD 6105R
 JD 6120M
 JD 6155M
 JD 6195R
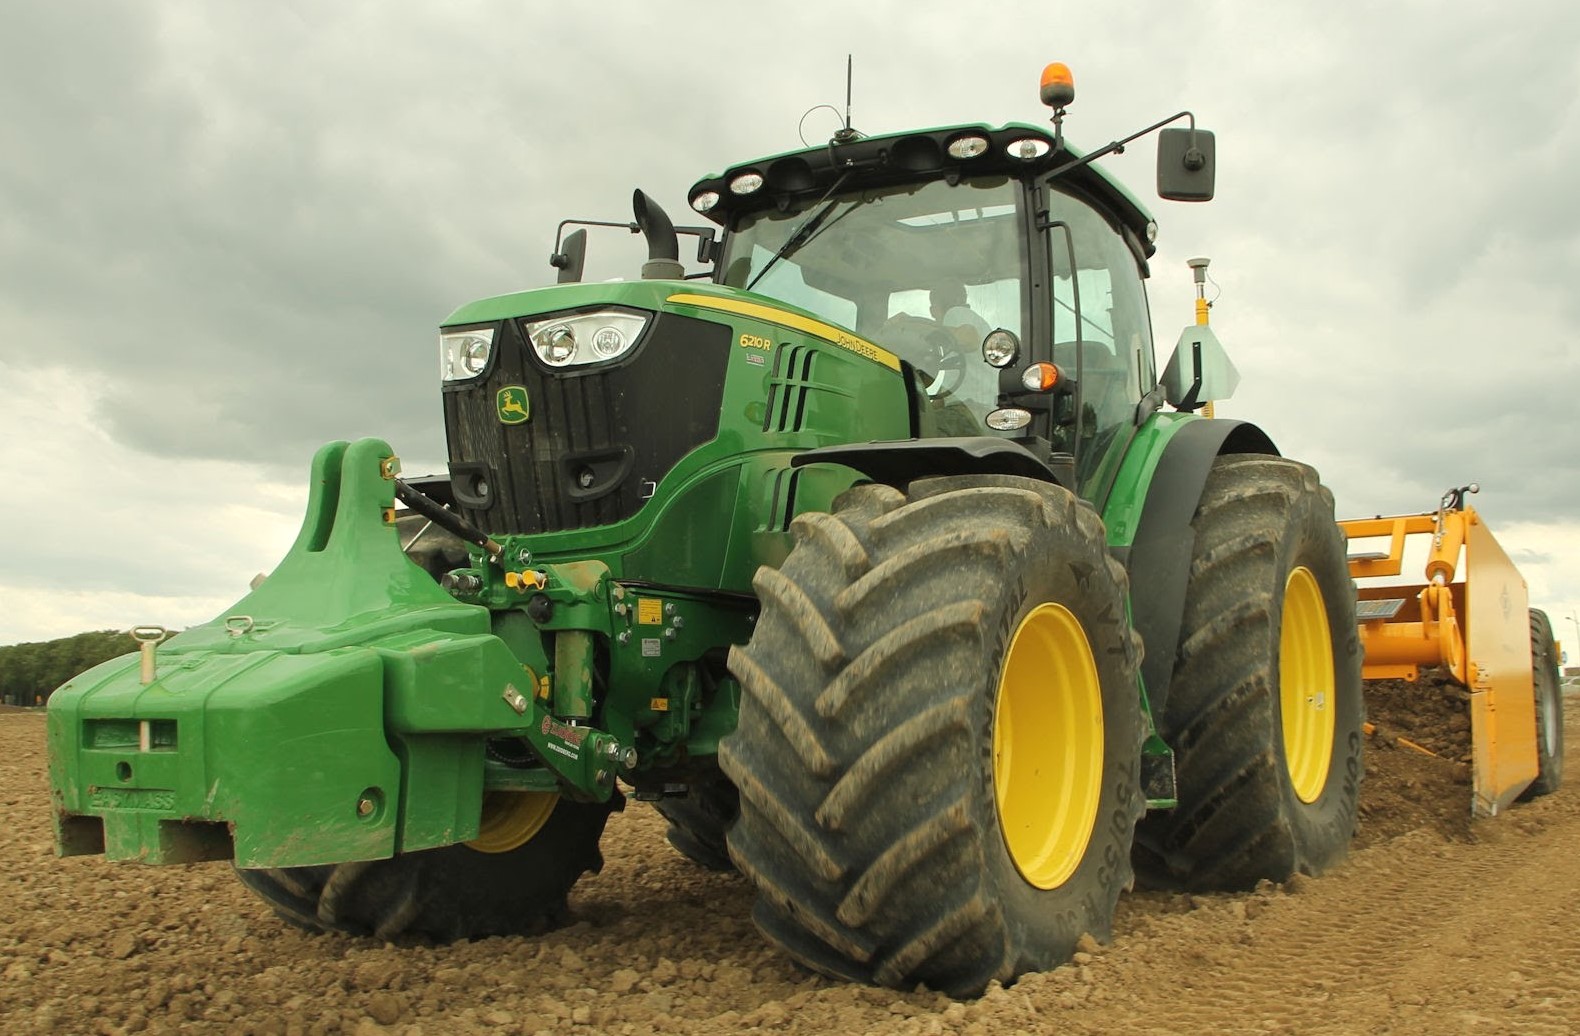 JD 6210R
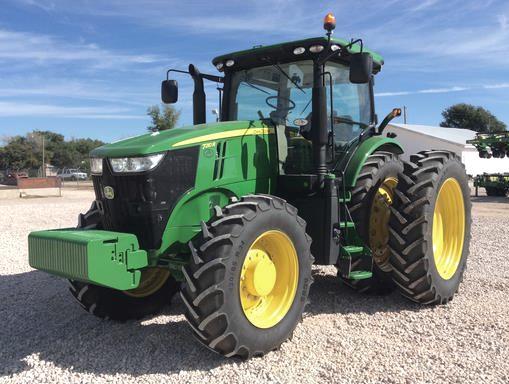 JD 7210R
 JD 7250R
 JD 7310R
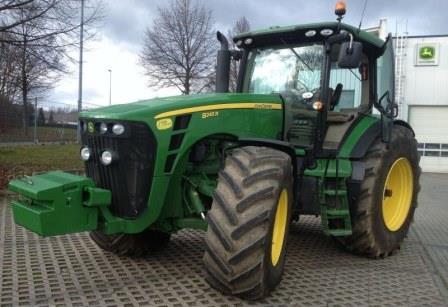 JD 8245R
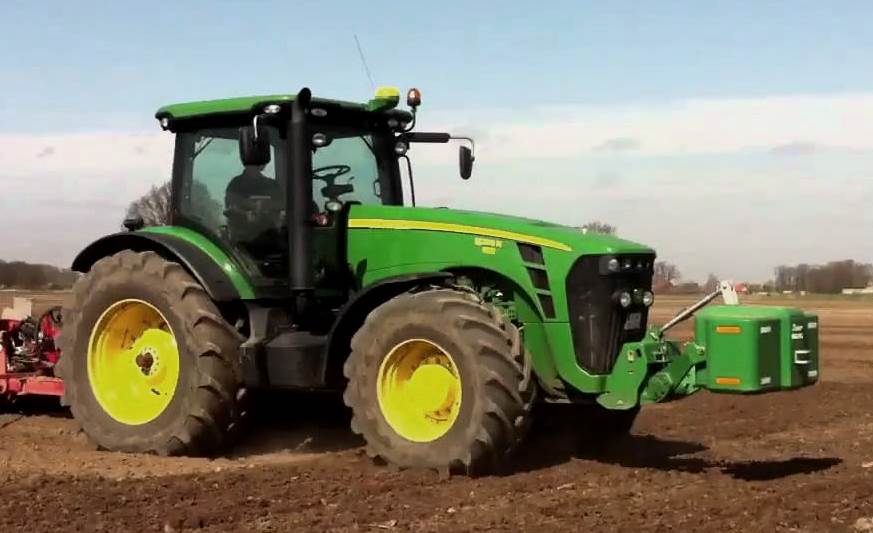 JD 8295R
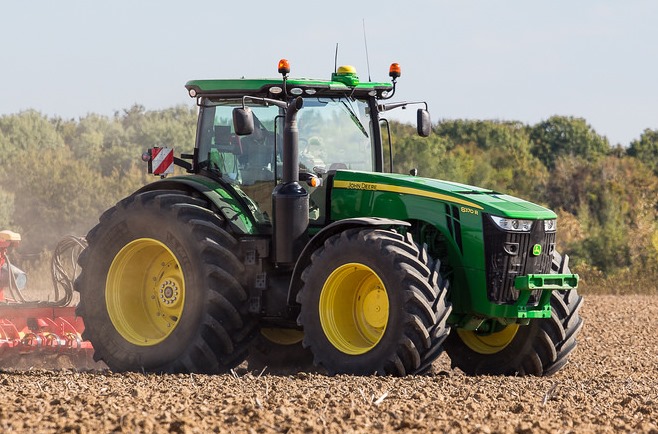 JD 8370R
 JD 9370R
 120R Loader
 D120 Loader
 H120 Loader
 45 Loader
 200CX Loader
 D160 Loader
 D170 Loader
 H160 Loader
 H165 Loader
 H240 Loader
 210 Loader
 220R Loader
 300E Loader
 300X Loader
 300CX Loader
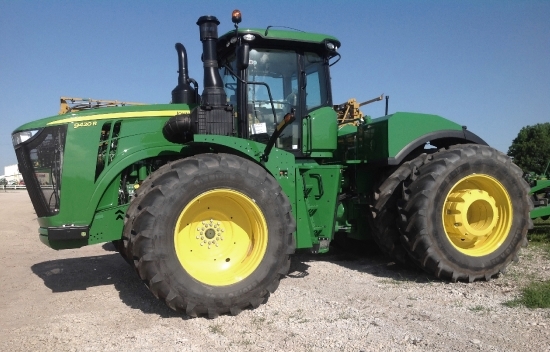 JD 9420R
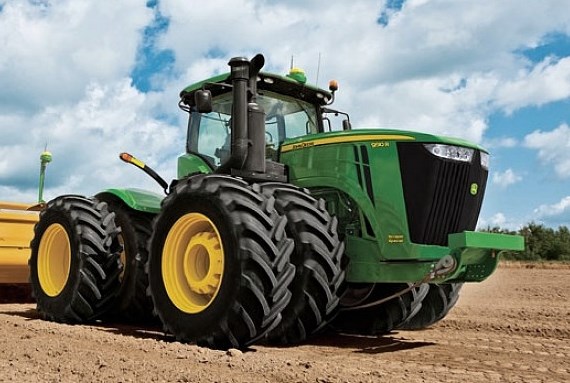 JD 9510R
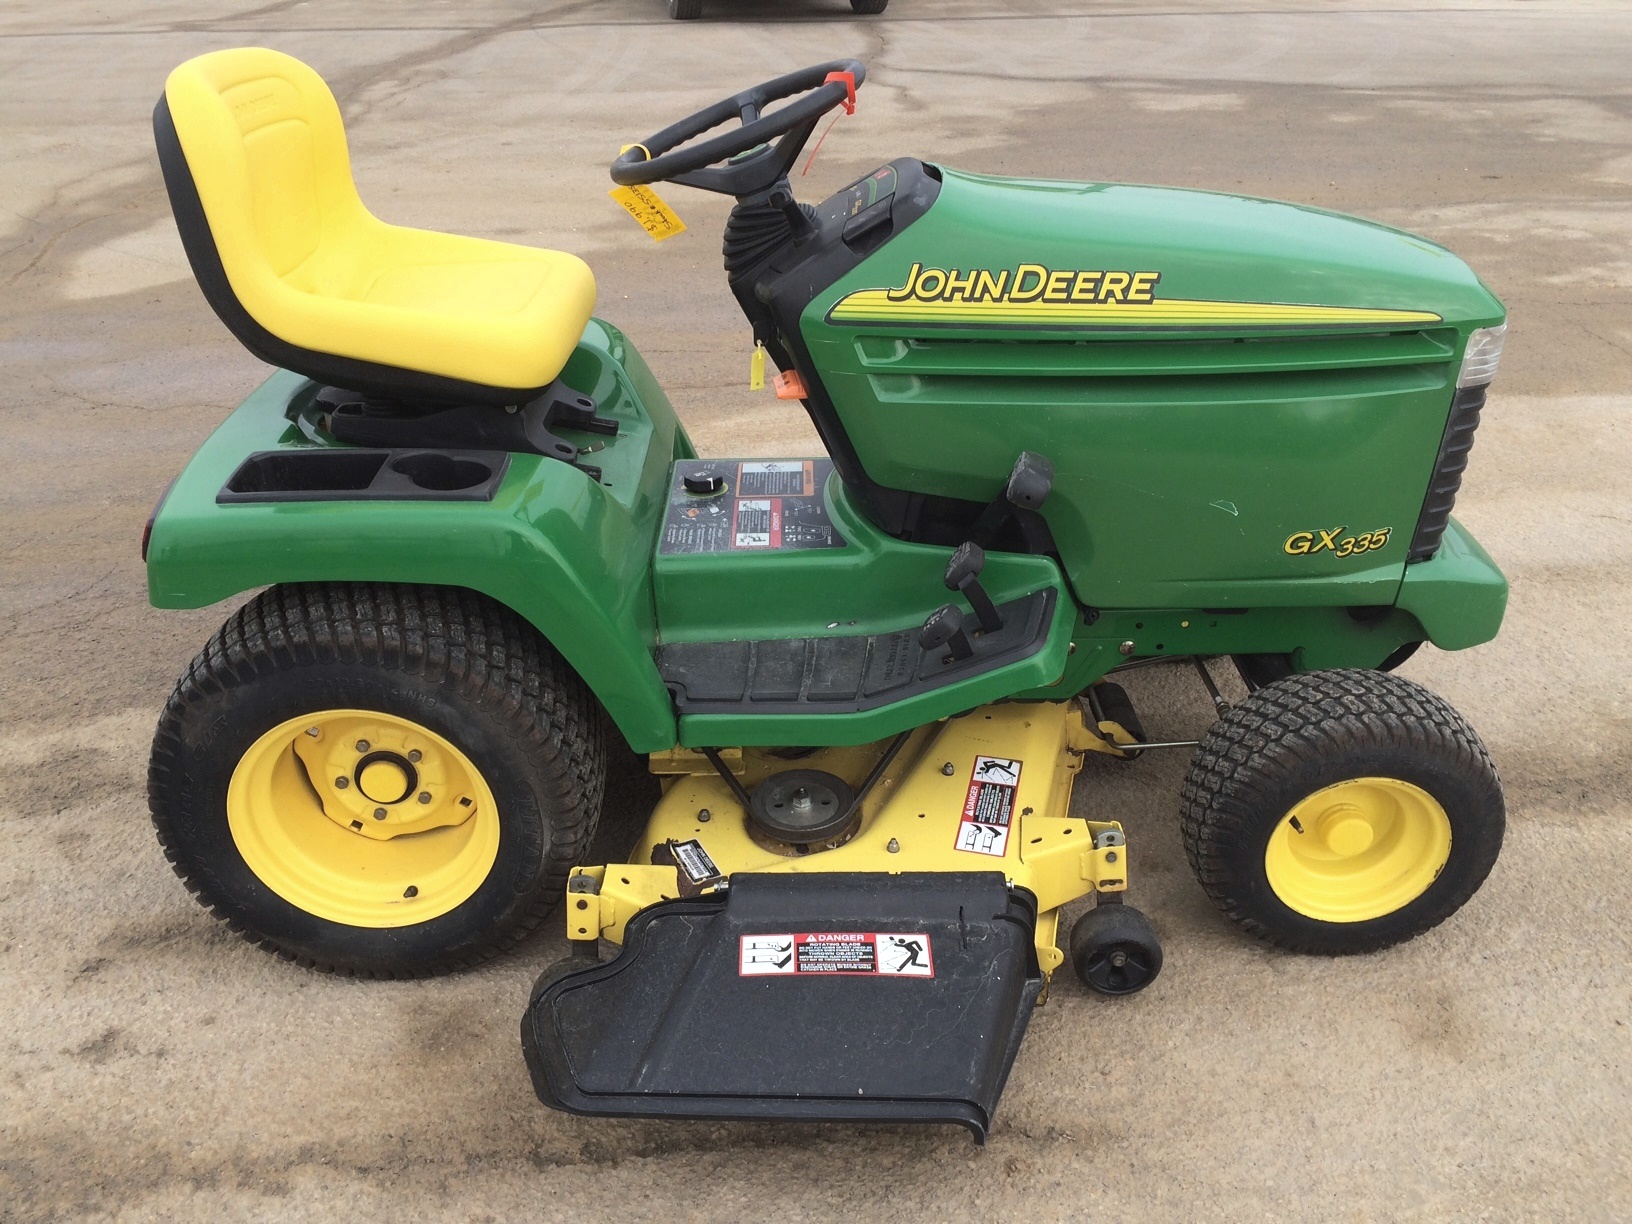 JD GX335
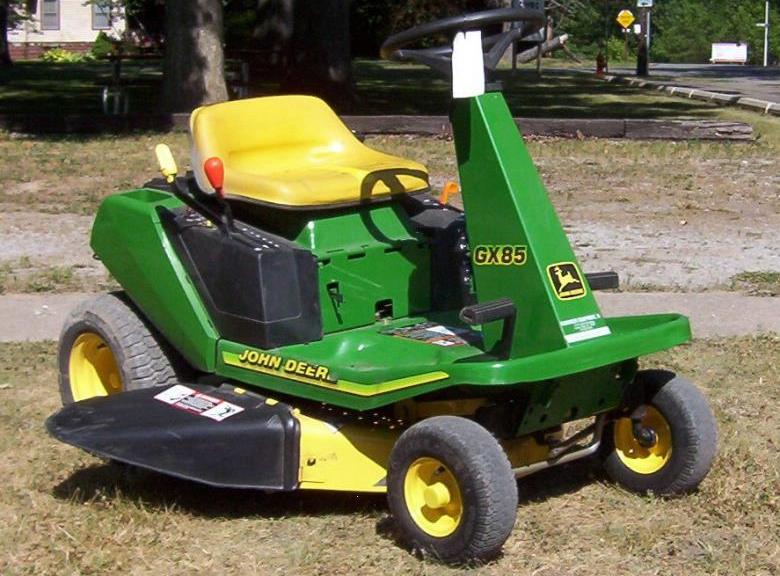 JD GX85
 JD LA105
 JD 5065M
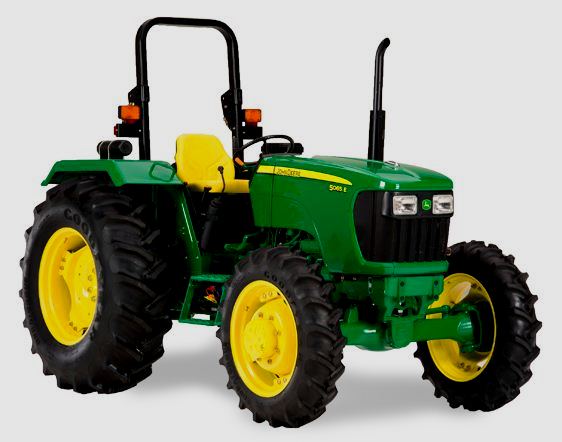 JD 5055D
 JD 5115R
 JD 5105M
 JD 6110R
 JD 6130D
 JD 6225
 JD 7530
 JD 4044M
 JD 7185J
 300 Loader
 300R Loader
 320R Loader
 400E Loader
 410 Loader
 430 Loader
 460 Loader
 521 Loader
 531 Loader
 541 Loader
 551 Loader
 631 Loader
 651 Loader
 661 Loader
 603R Loader
 JD D130
 JD D160
 JD 325
 JD 335
 JD 345
 JD 2520
 JD 3005
 JD 3720
 JD 1025R
 JD 3033R
 JD 5090EL
 JD 5100MH
 JD 5075GV
 JD 6090RC
 JD 6110B
 623R Loader
 643R Loader
 731 Loader
 746 Loader
 751 Loader
 533 Loader
 583 Loader
 633 Loader
 653 Loader
 683 Loader
 H260 Loader
 663R Loader
 663 Loader
 683R Loader
 753 Loader
 JD 6125J
 JD 6150RH
 JD 6210J
 JD 7195J
 JD 8310
 JD 6325
 JD 5525
 JD 5083EN
 JD 5100GN
 JD 5125R
 210C Backhoe
 300D Backhoe
 310G Backhoe
 410G Backhoe
 710G Backhoe
 80 Loader
 100 Loader
 146 Loader
 148 Loader
 158 Loader
 168 Loader
 175 Loader
 522 Loader
 542 Loader
 540R Loader
 562 Loader
 563 Loader
 673 Loader
 741 Loader
 L108 Automatic
 L120 Automatic
 LA110 Automatic
 LA120 Automatic
 LA150 Automatic
 LT155
LT155 LT160 Automatic
 LT180 Automatic
 LTR180
 X165
X165 E100
E100 E120
E120 E150
E150 LTR166
 LA135
LA135 LA165
LA165 LX277
LX277 LX288
LX288 LX255
LX255 S240
S240 GT235
GT235 G110 Automatic
 JD 3203
 JD 5520
 JD 316
 JD 420
 JD 425
 JD 445
 JD_5050D
 X300
X300 X304
X304 X310
X310 X110 Automatic
 H310 Loader
 H340 Loader
 H360 Loader
 H380 Loader
 H480 Loader
 240 Loader
 245 Loader
 260 Loader
 265 Loader
 600R Loader
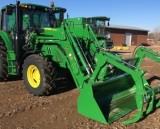 620R Loader
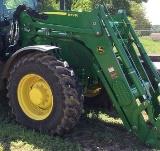 640R Loader
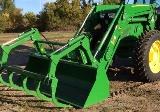 660R Loader
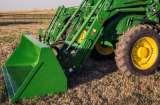 680R Loader
 JD_5039D
 X146R
X146R X360
X360 X155R
X155R X140 Automatic
 X350
X350 X380
X380 X500
X500 X590
X590 X700
X700 3036E
3036E 2038R
2038R 3038R
3038R 4049M
4049M JD 4100
 X738
X738 X740
X740 X748
X748 X749
X749 X950R
X950R JD 4510
 5045D
5045D 5050E
5050E 5060E
5060E 5078E
5078E