________________________________________________________________________________
John Deere 5050D, 5045D, 5042D - Engine and Drivetrain
John Deere 5050D, 5045D, 5042D - Engine Oil
and Filter
Check Engine Oil Level
Park tractor on level ground, put range shift lever in neutral, set
brakes and turn engine OFF. Pull out dipstick . Oil level must be
between two marks on dipstick. Do not operate engine when oil level is
below LOW mark on dipstick. If level is low, add oil through the oil
filler port until even with the upper mark. Do not overfill.
Change Engine Oil and Filter
Run engine to heat oil. Turn off engine. Remove oil drain plug and drain
oil. Replace engine oil filter while changing oil. Apply a film of oil
on the new oil filter gasket and install new filter. Hand tighten plus
1/2 turn. Install drain plug. Add seasonal viscosity grade oil. Engine
Crankcase Oil Capacity - 8.5 L/ 6.5 L. In Break-in-period, change the
oil in first 100 hours.
John Deere 5050D, 5045D, 5042D Engine - Air
Cleaner
Service Air Cleaner
A dual element air cleaner is standard. A dirty primary element is
indicated when the air filter restriction indicator on the instrument
panel illuminates. A dirty element can result in loss of power or
excessive smoke. Check unloader valve frequently. Empty often to keep it
from filling with dust. If valve is allowed to fill with dust, air
cleaner element plugs rapidly. Service air cleaner when indicator light
illuminates, every 250 hours or at least once a year. Replace primary
element at least one a year. Remove secondary element only when being
replaced, normally once a year.
Replace Air Cleaner Elements
Open hood and remove side screen. Release clips. Remove cover. Remove
primary element. Clean out any dirt in canister taking care not to
damage the secondary filter element. If secondary element is replaced,
install new element immediately to prevent dust from entering the air
intake system. Removal of the secondary element is similar to removal of
the primary element. When installing the air cleaner canister, make sure
that the dust unloader valve is facing down. Install secondary element,
primary element, and cover. Install side screens.
Remove Primary Air Cleaner Element
Disconnect rubber strap at the front of the canister. Lift clip and pull
canister cover. Clean out any dirt in canister taking care not to damage
the secondary filter element. Removal of the secondary element is
similar to removal of the primary element.
John Deere 5050D, 5045D, 5042D - Clean Primary
Element
Pat sides of element gently to loosen dirt. DO NOT tap element against a
hard surface. Clean element with compressed air (below 690 kPa or 100
psi). Hold nozzle next to inner surface, and move up and down pleats.
Inspect element before reinstalling.
Wash Primary Element
If element is coated with oil or soot, wash in a solution of warm water
. Let element soak at least 15 minutes, then agitate gently to flush out
dirt. Rinse element thoroughly from inside with clean water. Use element
cleaning gun or a free-running hose. Keep water pressure low (below 280
kPa or 40 psi) to avoid damaging element. Allow element to dry
completely before using. This usually takes from one to three days. DO
NOT oven dry or use drying agents. Protect element from freezing until
dry. Inspect element before installing.
Inspect Element
Hold a bright light inside element and check carefully for holes.
Discard any element which shows the slightest hole. Be sure that the
outer screen is not dented. Vibration would quickly wear a hole in
filter. Be sure rubber sealing surfaces are in good condition on both
ends. If damaged, replace element.
John Deere 5050D, 5045D, 5042D Cooling System
Check Coolant Level
Check the coolant level when engine is cold. Clean radiator in most
dusty conditions. Failure of cleaning leads to improper flow of coolants
through radiator which leads to a temperature increase of coolants.
Check coolant level in the coolant recovery tank. Coolant level must be
up to the Cold Mark. If it is below Cold Mark, add coolant to that mark
only.
Flush Cooling System
For efficient operation, drain old coolant, flush the entire system, and
fill with clean antifreeze solution at least once every 2 years. Drain
coolant - Remove radiator cap. Open drain plug on radiator and attach a
drain hose. Route hose to container and drain coolant from radiator.
Drain coolant from the engine block by removing plug. Thermostat must be
removed to ensure a thorough flush. Remove thermostat cover, remove
thermostat and install cover (without thermostat). Tighten cap screws to
specification. Thermostat Cover Cap Screws Torque - 47 Nm (35 lb-ft).
Flush system with water - Close all drain valves/plugs and fill system
with clean water. Run engine about 10 minutes to stir up possible rust
or sediment. Stop engine and drain water from system before rust and
sediment settle. Flush system with radiator cleaner - Close all drain
valve/plugs and fill the cooling system with a good commercial radiator
cleaner and water. Follow instructions provided with cleaner. Stop
engine and immediately drain system.
Flush system with water - Close all drain valves/plugs and fill with
clean water to flush the system. Run the engine about 10 minutes, then
drain out flushing water. Remove thermostat cover and clean off the
gasket material. Apply gasket sealant to the new gasket and install the
thermostat and cover. Tighten cap screws to specification. Fill with
fresh coolant - Close all drain valves/plugs and fill with a mixture of
antifreeze, soft water, and coolant conditioner.
Check coolant level - Fill radiator to the top of the filler neck. Run
the engine until operating temperature is reached. Let the engine cool
(preferably overnight) and recheck the coolant level. Coolant level with
a cold engine must be at the bottom of the filler neck. When filling the
cooling system it is required several operating/cooling periods to
stabilize the coolant level in the system. Add make-up coolant to the
radiator as needed and bring the coolant level to the correct level.
Clean Grille, Screens, and Radiator
Whenever trash builds up on the front grille, stop engine and brush
clean. Clean radiator in most dusty conditions. Failure of cleaning
leads to improper flow of coolants through radiator which leads to a
temperature increase of coolants. Once finished the cleaning makes sure
that hood is locked properly and keeps the hood lock key with operator
only. Raise hood and see if trash has built up on radiator. If so,
remove it using a brush or compressed air. If a more thorough cleaning
is necessary, clean radiator from behind with compressed air or water.
Straighten any bent fins.
John Deere 5050D, 5045D, 5042D Fuel System
Replace Fuel Filter Inserts
Remove cap screw and filter element bowl. Take out filter insert. Drain
the fuel and clean the bowl. Install new filter insert. Reinstall the
bowl and tighten the screw and washer. Bleed the system from bleed
screw. Change primary and secondary filter inserts alternatively. Never
change both filter inserts simultaneously. Always use new O-ring which
comes filter inserts.
Bleed Fuel System
Loosen fuel return line. Unscrew hand primer on the fuel supply pump
until it can be pulled by hand. Operate the hand primer until fuel flow
is free from air bubbles. Simultaneously stroke the hand primer down and
close the fuel return port. This prevents air from entering the system.
Tighten securely. Lock hand primer in position.
Bleed Fuel System at Fuel Injection Nozzles
If engine does not start after the bleeding procedures described above,
continue as follows: Place throttle lever in high idle position. Using
two open-end wrenches, loosen fuel line on at least three nozzles. Turn
over the engine with the starter motor until fuel flows free from
bubbles out of the loosened fuel nozzle connections. Retighten
connections.
John Deere 5050D, 5045D, 5042D - Alternator
and Fan Belt
Replace Alternator and Fan Belt
Loosen cap screw and bolt and rotate the alternator to free the belt.
Remove belt from drive pulley. Belt can be pulled around the fan to
remove. Install new belt in reverse order of removal. Adjust belt
tension.
Inspect and Adjust Alternator/Fan Belt
Replace if worn or damaged. Run engine for five minutes to warm a cold
belt. Let a hot belt cool for 15 minutes before adjustment. Check
tension by pressing belt midway between pulleys. Belt deflects about 19
mm (3/4 in) at 89 N (20 lbf). Adjust tension by loosening cap screw and
mounting bolt. Apply force to the alternator frame until belt tension is
correct. Tighten cap screw and bolt.
John Deere 5050D, 5045D, 5042D Transmission
Change Transmission-Hydraulic Oil and Filter
Lower rockshaft to remove trapped oil. Remove drain plug from
transmission case and drain oil. Dispose off the waste oil properly.
Replace filter while changing oil. Apply a film of oil to the new filter
gasket and install new filter. Hand tighten only. Fill system with
transmission-hydraulic oil. Transmission Oil (Oil Axle) Capacity - 32 L.
Transmission Oil (Grease Axle) Capacity - 30 L. Check oil level at sight
glass after filling. Make sure that oil level is to the full level mark.
Check again after operating for five minutes. Add oil if necessary.
Clean Transmission-Hydraulic Pickup Screen
Drain transmission-hydraulic oil. Remove two cap screws and remove
screen cover. Remove screen and examine it for damage. Replace if
necessary. Clean screen in solvent and blow dry with compressed air.
Carefully install the screen so the front of screen is inserted in the
hole at the front of differential case. Fill system with
transmission-hydraulic oil. Check oil level at sight glass after filling
and again after operating for five minutes.
John Deere 5050D, 5045D, 5042D Front Axle
Adjust Front Axle Tread Width
Jack up the front end of tractor. When making large tread adjustments,
loosen cap screws and adjust the tie rod length with axle length. Remove
two nuts, sleeves, and cap screws from the front axle (2 on each side).
Slide axle knees to desired position. Both sides must be adjusted to
same spacing. Install sleeves (if equipped), cap screws, and nuts on
each side. Tighten cap screws to specification. Adjustable Front
Axle-to-Knee Bolts Torque - 400 Nm (295 lb-ft). Set toe-in.
John Deere 5050D, 5045D, 5042D - Check Toe-In
Park machine on a flat, level surface. Turn steering wheel so front
wheels are in the straight-ahead position. Stop engine. Measure distance
between tires at the hub level in front of the axle. Record measurement
and mark the tires. Move tractor back about 1 m (3 ft), so mark is at
the hub level behind the axle. Again, measure distance between tires at
same point on tire. Record measurement. Determine the difference between
front and rear measurements. If the front measurement is smaller, toe is
in. If the rear is smaller, toe is out. Distance at the front of tires
must be 0-2 mm for the DANA front axle. Adjust toe-in if necessary.
Toe-In Value (DANA Front Axle) - 0-2 mm
Adjust Toe-In
Loosen lock nut on tie rod. Adjust tie rod equally by rotating tube to
lengthen or shorten the tie rod. Adjust toe-in to 0-2 mm for the DANA
front axle. Tighten bolt to specification. Do not overtighten as damage
to the tube can occur. Tie Rod Jam Nut Torque - 90 Nm (66 lb·ft)
Check Toe-In (JD 5050D Tractor with MFWD)
Disengage MFWD and park tractor on smooth, level surface. Steer front
wheels straight ahead. Stop engine. Measure distance between the
centerline of tires at the hub level in front of the axle, using an
outside bar of each tire or an inside bar of each tire. Record
measurement and mark the tires. Move tractor back about 1 m (3 ft), so
mark is at the hub level behind the axle. Again, measure distance
between tires at same point on tire. Determine the difference between
front and rear measurements. If the front measurement is smaller, toe is
IN. If the rear is smaller, toe is OUT. The difference can be in either
direction (toe-in or toe-out but must be less than 3 mm (1/8 in). Adjust
toe-in necessary.
Adjust Toe-In (JD 5045D Tractor with MFWD)
Jack up the front axle so tires are off floor. Rotate tire by hand and
scribe a line near the center of each of the front tires. One of the tie
rod ends and lock nut has left-hand threads. Measure and record the
distance between the lines at the front and the rear of the tire at
about axle height. The front measurement must be less than the rear
measurement. If measurement is not correct, loosen lock nuts on both
ends of tie rod and turn the tie rod using a wrench to increase or
decrease the amount of toe until the measured dimension is 0-0.125 in
(0-3 mm). MFWD Tie Rod Jam Nuts Torque - 173-192 lbs. ft (235–260 Nm).
________________________________________________________________________________
________________________________________________________________________________________
________________________________________________________________________________________
________________________________________________________________________________________
________________________________________________________________________________________
________________________________________________________________________________________
________________________________________________________________________________________
________________________________________________________________________________________
________________________________________________________________________________________
________________________________________________________________________________________
________________________________________________________________________________________
________________________________________________________________________________________
________________________________________________________________________________________
________________________________________________________________________________________
________________________________________________________________________________________
________________________________________________________________________________________
________________________________________________________________________________________
________________________________________________________________________________________
________________________________________________________________________________________
________________________________________________________________________________________
________________________________________________________________________________________
________________________________________________________________________________________
________________________________________________________________________________________
________________________________________________________________________________________
________________________________________________________________________________________
________________________________________________________________________________________
________________________________________________________________________________________
________________________________________________________________________________________
________________________________________________________________________________________
________________________________________________________________________________________
________________________________________________________________________________________
________________________________________________________________________________________
________________________________________________________________________________________
________________________________________________________________________________________
________________________________________________________________________________________
________________________________________________________________________________________
________________________________________________________________________________________
________________________________________________________________________________________
________________________________________________________________________________________
________________________________________________________________________________________
________________________________________________________________________________________
________________________________________________________________________________________
________________________________________________________________________________________
________________________________________________________________________________________
________________________________________________________________________________________

 JD SPECS
 JD LOADERS
 JD MAINTENANCE
 JD INSTRUCTIONS
 JD PROBLEMS
 JD 2025R
 JD 3039R
 JD 4044R
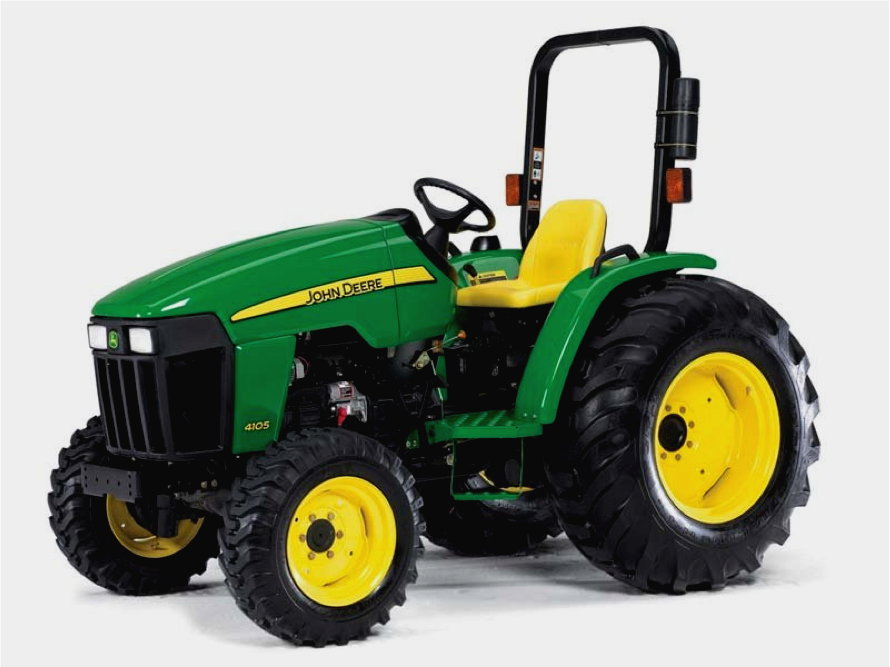 JD 4105
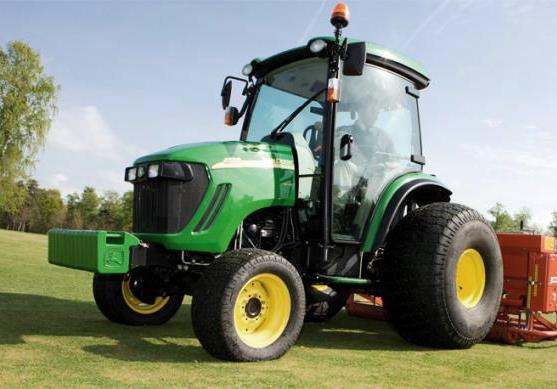 JD 4720
 420 Loader
 419 Loader
 510 Loader
 512 Loader
 520 Loader
 520M Loader
 540M NSL
 540 Loader
 440R Loader
 H180 Loader
 JD 5045E
 JD 5085E
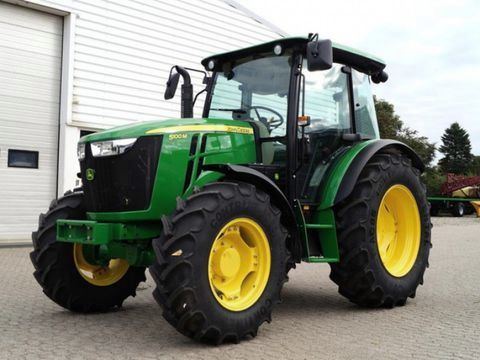 JD 5100M
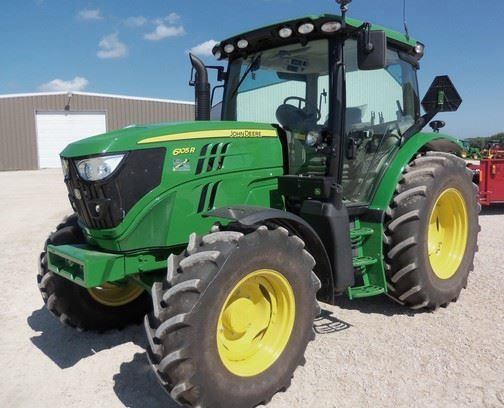 JD 6105R
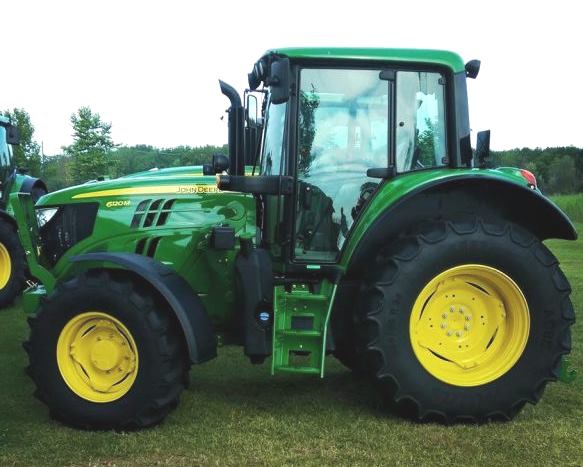 JD 6120M
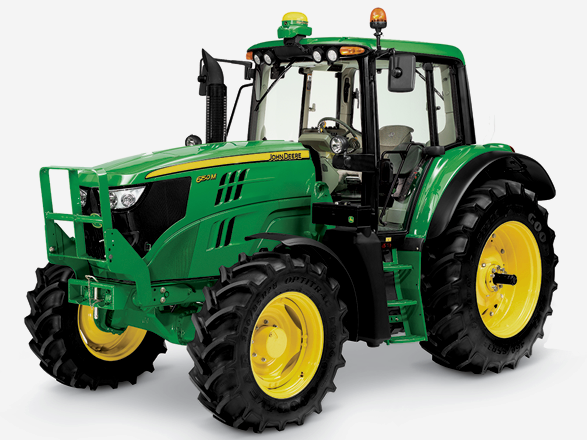 JD 6155M
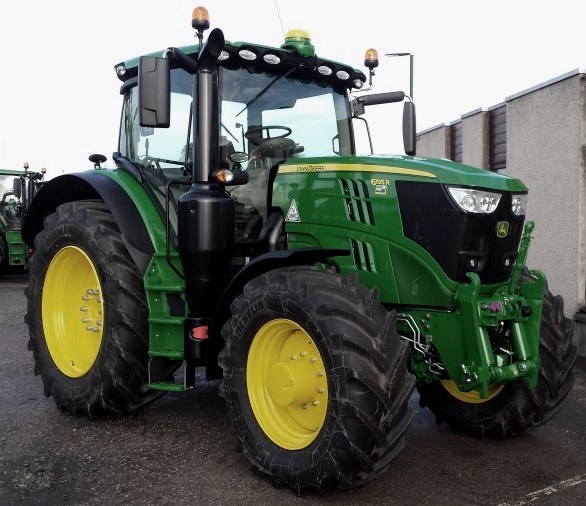 JD 6195R
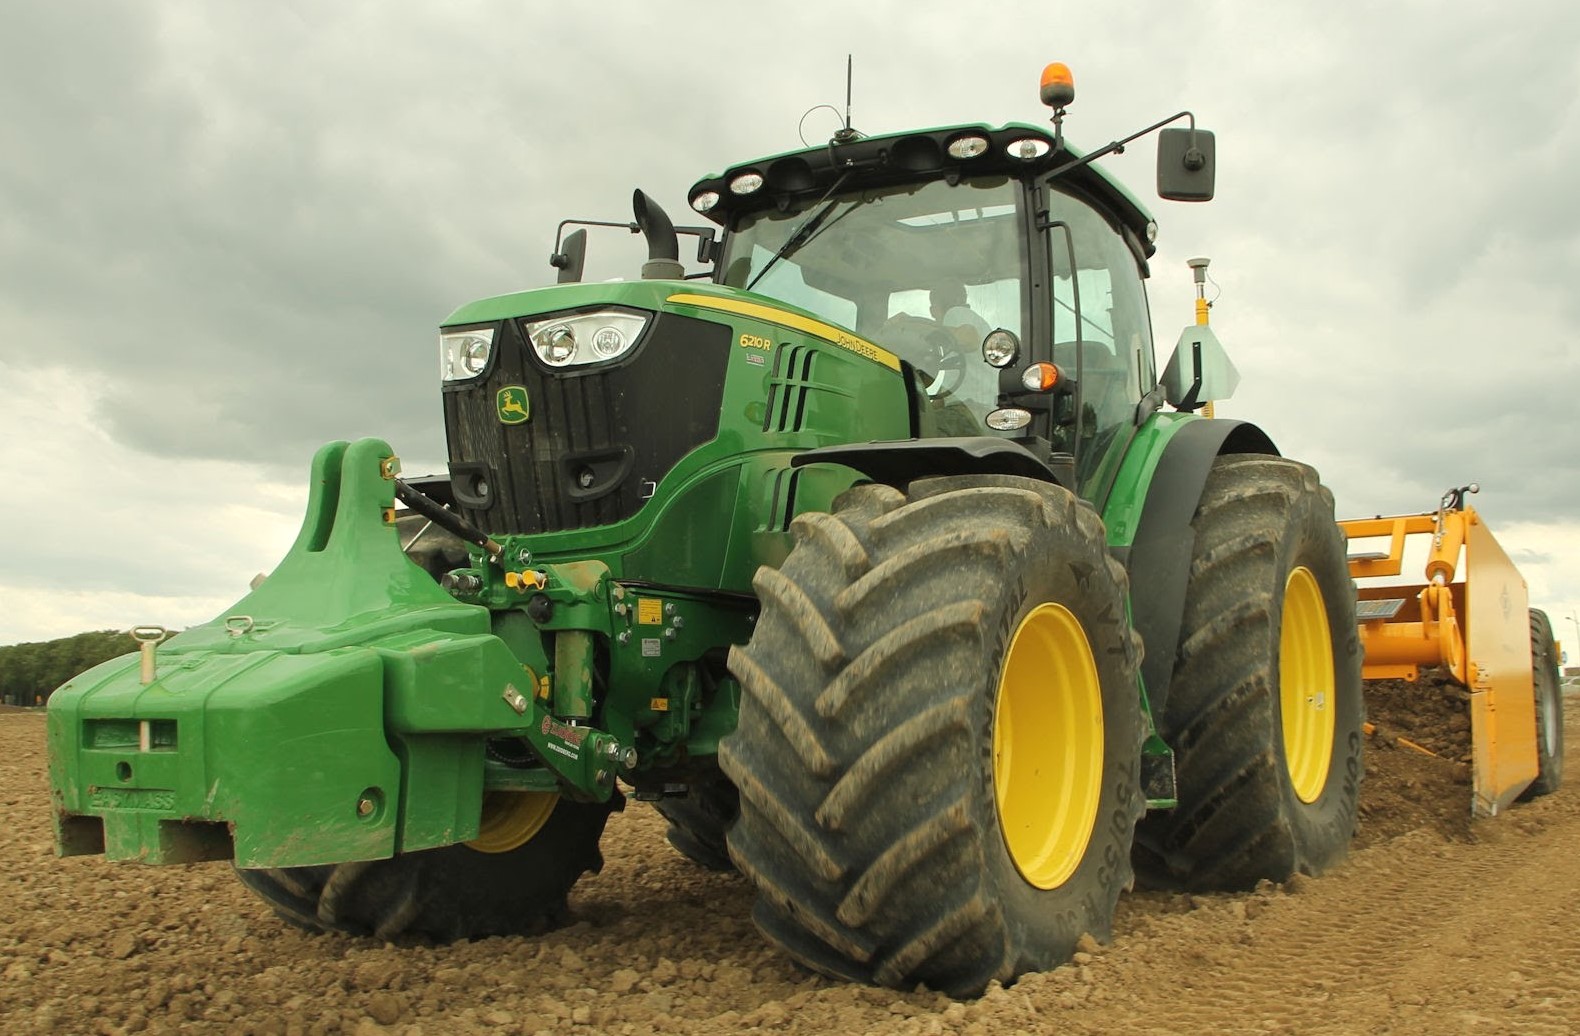 JD 6210R
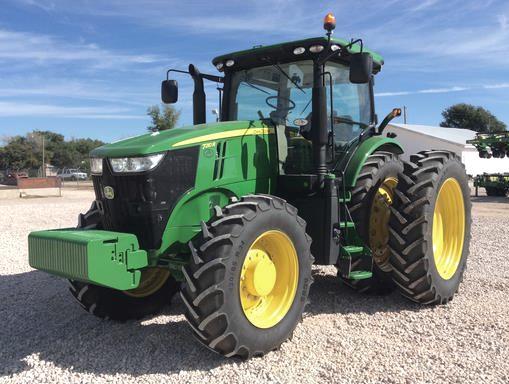 JD 7210R
 JD 7250R
 JD 7310R
 JD 8245R
 JD 8295R
 JD 8370R
 JD 9370R
 120R Loader
 D120 Loader
 H120 Loader
 45 Loader
 200CX Loader
 D160 Loader
 D170 Loader
 H160 Loader
 H165 Loader
 H240 Loader
 210 Loader
 220R Loader
 300E Loader
 300X Loader
 300CX Loader
 JD 9420R
 JD 9510R
 JD GX335
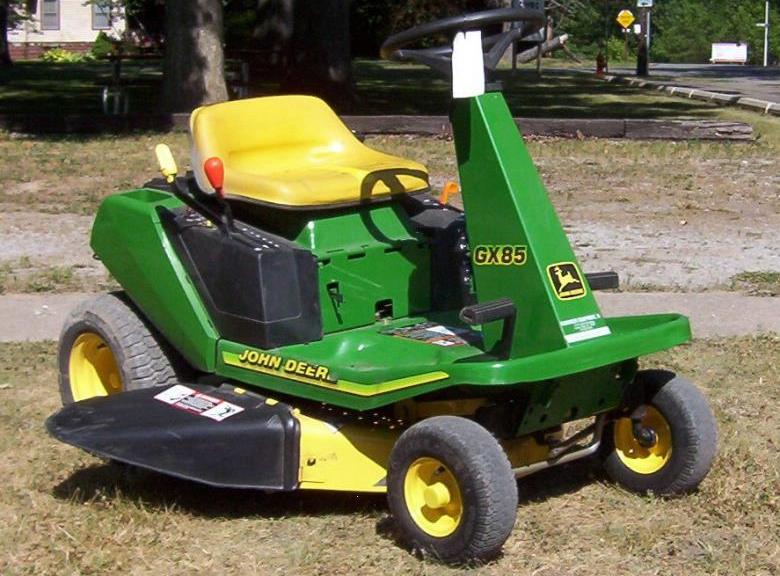 JD GX85
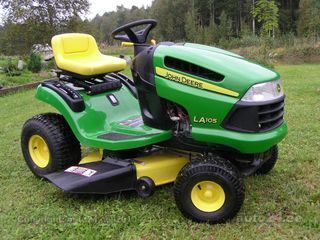 JD LA105
 JD 5065M
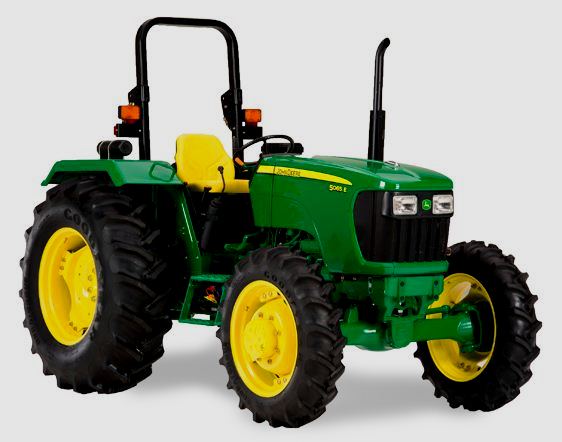 JD 5055D
 JD 5115R
 JD 5105M
 JD 6110R
 JD 6130D
 JD 6225
 JD 7530
 JD 4044M
 JD 7185J
 300 Loader
 300R Loader
 320R Loader
 400E Loader
 410 Loader
 430 Loader
 460 Loader
 521 Loader
 531 Loader
 541 Loader
 551 Loader
 631 Loader
 651 Loader
 661 Loader
 603R Loader
 JD D130
 JD D160
 JD 325
 JD 335
 JD 345
 JD 2520
 JD 3005
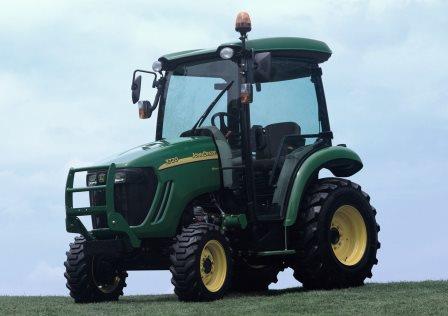 JD 3720
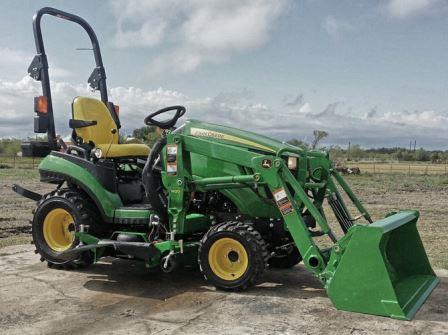 JD 1025R
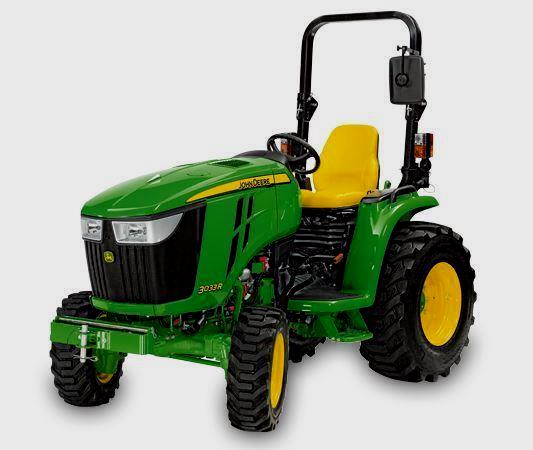 JD 3033R
 JD 5090EL
 JD 5100MH
 JD 5075GV
 JD 6090RC
 JD 6110B
 623R Loader
 643R Loader
 731 Loader
 746 Loader
 751 Loader
 533 Loader
 583 Loader
 633 Loader
 653 Loader
 683 Loader
 H260 Loader
 663R Loader
 663 Loader
 683R Loader
 753 Loader
 JD 6125J
 JD 6150RH
 JD 6210J
 JD 7195J
 JD 8310
 JD 6325
 JD 5525
 JD 5083EN
 JD 5100GN
 JD 5125R
 210C Backhoe
 300D Backhoe
 310G Backhoe
 410G Backhoe
 710G Backhoe
 80 Loader
 100 Loader
 146 Loader
 148 Loader
 158 Loader
 168 Loader
 175 Loader
 522 Loader
 542 Loader
 540R Loader
 562 Loader
 563 Loader
 673 Loader
 741 Loader
 L108 Automatic
 L120 Automatic
 LA110 Automatic
 LA120 Automatic
 LA150 Automatic
 LT155
LT155 LT160 Automatic
 LT180 Automatic
 LTR180
 X165
X165 E100
E100 E120
E120 E150
E150 LTR166
 LA135
LA135 LA165
LA165 LX277
LX277 LX288
LX288 LX255
LX255 S240
S240 GT235
GT235 G110 Automatic
 JD 3203
 JD 5520
 JD 316
 JD 420
 JD 425
 JD 445
 JD_5050D
 X300
X300 X304
X304 X310
X310 X110 Automatic
 H310 Loader
 H340 Loader
 H360 Loader
 H380 Loader
 H480 Loader
 240 Loader
 245 Loader
 260 Loader
 265 Loader
 600R Loader
 620R Loader
 640R Loader
 660R Loader
 680R Loader
 JD_5039D
 X146R
X146R X360
X360 X155R
X155R X140 Automatic
 X350
X350 X380
X380 X500
X500 X590
X590 X700
X700 3036E
3036E 2038R
2038R 3038R
3038R 4049M
4049M JD 4100
 X738
X738 X740
X740 X748
X748 X749
X749 X950R
X950R JD 4510
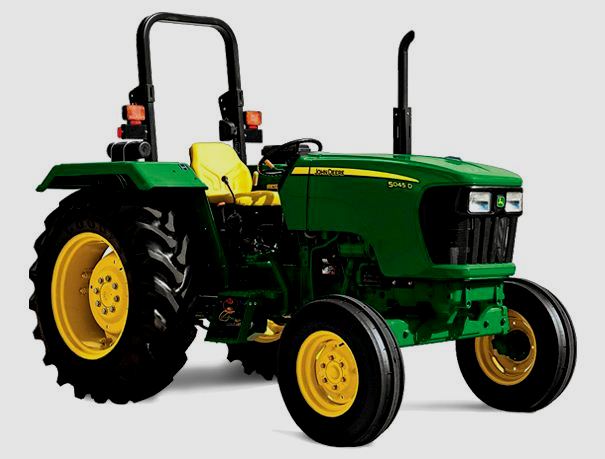 5045D
5045D 5050E
5050E 5060E
5060E 5078E
5078E