________________________________________________________________________________
John Deere 5065M, 5075M Engine and Driveline
John Deere 5065M, 5075M Engine
Check Engine Oil Level
Park machine on level ground and shut off engine. Remove key. Allow
engine to cool. Remove dipstick. Wipe off, fully reinsert the dipstick.
Oil level must be between two marks on dipstick. If level is low, remove
oil fill cap and add oil until even with the top mark on dipstick. Do
not overfill. Replace dipstick and oil fill cap before operating engine.
Change Engine Oil and Filter
Park machine on level ground and shut off engine. Remove key. Place a
container under the drain port, capture waste oil and dispose of
properly. Remove drain plug and allow oil to drain. Open hood. Remove
engine oil filter. Make sure that old filter gasket is removed from
housing before installing new filter. Apply a film of oil on the new oil
filter gasket and install new filter. Hand-tighten plus 1/2 turn.
Install drain plug. Add oil to fill. JD 5065M, 5075M Engine Oil Capacity
- 8.5 L (2.2 gal). Replace fill cap and/or dipstick. Start engine and
inspect drain plug and filter for leaks. Stop engine and remove key.
Recheck oil level on dipstick, add if necessary. Lower hood.
John Deere 5065M, 5075M - Fuel Filters
Park machine on level ground. Remove key. Check fuel level. Add if
necessary. Raise hood and loosen the bleed screw on filter housing two
full turns. Push priming mechanism on the transfer pump several times to
get fuel to fuel filter. Push priming pump until all air is purged and
fuel runs out smoothly from bleed screw. Tighten bleed screw. Lower
hood.
Replace Fuel Filters
Be sure characteristics of the new filter match the original filter. JD
5065M, 5075M engine has a single fuel filter on the left-hand side. The
fuel filters are different, do not interchange. Replace one after
another to avoid interchange. Place machine in park, turn off engine,
and remove key. Allow engine to cool. Raise hood. Disconnect
water-in-fuel
sensor on the bottom of the primary fuel filter on the right-hand side
of the engine. Open drain valveon water separator bowl assembly of the
primary fuel filter.
Drain fuel. Capture the discharge waste and dispose of properly. Remove primary filter from the fuel filter housing by turning counterclockwise. Remove water separator bowl assembly from the primary fuel filter. Clean water separator bowl. Dry with compressed air. Install new seals (supplied with the new filter) on the water separator bowl and drain valve. Install water separator assembly on the new primary fuel filter. Fill filters with clean diesel fuel before installing on engine. Apply a small amount of clean oil on the primary fuel filter gasket.
Do not use a filter wrench when tightening filters. Hand tighten filter
only. Install new primary fuel filter assembly. Connect water-in-fuel
sensor. Remove secondary fuel filter on the left-hand side of the engine
from the filter housing by turning counterclockwise. Apply a small
amount of clean oil on the new secondary fuel filter gasket. Install new
secondary fuel filter. Bleed the fuel system. Start engine and run until
warm. Turn off engine and remove key. Inspect drain valve and filters
for leaks. Lower hood.
John Deere 5065M, 5075M - Start Engine
Check fuel, engine oil, and coolant levels before starting the engine.
Fill as required. Place left-hand reverser in Neutral position and
gearshift lever in Park position. Place hand throttle to idle position.
Disengage PTO. Place SCV levers in neutral position. Lower hitch
completely if an implement is attached. Turn the key switch to run
position. Do not start engine. Wait until light check sequence is
complete. Check for any indicator lights or trouble codes that impair
machine performance. If necessary, diagnose the problem.
Depress clutch and brake pedals. Sound horn. Turn key switch to engage
the starter. Release key when engine starts. Avoid starter damage. Do
not operate the starter more than 30 seconds. Wait at least two minutes
before trying again. If Engine Fails To Start: Place hand throttle lever
at 1/4 to 1/3 of full throttle and attempt to start
machine again. Check for trouble codes or electrical problems. In cold
weather, engine speed is limited to 1440 rpm until
transmission-hydraulic oil temperature is above -18C (0F).
Inspect and Adjust Alternator Belt
Place machine in park and shut off engine. Remove key. Inspect
alternator belt. Replace if worn or damaged. Run engine for 5 minutes to
warm a cold belt. Let a hot belt cool for 15 minutes before adjustment.
Check tension by pressing belt midway between pulleys. Belt deflection
must be to specification. Belt Tension Deflection - 19 mm (0.75 in.) at
89 Nm (20 lb-ft). Adjust tension by loosening tension adjustment cap
screw and alternator mounting cap screw. Use a breaker bar with a
3/8-in. drive to apply downward force to the alternator frame until belt
tension is correct. Tighten adjustment cap screw and alternator mounting
cap screw.
John Deere 5065M, 5075M - Replace Alternator Belt
Place machine in park and shut off engine. Remove key. Remove air
conditioner compressor belt. Loosen cap screw, bolt, and rotate the
alternator to loosen belt. Remove belt from crankshaft pulley and
coolant pump pulley. Pull belt around the fan to remove. Install new
belt in reverse order of removal. Adjust belt tension.
Service Air Cleaner Elements
Dirty air cleaner element is indicated when air filter restricted
indicator appears on the information display. Open hood. Remove latch
and cover. Remove air cleaner element. If primary element does not pull
out with ease, move side-to-side. When air cleaner element must be
serviced in field, tap it on the palm of your hand. Do not use
compressed air or filter damage occurs. Inspect guide ring for damage.
Replace elements if core material or seals (both ends) are damaged, or
if indicator remains illuminated. Install elements and reinstall latch
cover. Lower hood.
Clean Grille Screens and Cooling Package
Remove trash buildup on the front grille as required. Raise hood. Slide
the air conditioner condenser screen out toward the right side of the
machine to remove. Loosen wing nut and slide the air conditioner
condenser toward the left side of the machine until it hits the stop.
Clean air conditioner condenser, screen, and fuel cooler with compressed
air. If a more thorough cleaning is required perform the following.
Loosen wing nuts on each side of the charge air cooler and pivot forward
to the position shown. Tighten wing nuts to retain position.
Pull handle of the hydraulic oil cooler toward to left side of the
machine until it hits the stop. Clean charge air cooler, hydraulic oil
cooler, and radiator with compressed air. Straighten any bent fins.
Return coolers, condenser, and screen back to original position and
tighten wing nuts to secure in place. Verify that hydraulic oil cooler
hoses are under the protective shield. Verify that all lines are not
pinched or kinked when coolers are repositioned. Lower hood.
John Deere 5065M, 5075M - Transmission and
Front Axle
Check Transmission-Hydraulic System Oil Level
Oil level below mark can result in power loss and heat generation during
transport. Wait a minimum of five minutes for oil to settle. Tractor
should be on level ground, hitch and any other hydraulic implements in
lowered or retracted position, engine stopped and transmission in park
when checking oil level. Check level at mark on dipstick. Level should
be at full oil level mark.
Oil level may be above mark if multiple or large hydraulic implements
are attached. More accurate measurement may be obtained with all
auxiliary hydraulics removed from vehicle. Add oil to filler port if
level is low. While towing tractor with front wheels on carrier, oil
level should be above full oil level mark on dipstick. If towing tractor
with front wheels on carrier, add 1 L (0.26 gal) for each 90 mm (3-1/2
in.) front wheels are raised off the ground.
Check MFWD Axle Housing Oil Level
Park JD 5065M, 5075M tractor on level ground and shut-off engine. Remove
key. Remove check/fill plug. Oil level should be even with bottom of the
fill plug hole. If level is low, add oil through same hole. John Deere
HY-GARD oil is recommended. Approximate MFWD axle housing oil capacity
is 5 L (1.32 gal). Apply TEFLON or equivalent to threads of plug.
Install plug and tighten to specifications. Plug to Axle Housing Torque
- 70 Nm (52 lb-ft).
JD 5065M, 5075M - Adjust Front Axle Tread Width
Jack up front end of tractor. When making large tread adjustments,
loosen cap screws and adjust the tie rod length with axle length. Remove
two nuts, sleeves and cap screws from front axle (2 on each side). Slide
axle knees to desired position. Both sides should be adjusted to same
spacing. Install sleeves (if equipped), cap screws and nuts on each
side. Tighten cap screws to specification. Adjustable Front Axle-to-Knee
Bolts Torque - 400 Nm (295 lb-ft). Set toe-in.
Set MFWD Steering Stops Turn Radius
Raise and support front of tractor so MFWD axle can be oscillated to its
stops. Slowly turn steering wheel to the left until steering cylinder
travel has reached its limit, the steering stops, or the tires are
within 25 mm (1 in.) of grille screen or side panels. Raise left side of
axle against its stop and measure clearance between tire and nearest
tractor component. The distance should not be less than 25 mm (1 in.).
Loosen lock nut on steering stop and adjust steering stop bolt so it
touches steering stop. It may be necessary to
shorten stop bolt in order to obtain maximum turning angle. Tighten
steering stop bolt retaining lock nut to specifications. Steering Stop
Bolt Retaining Lock Nut Torque - 125 Nm (92 lb-ft). Turn wheel fully to
the left. Impact knuckle housing to steering stop five times. Tighten
steering stop bolt retaining nuts again to specification. Repeat above
steps for right side. Wide tread settings and large tire sizes will
increase turn radius slightly.
________________________________________________________________________________
________________________________________________________________________________________
________________________________________________________________________________________
________________________________________________________________________________________
________________________________________________________________________________________
________________________________________________________________________________________
________________________________________________________________________________________
________________________________________________________________________________________
________________________________________________________________________________________
________________________________________________________________________________________
________________________________________________________________________________________
________________________________________________________________________________________
________________________________________________________________________________________
________________________________________________________________________________________
________________________________________________________________________________________
________________________________________________________________________________________
________________________________________________________________________________________
________________________________________________________________________________________
________________________________________________________________________________________
________________________________________________________________________________________
________________________________________________________________________________________
________________________________________________________________________________________
________________________________________________________________________________________
________________________________________________________________________________________
________________________________________________________________________________________
________________________________________________________________________________________
________________________________________________________________________________________
________________________________________________________________________________________
________________________________________________________________________________________
________________________________________________________________________________________
________________________________________________________________________________________
________________________________________________________________________________________
________________________________________________________________________________________
________________________________________________________________________________________
________________________________________________________________________________________
________________________________________________________________________________________
________________________________________________________________________________________
________________________________________________________________________________________
________________________________________________________________________________________
________________________________________________________________________________________
________________________________________________________________________________________
________________________________________________________________________________________
________________________________________________________________________________________
________________________________________________________________________________________
________________________________________________________________________________________

 JD SPECS
 JD LOADERS
 JD MAINTENANCE
 JD INSTRUCTIONS
 JD PROBLEMS
 JD 2025R
 JD 3039R
 JD 4044R
 JD 4105
 JD 4720
 420 Loader
 419 Loader
 510 Loader
 512 Loader
 520 Loader
 520M Loader
 540M NSL
 540 Loader
 440R Loader
 H180 Loader
 JD 5045E
 JD 5085E
 JD 5100M
 JD 6105R
 JD 6120M
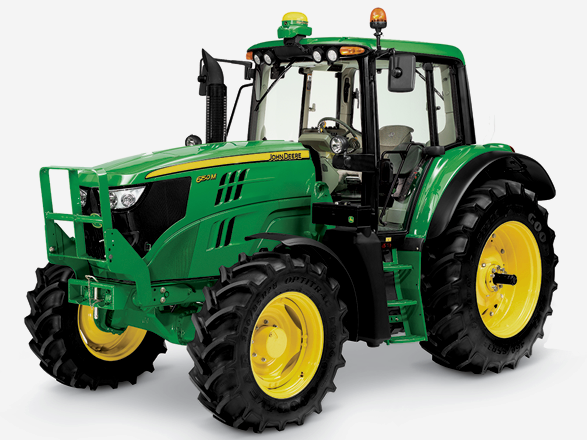 JD 6155M
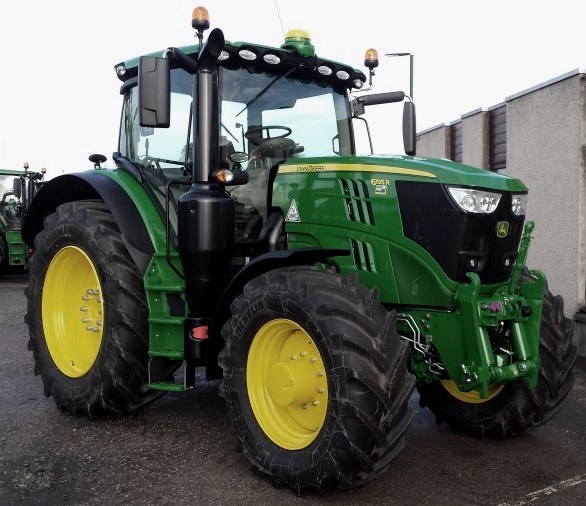 JD 6195R
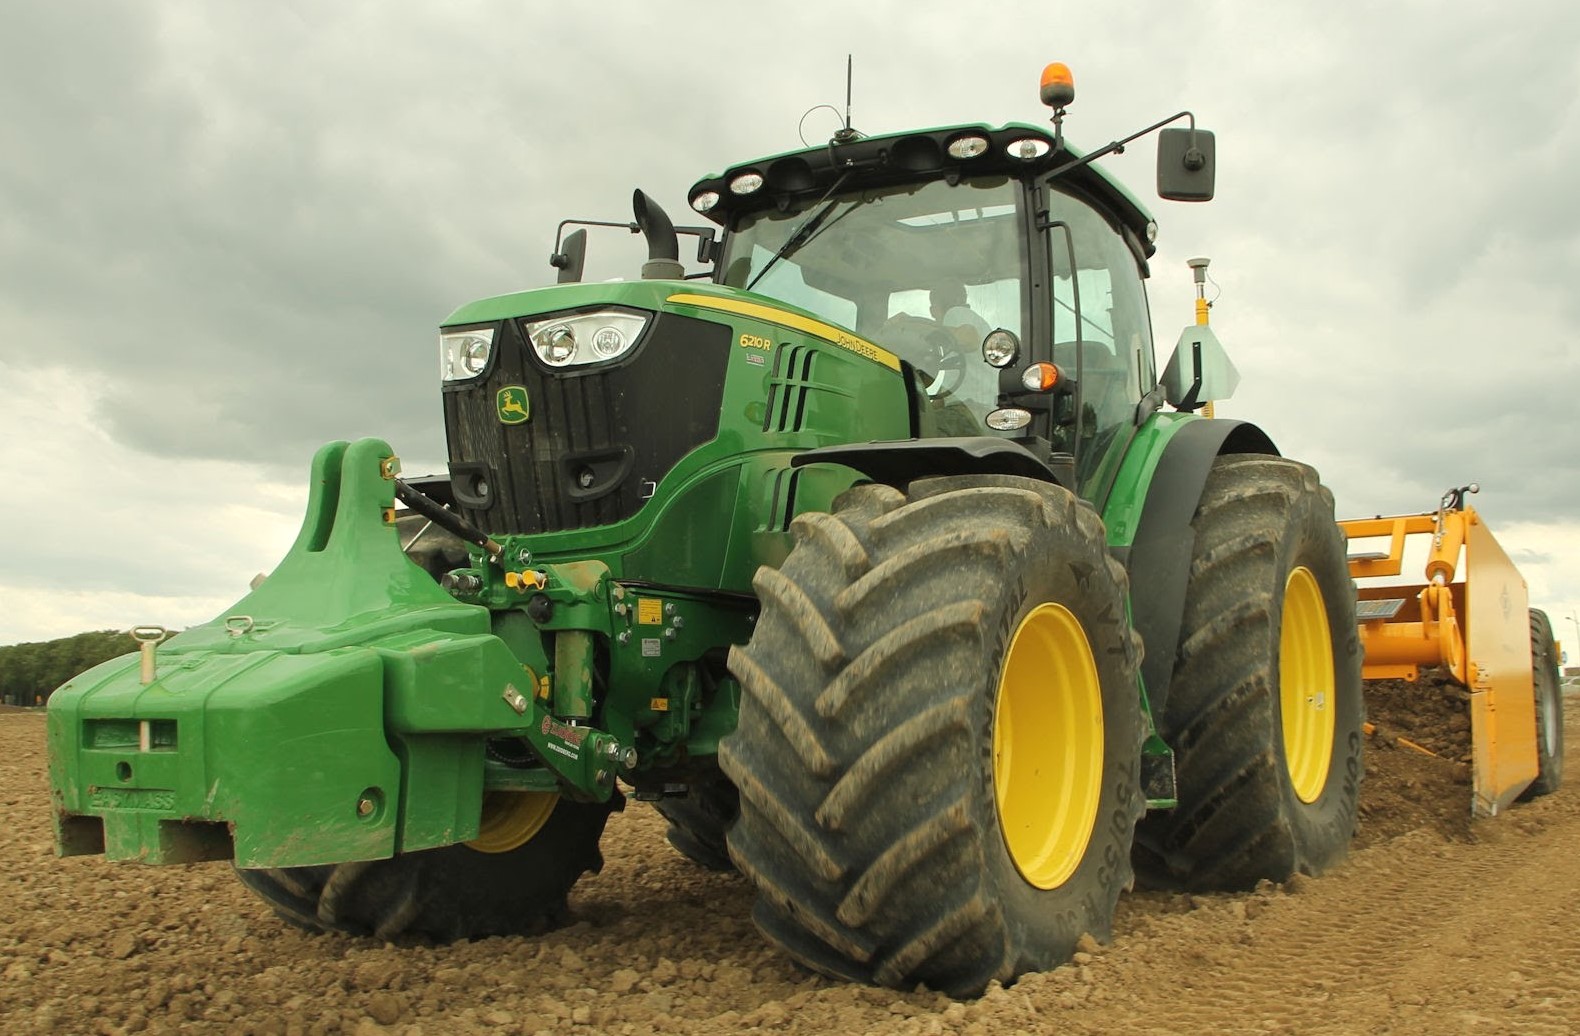 JD 6210R
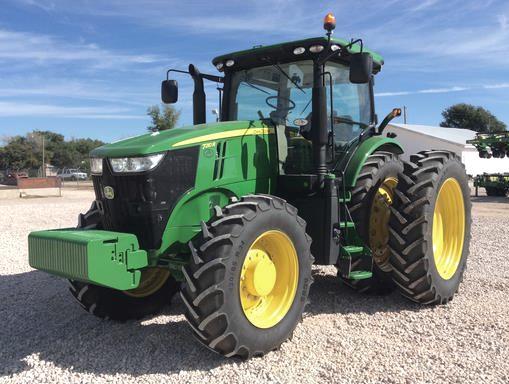 JD 7210R
 JD 7250R
 JD 7310R
 JD 8245R
 JD 8295R
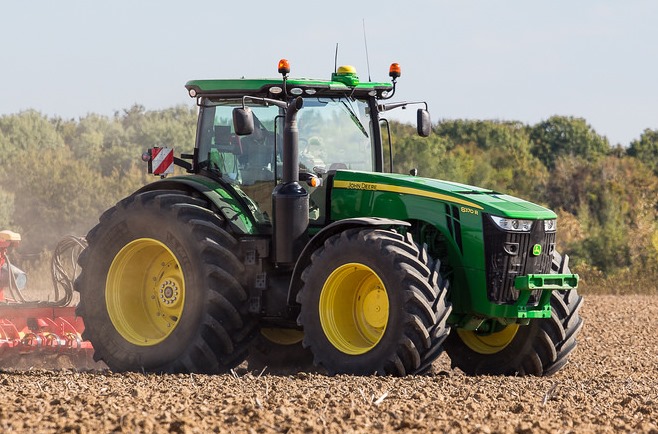 JD 8370R
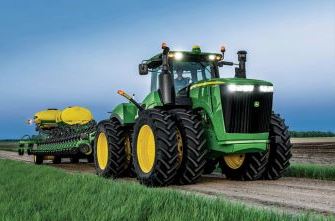 JD 9370R
 120R Loader
 D120 Loader
 H120 Loader
 45 Loader
 200CX Loader
 D160 Loader
 D170 Loader
 H160 Loader
 H165 Loader
 H240 Loader
 210 Loader
 220R Loader
 300E Loader
 300X Loader
 300CX Loader
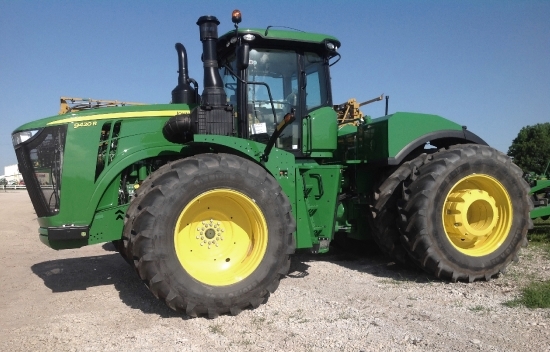 JD 9420R
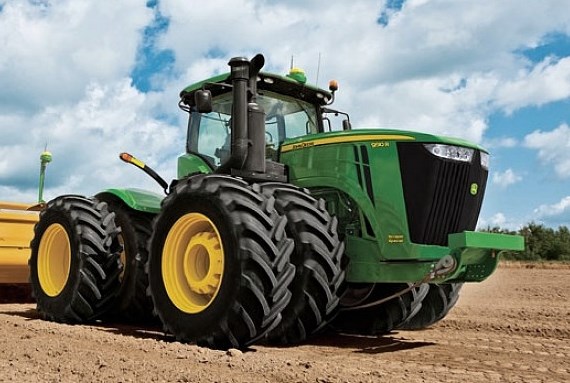 JD 9510R
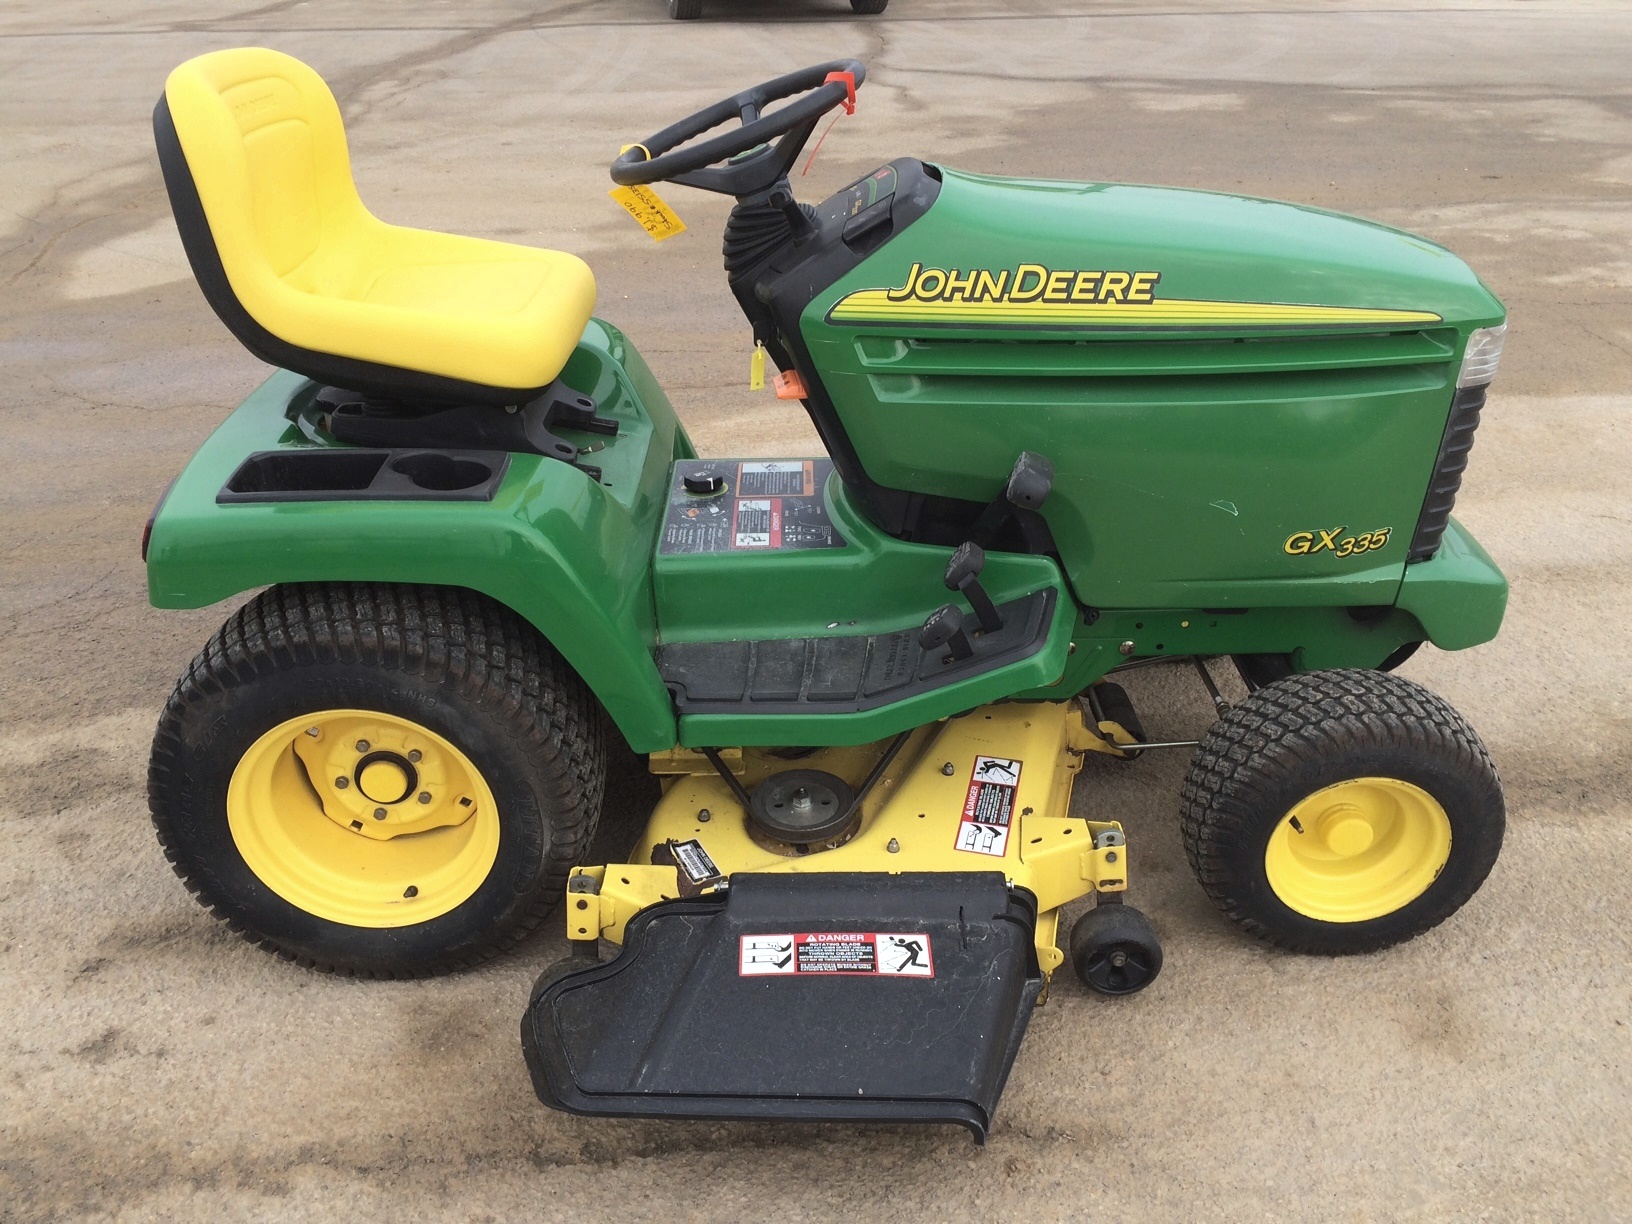 JD GX335
 JD GX85
 JD LA105
 JD 5065M
 JD 5055D
 JD 5115R
 JD 5105M
 JD 6110R
 JD 6130D
 JD 6225
 JD 7530
 JD 4044M
 JD 7185J
 300 Loader
 300R Loader
 320R Loader
 400E Loader
 410 Loader
 430 Loader
 460 Loader
 521 Loader
 531 Loader
 541 Loader
 551 Loader
 631 Loader
 651 Loader
 661 Loader
 603R Loader
 JD D130
 JD D160
 JD 325
 JD 335
 JD 345
 JD 2520
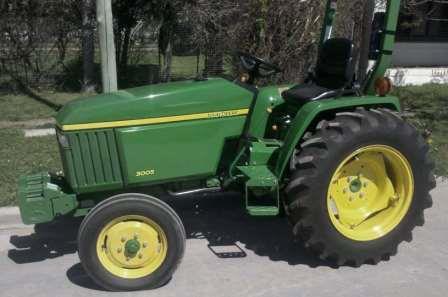 JD 3005
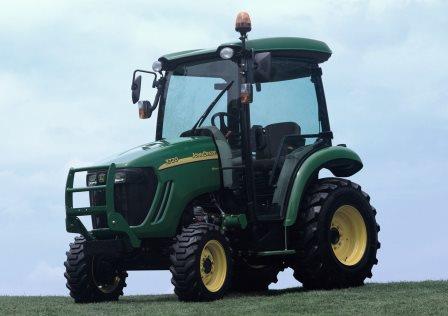 JD 3720
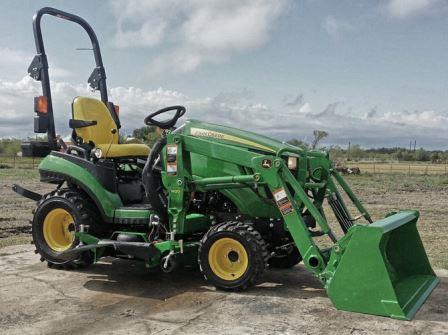 JD 1025R
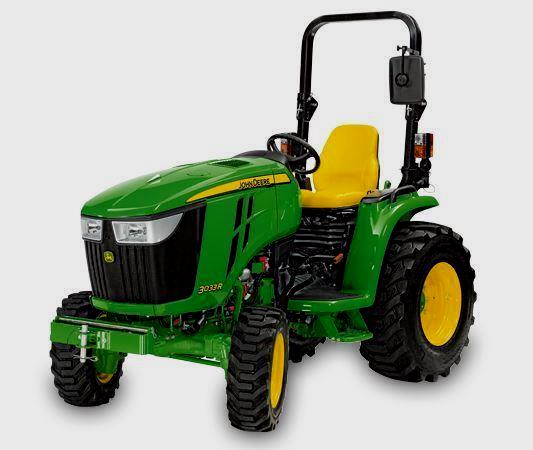 JD 3033R
 JD 5090EL
 JD 5100MH
 JD 5075GV
 JD 6090RC
 JD 6110B
 623R Loader
 643R Loader
 731 Loader
 746 Loader
 751 Loader
 533 Loader
 583 Loader
 633 Loader
 653 Loader
 683 Loader
 H260 Loader
 663R Loader
 663 Loader
 683R Loader
 753 Loader
 JD 6125J
 JD 6150RH
 JD 6210J
 JD 7195J
 JD 8310
 JD 6325
 JD 5525
 JD 5083EN
 JD 5100GN
 JD 5125R
 210C Backhoe
 300D Backhoe
 310G Backhoe
 410G Backhoe
 710G Backhoe
 80 Loader
 100 Loader
 146 Loader
 148 Loader
 158 Loader
 168 Loader
 175 Loader
 522 Loader
 542 Loader
 540R Loader
 562 Loader
 563 Loader
 673 Loader
 741 Loader
 L108 Automatic
 L120 Automatic
 LA110 Automatic
 LA120 Automatic
 LA150 Automatic
 LT155
LT155 LT160 Automatic
 LT180 Automatic
 LTR180
 X165
X165 E100
E100 E120
E120 E150
E150 LTR166
 LA135
LA135 LA165
LA165 LX277
LX277 LX288
LX288 LX255
LX255 S240
S240 GT235
GT235 G110 Automatic
 JD 3203
 JD 5520
 JD 316
 JD 420
 JD 425
 JD 445
 JD_5050D
 X300
X300 X304
X304 X310
X310 X110 Automatic
 H310 Loader
 H340 Loader
 H360 Loader
 H380 Loader
 H480 Loader
 240 Loader
 245 Loader
 260 Loader
 265 Loader
 600R Loader
 620R Loader
 640R Loader
 660R Loader
 680R Loader
 JD_5039D
 X146R
X146R X360
X360 X155R
X155R X140 Automatic
 X350
X350 X380
X380 X500
X500 X590
X590 X700
X700 3036E
3036E 2038R
2038R 3038R
3038R 4049M
4049M JD 4100
 X738
X738 X740
X740 X748
X748 X749
X749 X950R
X950R JD 4510
 5045D
5045D 5050E
5050E 5060E
5060E 5078E
5078E