________________________________________________________________________________
John Deere 165, 175, 185 - Eaton Hydrostatic Transmission
The hydrostatic drive John Deere 165, 175, 185 tractor is equipped with
an infinite speed transmission. The transmission is mounted on the
differential case which contains a two-pinion bevel gear differential. A
single control lever controls both speed and direction as well as
braking. A neutral-start switch (activated when brake pedal is
depressed) prevents the engine from starting when control lever is in
forward or reverse position. A dump valve is incorporated to allow the
operator to push the tractor manually. The cooling fan cools the
hydrostatic fluid in the transmission. Power from the engine is
transmitted through a drive belt to the transmission. Power is
transmitted from the transmission to the brake shaft, output shaft, and
differential and axle. Power to the differential, transmitted through
the pinion and bevel gears, turns the axle and wheels.
Remove differential and hydrostatic transmission assembly
Remove mower
from John Deere 165, 175, 185 tractor. Put transmission control lever in
neutral. Drain differential. Remove rear wheels. Remove fuel tank.
Remove heat shield. Remove two nuts. Remove transmission linkage and key
from transmission. Loosen three cap screws fastening differential to
frame. Disconnect brake linkage. Remove four nuts fastening differential
to frame. Remove three cap screws and lower differential and
transmission assembly. Remove traction drive belt from transmission
sheave. Remove differential and transmission assembly.
John Deere 165, 175, 185 tractor -
Remove Eaton transmission
Remove four cap screws and washers. Remove
transmission and gasket from differential. Replace shaft seal - Clean
exterior of transmission to prevent contamination. Drain transmission
fluid. Remove seal using JDG213 Seal Remover. Lubricate inner surface of
seal. Press seal into position over shaft with JDG214 Seal Installer.
Remove and inspect fan and sheave - Remove and inspect fan. Replace if
damaged. Remove two Allen-head screws and transmission sheave. Inspect
sheave. Replace if damaged.
John Deere 165, 175, 185 tractor -
Disassemble Eaton transmission
Oil reservoir has a left-hand thread.
Drain transmission at reservoir. Remove reservoir. During assembly,
cover and body must be in their original positions or transmission
output rotation will be reversed. Make line across cover and body to
mark correct positions for assembly. Remove two Allen-head screws.
Rotate JD 165, 175, 185 tractor transmission so that cover is on top of
body. Loosen cover. If cover does not separate easily from body, tap
cover and body with plastic hammer. Lift cover off body. For proper ball
positioning when assembling, put numbers on rotor before removal. Use a
wide rubber band to hold pistons in place. Remove rotor. Remove
retaining ring from output shaft. Remove gear. Remove key and spacer.
Remove output shaft. Remove retaining ring. Remove bearing and oil seal.
Remove retaining ring from input shaft. Remove key from shaft. Remove
dump valve shaft. Remove pivot pin assembly. For proper ball positioning
when assembling, put numbers on rotor before removal. Use a wide rubber
band to hold the pistons in place. Remove rotor. Remove cam ring. Remove
button. Remove input shaft and bearing assembly. Remove oil seal.
Inspect body and output shaft assembly
Inspect body. Replace if
cracked or broken. Inspect bearing and output shaft. Replace if damaged.
Inspect cover - Inspect cover, especially around control shaft. Replace
cover if cover is broken or cracked. Inspect input shaft assembly (John
Deere 165, 175, 185 hydrostatic transmission) - Inspect retaining ring.
Replace if damaged. Do not separate bearing from shaft unless damage is
found. Inspect input shaft and bearing. If damage is found, remove snap
ring and remove bearing from shaft. Install bearing and new snap ring on
shaft. Inspect control shaft assembly - Remove and discard oil seal from
control shaft assembly. Inspect dowel pin and control shaft. Replace if
damaged.
Replace control shaft assembly
Measure distance between center of
dowel pin and end of control shaft. Use this dimension to locate dowel
pin from outside of cover. Drill 11/32-in. diameter hole in line with
center of control shaft and dowel pin. Remove dowel pin using a punch
through the drilled hole. Remove retaining ring and washer. Remove
control shaft. Install a 1/8-in. countersunk hex-head pipe plug in
drilled hole. Pipe plug must be even with outside surface of case.
Lubricate new control shaft. Install in cover. Install washer and
retaining ring. Position keyway as shown before install doweling pin.
Install new dowel pin through shaft until 28.6 mm (1.13 in.) of pin
extends above shaft. Install new oil seal.
Inspect rotor assemblies
Inspect for burrs or scoring in bore. Inspect
ball pistons and springs. Check rotor bushings for wear and scoring.
Apply a thin film of oil on ball pistons. Put corresponding ball piston
in numbered hole of rotor. Close inner port of rotor with finger. Push
on ball with thumb. Should feel spongy and not stick. Repeat step for
each ball piston. If one ball in rotor set rolls or does not FLOAT in
rotor, replace complete. If any irregularities are found, replace the
rotor assembly. Install springs and ball pistons in their original
positions. Secure with a wide rubber band. Inspect pump race - Inspect
line where ball pistons contact pump race. If irregularities found,
replace race. Install flush to 0.25 mm (0.010 in.) recessed from edge of
cam. Inspect motor race - Inspect line where ball pistons contact motor
race. Replace race if not smooth or free of irregularities.
Inspect pivot pin assembly (JD 165, 175, 185 hydrostatic transmission)
Remove and inspect dump valve bracket and spring assembly. Replace if
damaged. Inspect both pivot pin assembly journals. Replace assembly if
any irregularities are found. Inspect dampening pistons. Replace if
scored. Shake pivot pin assembly to inspect check balls. If check balls
do not rattle, check valve assembly is faulty. Replace valve assembly.
Replace Dampening pistons
Firmly tap outside edge of piston pin
assembly on work surface to dislodge pistons. If piston did not come
out, see adhesive to fasten cap screw to it. Pull piston from the bore.
Remove back-up rings and O-rings from pistons. Install new back-up rings
and O-rings on pistons. Lubricate outer surface of pistons. Push pistons
into bores with smooth face up. Replace check valve assembly - Remove
coil pin. Tap holes in check valve bodies using a 5/16-18 NC tap. Pull
check valve bodies out using a long cap screw or threaded puller. Remove
and inspect check balls and retaining rings. Replace any defective
parts. Install retaining rings and check balls. Install new check valve
bodies. Be sure to allow for coil pin clearance. Install coil pin.
Install dump valve bracket and springs.
Assemble Eaton transmission (John Deere 165, 175, 185 tractor)
Lubricate inner surface of new seal using clean lubricant. Install seal.
Install input shaft and bearing assembly. Install button. Install cam
ring. Check cam ring movement. Cam ring must move freely from stop to
stop. If binding occurs at either stop, rotate cam ring insert 180°.
Check movement again. Align internal spline of pump rotor with external
spline on input shaft. Install rotor. Remove rubber band. Do not force
rotor assembly on pivot pin assembly. Rotor assembly must turn freely.
If not, recheck installation. Install pivot pin assembly. Install dump
valve shaft. Tighten to 4 Nm (30 lb-in.). Install retaining ring to
cover. Lubricate inner surface of new seal using clean lubricant.
Install seal with rubber lip toward counterbore in body. Install output
shaft in body so that cross pin fits into groove. Support output shaft
from below so that cross pin of shaft is tight against body. Install
bearing and retaining ring. Check that output shaft rotates freely by
hand. If not, recheck installation. Install washer. Install key in
shaft. Install gear and retaining ring. Align slot in rotor assembly
with cross pin on output shaft. Install rotor assembly and remove rubber
band, if used. Install cover to body. Align body and cover marks.
Install two Allen-head screws and tighten to 20 Nm (177 lb-in.). Install
new seal ring to oil reservoir recess in cover. Install oil resrvoir and
tighten to 14 Nm (124 lb-in.).
Install fan and sheave
Install sheave to input shaft and fasten with
two Allen-head screws. Install fan on input shaft. Fill transmission
reservoir - Remove plug and reservoir cap. Fill reservoir with
recommended engine oil until fluid flows from vent. Rotate both input
and output shafts to release air trapped in transmission. Add oil to
reservoir until oil re-appears at vent, then install and tighten plug.
Refill reservoir to cold level FULL mark on units with dipstick or until
oil is 140 mm (5.50 in.) below top of reservoir. Replace reservoir cap.
Install Eaton transmission (JD 165, 175, 185)
Install gasket and transmission on differential. Install four cap screws and washers. Fill differential assembly with 0.7 L (1.5 pt) of SAE 90 oil. Install differential and hydrostatic transmission assembly - Position differential and hydrostatic transmission assembly under frame. Install traction drive belt on transmission sheave. Lift right side of rear axle and install strap, nuts, and washers. Lift left side of rear axle and install strap, nuts, and washers. Install three washers and cap screws. Tighten all differential and hydrostatic transmission mounting hardware. Connect brake linkage. Install key and transmission linkage. Tighten nuts. Install heat shield. Install fuel tank. Install rear wheels. Remove blocking from tractor. Check oil level in differential. Oil should be a short distance below plug hole. Adjust transmission. Install mower.
- JD 130, 160, 165, 175, 180, 185 Engine and PTO Clutch
- JD 130, 160, 165, 175, 180, 185 Transaxle service
- JD 165, 175, 185 Eaton Hydrostatic Transmission
- JD 165, 175, 185 Hydrostatic Differential
- JD 130, 160, 165, 175, 180, 185 Steering, Front Axle and Brakes
- JD 130, 160, 165, 175, 180, 185 Servicing Mower
________________________________________________________________________________
________________________________________________________________________________________
________________________________________________________________________________________
________________________________________________________________________________________
________________________________________________________________________________________
________________________________________________________________________________________
________________________________________________________________________________________
________________________________________________________________________________________
________________________________________________________________________________________
________________________________________________________________________________________
________________________________________________________________________________________
________________________________________________________________________________________
________________________________________________________________________________________
________________________________________________________________________________________
________________________________________________________________________________________
________________________________________________________________________________________
________________________________________________________________________________________
________________________________________________________________________________________
________________________________________________________________________________________
________________________________________________________________________________________
________________________________________________________________________________________
________________________________________________________________________________________
________________________________________________________________________________________
________________________________________________________________________________________
________________________________________________________________________________________
________________________________________________________________________________________
________________________________________________________________________________________
________________________________________________________________________________________
________________________________________________________________________________________
________________________________________________________________________________________
________________________________________________________________________________________
________________________________________________________________________________________
________________________________________________________________________________________
________________________________________________________________________________________
________________________________________________________________________________________
________________________________________________________________________________________
________________________________________________________________________________________
________________________________________________________________________________________
________________________________________________________________________________________
________________________________________________________________________________________
________________________________________________________________________________________
________________________________________________________________________________________
________________________________________________________________________________________
________________________________________________________________________________________
________________________________________________________________________________________

 JD SPECS
 JD LOADERS
 JD MAINTENANCE
 JD INSTRUCTIONS
 JD PROBLEMS
 JD 2025R
 JD 3039R
 JD 4044R
 JD 4105
 JD 4720
 420 Loader
 419 Loader
 510 Loader
 512 Loader
 520 Loader
 520M Loader
 540M NSL
 540 Loader
 440R Loader
 H180 Loader
 JD 5045E
 JD 5085E
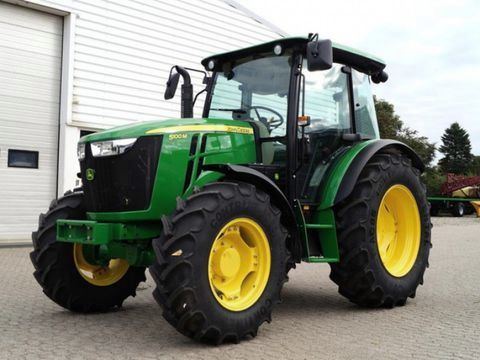 JD 5100M
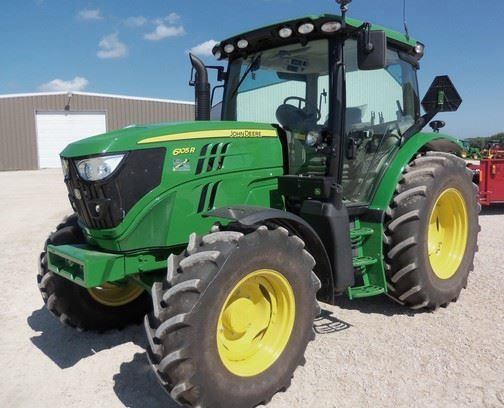 JD 6105R
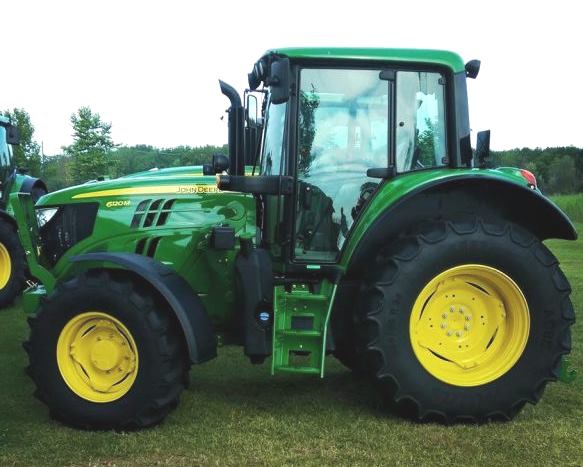 JD 6120M
 JD 6155M
 JD 6195R
 JD 6210R
 JD 7210R
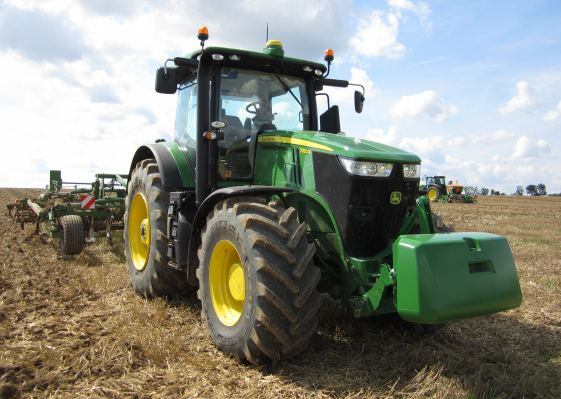 JD 7250R
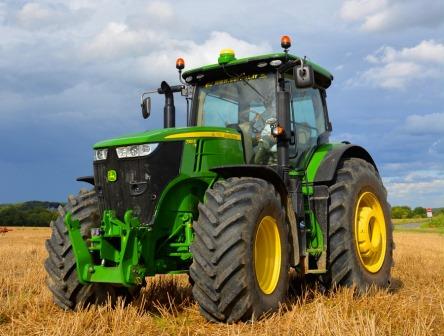 JD 7310R
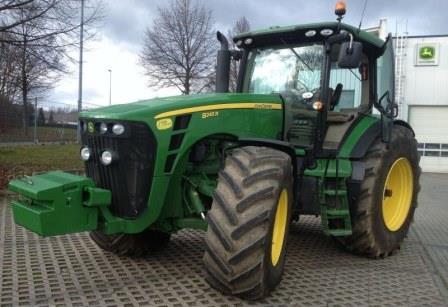 JD 8245R
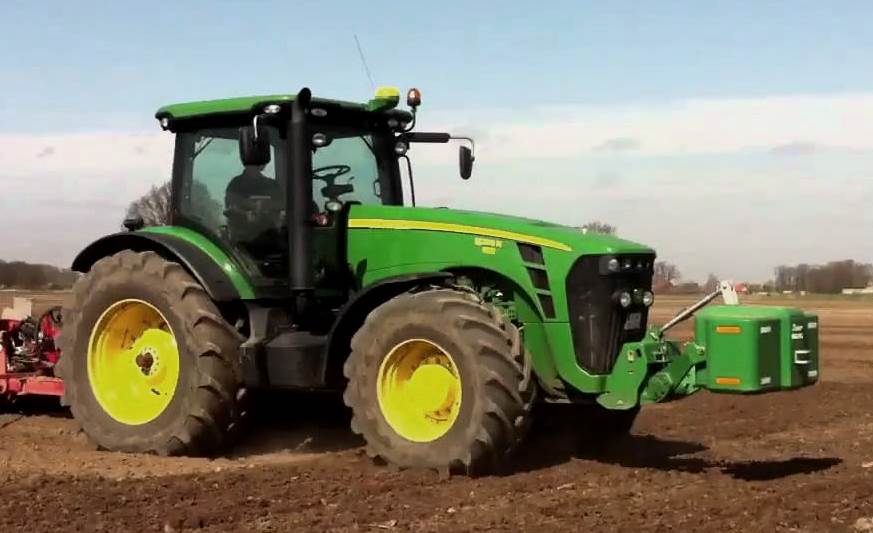 JD 8295R
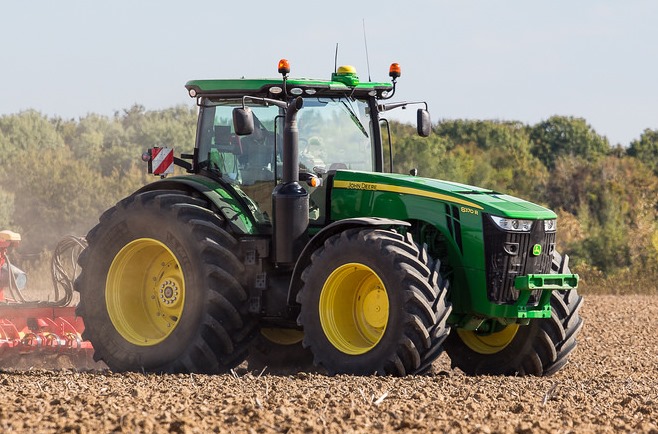 JD 8370R
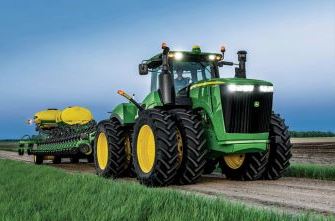 JD 9370R
 120R Loader
 D120 Loader
 H120 Loader
 45 Loader
 200CX Loader
 D160 Loader
 D170 Loader
 H160 Loader
 H165 Loader
 H240 Loader
 210 Loader
 220R Loader
 300E Loader
 300X Loader
 300CX Loader
 JD 9420R
 JD 9510R
 JD GX335
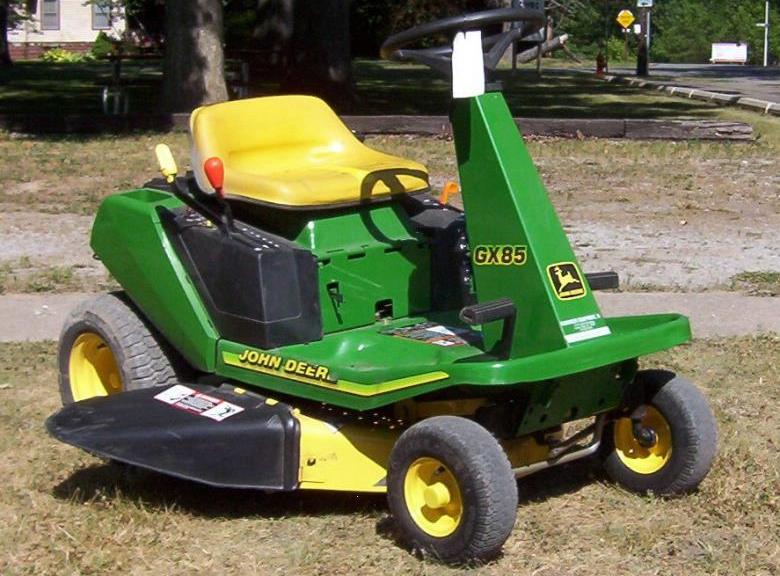 JD GX85
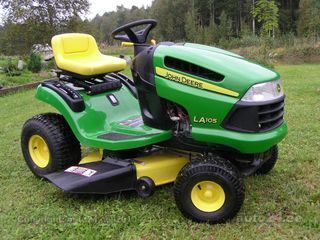 JD LA105
 JD 5065M
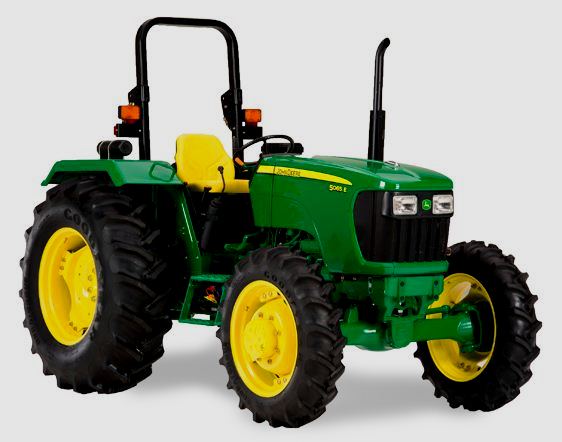 JD 5055D
 JD 5115R
 JD 5105M
 JD 6110R
 JD 6130D
 JD 6225
 JD 7530
 JD 4044M
 JD 7185J
 300 Loader
 300R Loader
 320R Loader
 400E Loader
 410 Loader
 430 Loader
 460 Loader
 521 Loader
 531 Loader
 541 Loader
 551 Loader
 631 Loader
 651 Loader
 661 Loader
 603R Loader
 JD D130
 JD D160
 JD 325
 JD 335
 JD 345
 JD 2520
 JD 3005
 JD 3720
 JD 1025R
 JD 3033R
 JD 5090EL
 JD 5100MH
 JD 5075GV
 JD 6090RC
 JD 6110B
 623R Loader
 643R Loader
 731 Loader
 746 Loader
 751 Loader
 533 Loader
 583 Loader
 633 Loader
 653 Loader
 683 Loader
 H260 Loader
 663R Loader
 663 Loader
 683R Loader
 753 Loader
 JD 6125J
 JD 6150RH
 JD 6210J
 JD 7195J
 JD 8310
 JD 6325
 JD 5525
 JD 5083EN
 JD 5100GN
 JD 5125R
 210C Backhoe
 300D Backhoe
 310G Backhoe
 410G Backhoe
 710G Backhoe
 80 Loader
 100 Loader
 146 Loader
 148 Loader
 158 Loader
 168 Loader
 175 Loader
 522 Loader
 542 Loader
 540R Loader
 562 Loader
 563 Loader
 673 Loader
 741 Loader
 L108 Automatic
 L120 Automatic
 LA110 Automatic
 LA120 Automatic
 LA150 Automatic
 LT155
LT155 LT160 Automatic
 LT180 Automatic
 LTR180
 X165
X165 E100
E100 E120
E120 E150
E150 LTR166
 LA135
LA135 LA165
LA165 LX277
LX277 LX288
LX288 LX255
LX255 S240
S240 GT235
GT235 G110 Automatic
 JD 3203
 JD 5520
 JD 316
 JD 420
 JD 425
 JD 445
 JD_5050D
 X300
X300 X304
X304 X310
X310 X110 Automatic
 H310 Loader
 H340 Loader
 H360 Loader
 H380 Loader
 H480 Loader
 240 Loader
 245 Loader
 260 Loader
 265 Loader
 600R Loader
 620R Loader
 640R Loader
 660R Loader
 680R Loader
 JD_5039D
 X146R
X146R X360
X360 X155R
X155R X140 Automatic
 X350
X350 X380
X380 X500
X500 X590
X590 X700
X700 3036E
3036E 2038R
2038R 3038R
3038R 4049M
4049M JD 4100
 X738
X738 X740
X740 X748
X748 X749
X749 X950R
X950R JD 4510
 5045D
5045D 5050E
5050E 5060E
5060E 5078E
5078E