________________________________________________________________________________
John Deere 130, 160, 165, 175, 180, 185 - Transaxle service
JD 130, 160,
165, 175, 180, 185 Tractor Wheels
John Deere 130, 160, 180 Lawn Tractors are equipped with a 5-forward
speed and reverse gear transaxle. The transaxle is a complete unit,
consisting of a transmission and differential. Gear shifting is done
with a gear shift lever connected by linkage to the gear shift fan. The
transaxle has automotive-type alloy gears. The gears are lubricated from
grease packed inside the case. Needle or ball bearings are used on the
closed end of the countershaft, differential axle shafts and input
shaft. Bushings are used on the ends of the shifter and brake shaft and
on the case end of the countershaft. A neutral-start switch (not shown),
installed in top of case, detents in the shifter fan to prevent the
tractor engine from starting when the transmission is in gear.
John Deere 130, 160, 180 Tractor - Replace rear wheels
Lift rear of tractor so
rear wheels are off the ground. Put blocks or supports under tractor
frame. Remove snap ring and washer. Remove wheel. Inspect shaft key and
washer. Replace if necessary. Put lubricant on axle. Install washers and
snap ring. Measure clearance between wheel hub and axle housing. Add
washers behind snap ring until clearance is 0.25-1.02 mm (0.010-0.040
in.). Remove blocking from tractor. Replace rear wheels (John Deere 165,
175, 185) - Lift rear of tractor so rear wheels are off the ground. Put
blocks or supports under tractor frame. Remove snap ring. Pull wheel off
axle. Inspect washer and shaft key on right axle. Inspect three washers
on left axle only. Put lubricant on shaft and install wheel. Install
snap ring. Measure clearance between wheel hub and axle housing. Add
washers between hub and axle housing until clearance is 0.25-1.02 mm
(0.010-0.040 in.). Remove blocking from tractor.
John Deere 130, 160, 165, 175, 180, 185 Drive belt
Traction drive belt care and maintenance. The traction
drive belt transmits power by friction and a wedging action against the
sheaves. The belt is subject to normal wear through periodic heavy load
and should be checked regularly. To check for normal wear, the belt and
sides of sheaves should wear evenly. A slight raveling of the belt
covering does not indicate premature failure. Cut off the raveling if
the covering peels at the lap. Check for the causes of unusual belt wear
as follows: Examine sheaves for bent or chipped sidewalls. Check for
excessive sidewall wear. Damaged sheaves cause rapid belt wear. A bent
sidewall reduces the gripping power of the belt. Replace sheaves having
any of the above defects. Check to be sure dirt has not lodged and
packed in sheave V-groove. Loosen dirt so it will fall out when tractor
is started.
Clean traction drive belt
Clean belt by wiping with a clean cloth.
Immediately wipe off any spilled oil or grease. Do not use solvents.
They soften the belt and cause the clutch to grab. Do not use belt
dressing. Dressings shorten belt life and often give only temporary
gripping action while softening the belt and causing eventual
deterioration. Replace traction drive belt (JD 130, 160, 180, 185) -
Remove mower from tractor. Remove electric PTO clutch. Loosen adjusting
idler nut. Remove two cap screws and nuts. Rotate steering support so it
is parallel to drive belt. Disconnect drag link. Loosen two nuts and
remove belt guide. Remove two cap screws and nuts and rotate clutch
support parallel to drive belt. Depress clutch pedal and remove drive
belt from sheaves. Replace drive belt on sheaves. Install and tighten
two cap screws and nuts on clutch support. Install belt guide on clutch
assembly. Connect drag link. Install and tighten two cap screws and nuts
on steering support. Adjust traction drive belt. Install mower on
tractor.
John Deere 165, 175, 185 Tractor - Replace traction drive belt
Remove mower from
tractor. Remove electric PTO clutch. Remove two cap screws and nuts.
Rotate steering support so it is parallel to drive belt. Disconnect drag
link. Remove pin and disconnect transmission linkage. Remove traction
drive belt. Install drive belt on transmission sheave, idler assembly,
engine sheave and idler. Be sure drive belt is routed from right-hand
side of engine sheave to TOP of the transmission sheave. Connect linkage
to transmission. Fasten steering support with two cap screws and nuts.
Connect drag link to steering arm. Install electric PTO clutch. There is
no adjustment on the traction drive belt for hydrostatic tractors.
Install mower on tractor.
John Deere 130, 160, 180 Tractor - Adjust traction drive belt
Remove mower
from tractor. Put transmission control lever in gear to hold tractor.
Put foot clutch in engaged or in up position. Loosen nut on adjusting
idler. Slide adjusting idler in slot until a dimension of 94 mm (3.7
in.) is obtained between inner surface of flat idler and inside of
frame. Adjust belt guide to be parallel with drive belt and maintain a
clearance of 5 mm (0.20 in.) between belt and guide. Tighten nut on
adjusting idler. Loosen belt guide and center belt in guide loop.
Tighten cap screw. Install mower on tractor.
John Deere 130, 160, 180, 185 Tractor - Remove traction drive clutch
assembly
Loosen two nuts and remove belt guide. Remove clutch spring and return
spring. Remove clutch support and clutch assembly. Inspect clutch
assembly for wear or damage. Replace parts as needed. Install traction
drive clutch assembly (JD 130, 160, 180, 185) - Put lubricant on
bushings and ends of sleeve. Put bushings and sleeve in bell crank.
Install traction clutch assembly and clutch support. Tighten three nuts.
Install return spring and clutch spring. Install belt guide. Adjust
traction drive belt. Remove belt tensioner (JD 165, 175, 185) - Remove
traction drive belt. Disconnect spring from frame. Remove nut and belt
tensioner assembly. Inspect tensioner for wear or damage. Replace parts
as necessary. Install belt tensioner (John Deere 165, 175, 185) - Put
lubricant on bushings and ends of sleeve. Install belt tensioner parts
on cap screw one part at a time. Connect spring to bell crank. Install
and tighten nut. Connect spring to shaft on pedal assembly. Install
traction drive belt.
John Deere 130, 160, 165, 175, 180, 185 Transaxle
John Deere 130, 160, 165, 175, 180, 185 Tractor -
Remove transaxle
Remove mower. Put transmission control lever in
neutral. Remove rear wheels. Depress clutch pedal and remove traction
drive belt from transaxle drive sheave. Disconnect brake linkage.
Disconnect neutral start switch wire. Remove two cap screws and nuts
from front support. Remove cap screw and washer. Disconnect shift arm.
Remove four nuts from U-bolt and lower transaxle from tractor. Remove
external transaxle parts - Remove two self-tapping screws and remove
support. Remove snap ring. Remove transaxle drive sheave and key. Remove
neutral start switch. Remove two cap screws and washers. Remove brake
assembly, disk and brake puck.
Remove internal components
Remove Allen-head screw. Remove spring and
detent ball with a magnet. Remove 17 cap screws. Tap sides of case with
a plastic hammer and remove top half of case. Remove shifter fan. Lift
gear assembly out of case as one unit. Lift differential assembly out.
Remove old grease from case halves and parts. Wash parts with solvent.
Disassemble input shaft - Remove snap ring and pinion gear. Remove
thrust washer and O-ring. Remove input shaft, thrust washer, and snap
ring. Inspect input shaft, pinion gear, O-ring, and thrust washers for
wear or damage. Replace parts if necessary. Inspect input shaft bearings
for wear. Replace if necessary.
Disassemble gear Assembly
Remove needle bearing, square cut seal,
thrust washer, output gear, and output pinion. Inspect needle bearing
for wear. Replace if necessary. Remove O-rings from each end of output
pinion. Inspect needle bearings for wear. Replace if necessary. Pull
ends of shafts together and remove drive chain. Remove sprocket,
bushing, thrust washer, spur gears, and bevel gear from countershaft.
Remove square cut seal, bushing, and thrust washer from shifter and
brake shaft. Observe the position of thrust washers on shifter and brake
shaft. Raised back side of washer is away from brake spline. Remove spur
gears and thrust washers alternately. Remove bushing, thrust washer,
spur gear, spacer, and sprocket. Remove shifter collar and keys. Inspect
gears, bushings, washers, and shafts for wear or damage. Replace parts
if necessary. Inspect roller chain for damaged or broken links. Replace
if necessary.
JD 130, 160, 165, 175, 180, 185 Tractor -
Disassemble differential
Remove ball bearings and bushings. Remove
spring pin using a punch. Remove pinion shaft and thrust washers. Rotate
axle to move pinion gears out of position. Remove pinion gears. Remove
snap ring. Remove bevel gear, thrust washers, and axle. Inspect bushings
for wear. Replace if necessary. Inspect differential ball bearings,
bushings, shafts, and gears for wear or damage. Replace parts if
necessary. Assemble differential - Install shorter axle through gear
side of ring gear housing. Install thrust washers, bevel gear, and snap
ring. Install longer axle, thrust washers, bevel gear, and snap ring in
ring gear housing. Install pinion gears on opposite sides of ring gear
housing. Rotate axle to move pinion gears into alignment with pinion
shaft holes. Insert thrust washers behind each pinion gear. Slide pinion
shaft through ring gear housing, thrust washers, and pinion gears.
Install spring pin. Install bushings and ball bearings.
Assemble shifter and brake shaft
Put John Deere High Temperature
Grease or an equivalent in keyways of shaft. Position keys near end of
shaft in keyways. Put shifter collar over keys with thicker shoulder of
collar towards shaft. Slide collar and keys on shaft. Install sprocket
with thicker shoulder towards shifter collar. Install spacer, spur gear,
thrust washer, and bushing. Put five thrust washers and spur gears on
shaft with raised side of thrust washers towards shoulder of shaft. Flat
side of gears MUST be towards shoulder. Install thrust washer, bushing,
and square cut seal.
Assemble countershaft
Install bevel gear with bevel towards center of
shaft. Install spur gears, smallest to largest, thrust washer, and
bushing. Install sprocket with thicker shoulder towards bevel gear. Put
countershaft and shifter and brake shaft ends together. Install drive
chain. If needle bearings were removed from output pinion, replace with
new bearings. Press bearings to a depth of 3.43-3.81 mm (0.135-0.150
in.) below top surface on each end. Put John Deere Grease between needle
bearings. Put O-rings in each end of output pinion. Install output
pinion, output gear, thrust washer, square cut seal, and needle bearing.
John Deere 130, 160, 165, 175, 180, 185 Tractor -
Assemble input shaft
If needle bearings were removed from top cover,
replace with new bearings. Press top bearing flush with cover. Press
lower bearing from inside of cover, to a depth of 3.43-3.81 mm
(0.135-0.150 in.) below the surface. Put John Deere High Temperature
Grease between needle bearings. Put snap ring and thrust washer on input
shaft. Install input shaft in cover. Put O-ring and thrust washer over
input shaft. Install pinion gear and snap ring.
Install internal components
Install differential assembly in case.
Install gear assembly in case. Make sure tabs on bushings are rotated
into notch in case. Install shifter fan, putting pins in groove on
shifter collar. Put approximately 1.0 L (2.2 pt) of John Deere High
Temperature Grease around gears in transaxle case. New transaxle cases
have untapped bolt holes. Use the self-tapping cap screws when
assembling. Install cover. Install and tighten 17 cap screws to 12 Nm
(100 lb-in.). Install detent ball, spring, and Allen-head screw. Tighten
screw one turn below flush with case cover. Install external transaxle
parts - Install puck, disk, and brake assembly. Install and tighten cap
screws and washers. Install neutral start switch. Install key, transaxle
drive sheave, and snap ring. Install support and fasten with two self
tapping screws.
JD 130, 160, 165, 175, 180, 185 Tractor -
Install transaxle
Position transaxle under tractor. Lift transaxle and fasten with two U-bolts and nuts. Install shift arm, washer, and cap screw. Cap screws for support also fasten belt guide. Install two cap screws and nuts. Connect brake linkage. Connect wire to neutral start switch. Install rear wheels. Adjust traction drive belt. Adjust brakes. Adjust transmission control lever. Adjust transmission control lever (John Deere 130, 160, 180) - Check control lever adjustment. It must be centered in the neutral slot and 1 mm (0.040 in.) from edge of slot. To adjust lever, stop engine and engage park brake. Put transmission control lever in neutral position. Loosen nuts. Use nuts to move control lever forward or rearward to center lever in slot. Tighten nuts. Loosen nuts and turn stop screw until control lever is 1 mm (0.040 in.) from edge of slot. Tighten nuts.
- JD 130, 160, 165, 175, 180, 185 Engine and PTO Clutch
- JD 130, 160, 165, 175, 180, 185 Transaxle service
- JD 165, 175, 185 Eaton Hydrostatic Transmission
- JD 165, 175, 185 Hydrostatic Differential
- JD 130, 160, 165, 175, 180, 185 Steering, Front Axle and Brakes
- JD 130, 160, 165, 175, 180, 185 Servicing Mower
________________________________________________________________________________
________________________________________________________________________________________
________________________________________________________________________________________
________________________________________________________________________________________
________________________________________________________________________________________
________________________________________________________________________________________
________________________________________________________________________________________
________________________________________________________________________________________
________________________________________________________________________________________
________________________________________________________________________________________
________________________________________________________________________________________
________________________________________________________________________________________
________________________________________________________________________________________
________________________________________________________________________________________
________________________________________________________________________________________
________________________________________________________________________________________
________________________________________________________________________________________
________________________________________________________________________________________
________________________________________________________________________________________
________________________________________________________________________________________
________________________________________________________________________________________
________________________________________________________________________________________
________________________________________________________________________________________
________________________________________________________________________________________
________________________________________________________________________________________
________________________________________________________________________________________
________________________________________________________________________________________
________________________________________________________________________________________
________________________________________________________________________________________
________________________________________________________________________________________
________________________________________________________________________________________
________________________________________________________________________________________
________________________________________________________________________________________
________________________________________________________________________________________
________________________________________________________________________________________
________________________________________________________________________________________
________________________________________________________________________________________
________________________________________________________________________________________
________________________________________________________________________________________
________________________________________________________________________________________
________________________________________________________________________________________
________________________________________________________________________________________
________________________________________________________________________________________
________________________________________________________________________________________
________________________________________________________________________________________

 JD SPECS
 JD LOADERS
 JD MAINTENANCE
 JD INSTRUCTIONS
 JD PROBLEMS
 JD 2025R
 JD 3039R
 JD 4044R
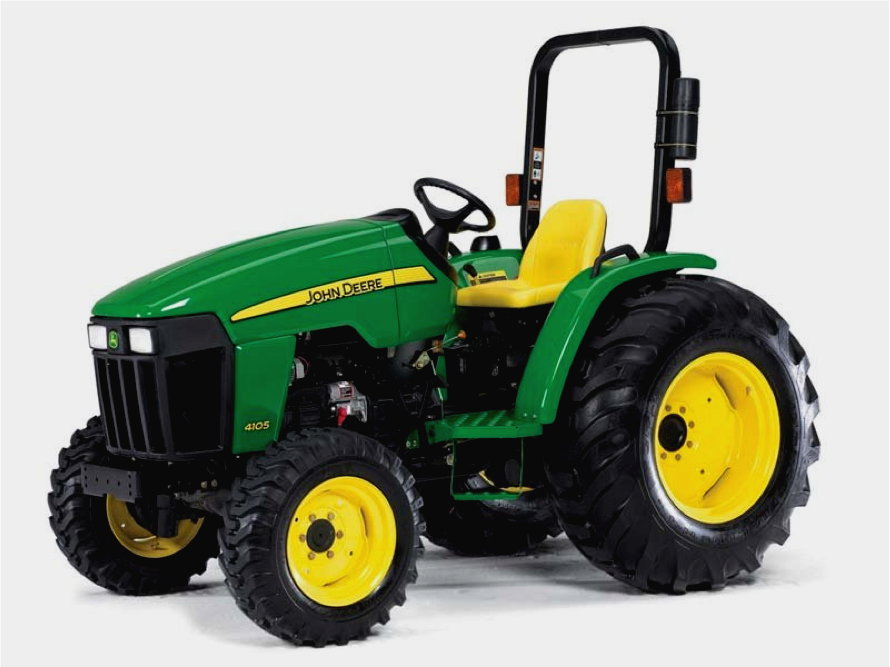 JD 4105
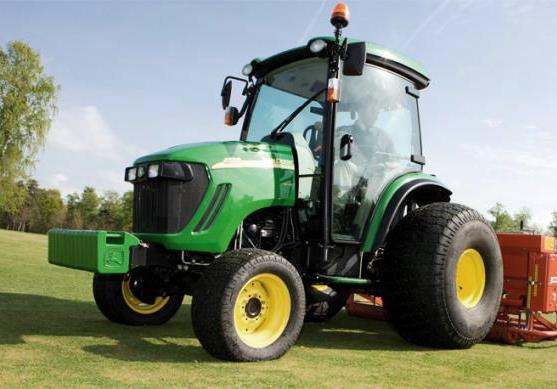 JD 4720
 420 Loader
 419 Loader
 510 Loader
 512 Loader
 520 Loader
 520M Loader
 540M NSL
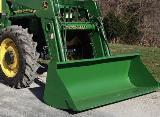 540 Loader
 440R Loader
 H180 Loader
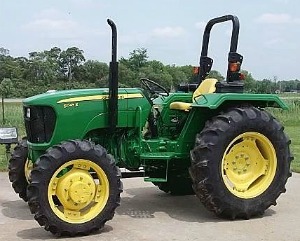 JD 5045E
 JD 5085E
 JD 5100M
 JD 6105R
 JD 6120M
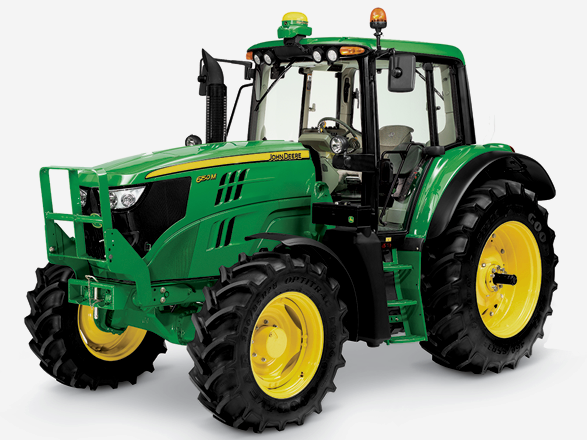 JD 6155M
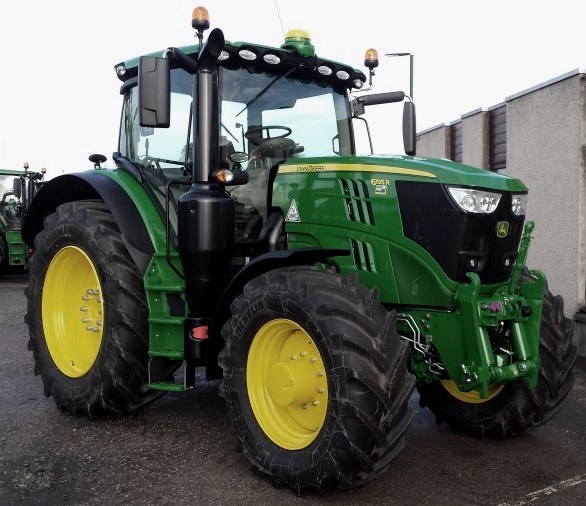 JD 6195R
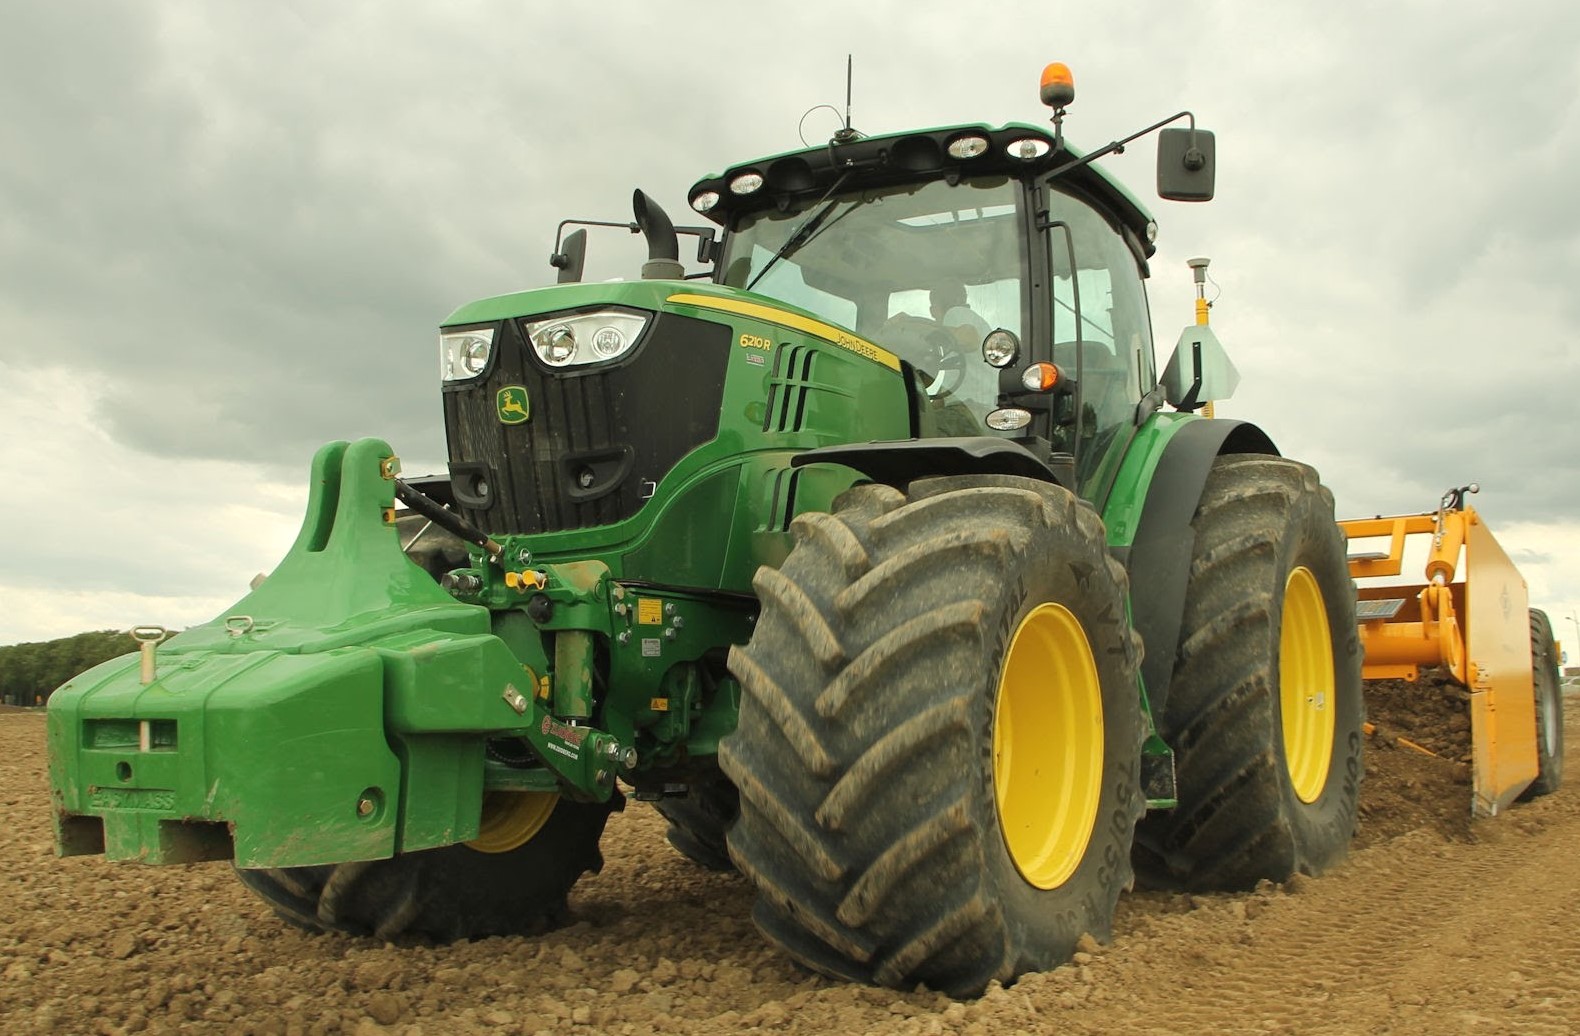 JD 6210R
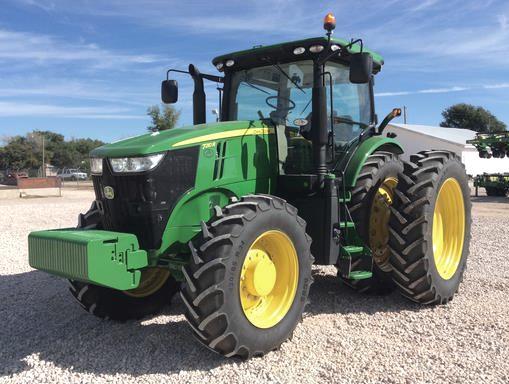 JD 7210R
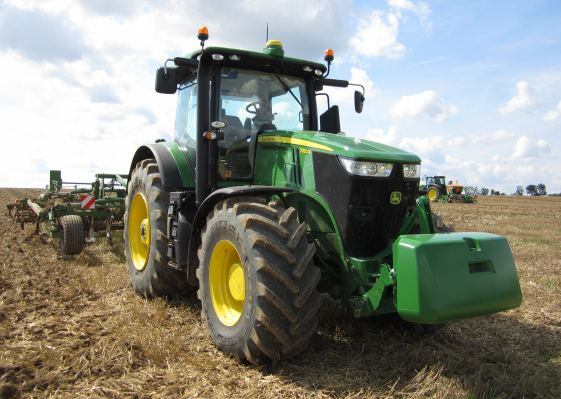 JD 7250R
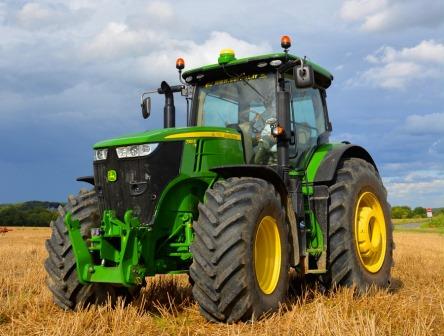 JD 7310R
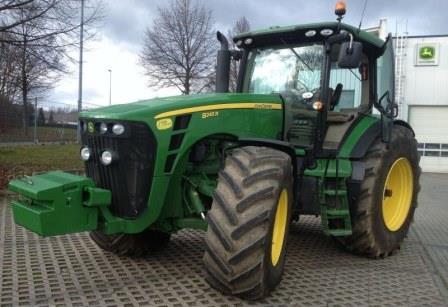 JD 8245R
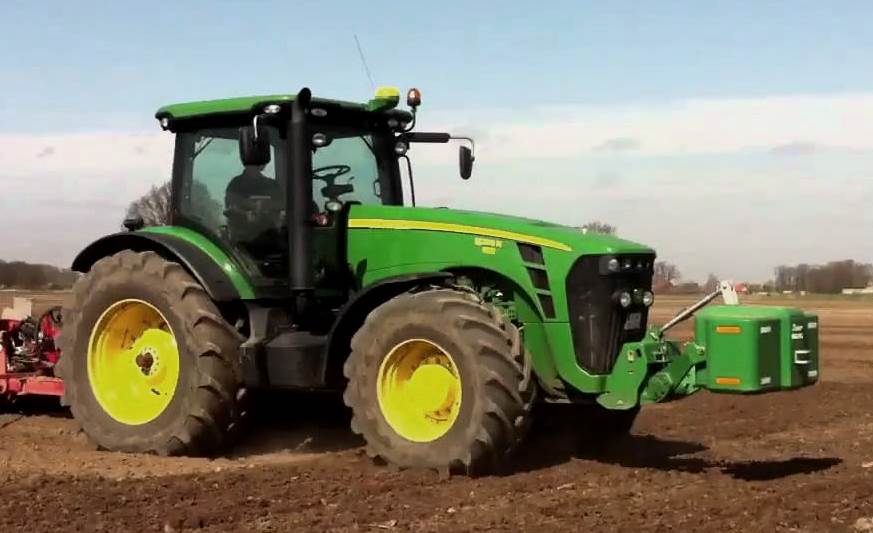 JD 8295R
 JD 8370R
 JD 9370R
 120R Loader
 D120 Loader
 H120 Loader
 45 Loader
 200CX Loader
 D160 Loader
 D170 Loader
 H160 Loader
 H165 Loader
 H240 Loader
 210 Loader
 220R Loader
 300E Loader
 300X Loader
 300CX Loader
 JD 9420R
 JD 9510R
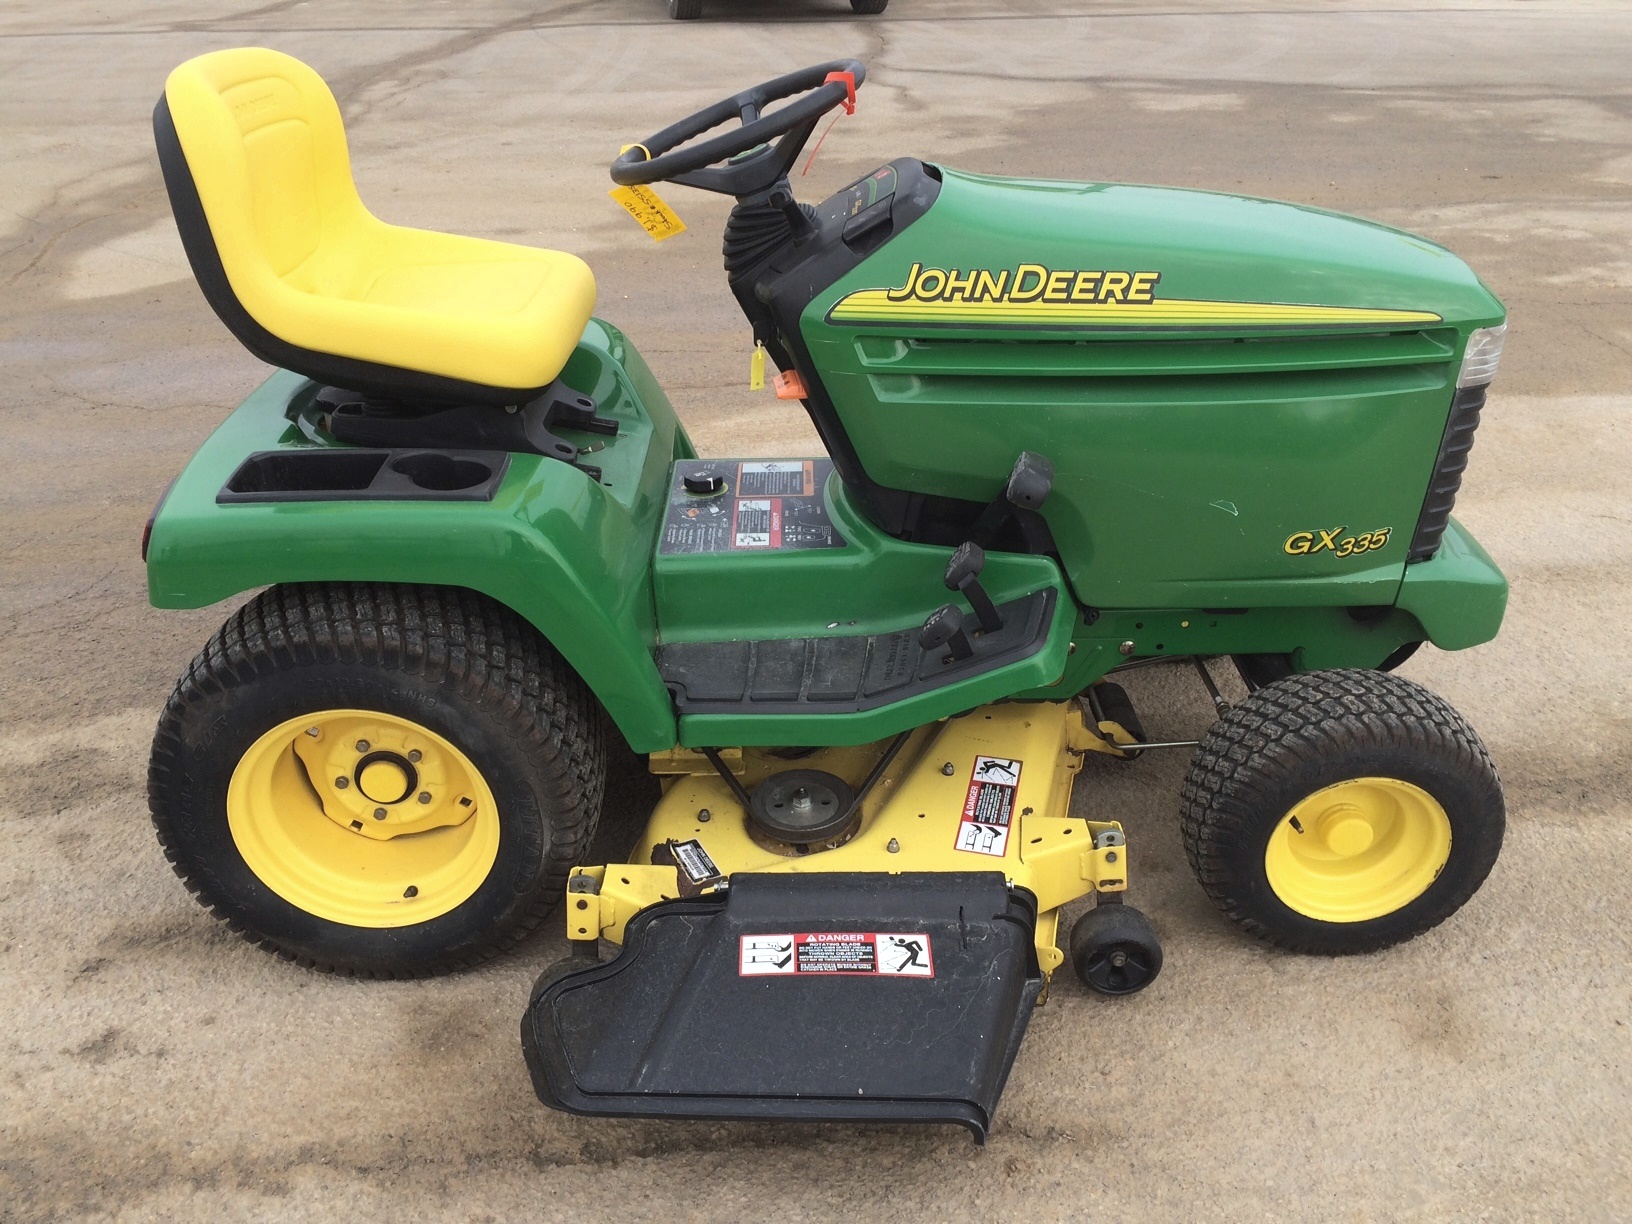 JD GX335
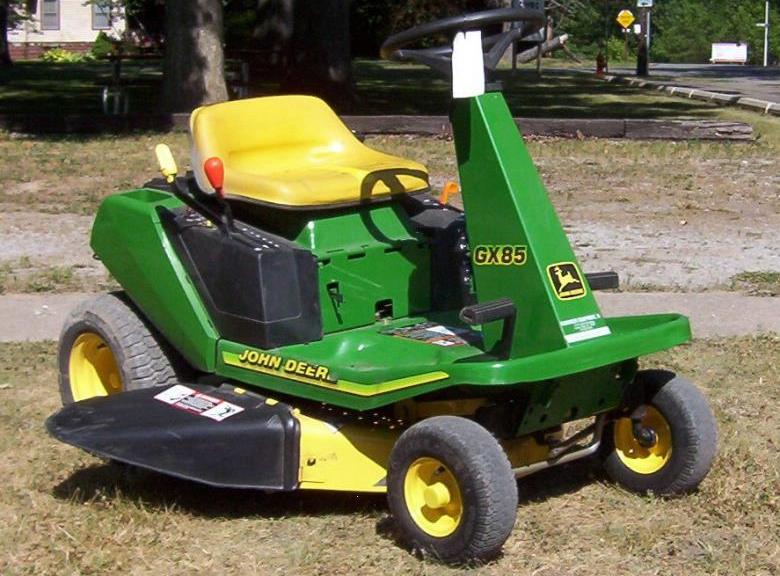 JD GX85
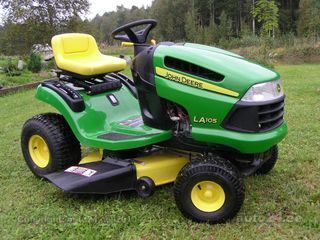 JD LA105
 JD 5065M
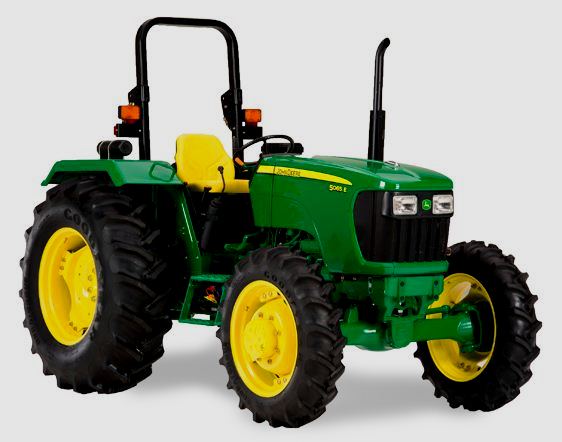 JD 5055D
 JD 5115R
 JD 5105M
 JD 6110R
 JD 6130D
 JD 6225
 JD 7530
 JD 4044M
 JD 7185J
 300 Loader
 300R Loader
 320R Loader
 400E Loader
 410 Loader
 430 Loader
 460 Loader
 521 Loader
 531 Loader
 541 Loader
 551 Loader
 631 Loader
 651 Loader
 661 Loader
 603R Loader
 JD D130
 JD D160
 JD 325
 JD 335
 JD 345
 JD 2520
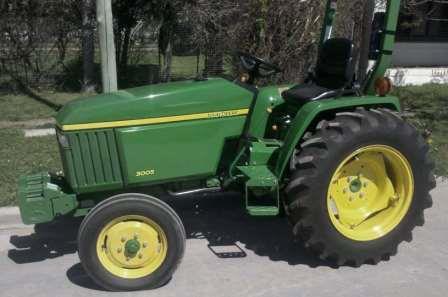 JD 3005
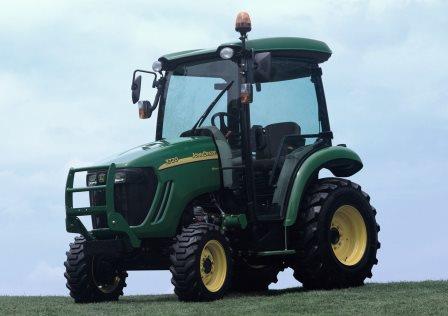 JD 3720
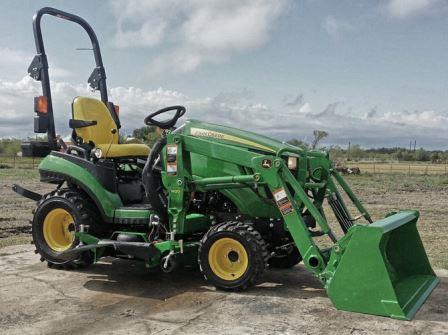 JD 1025R
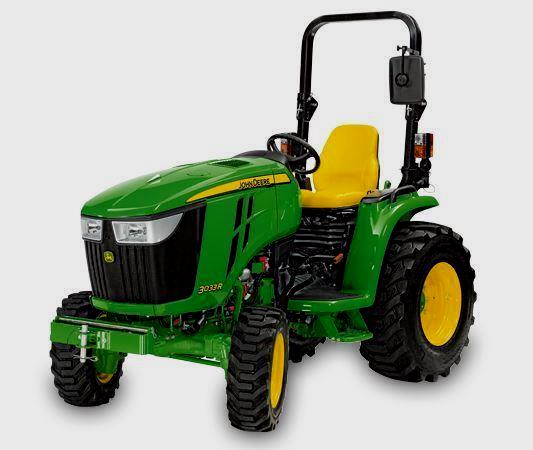 JD 3033R
 JD 5090EL
 JD 5100MH
 JD 5075GV
 JD 6090RC
 JD 6110B
 623R Loader
 643R Loader
 731 Loader
 746 Loader
 751 Loader
 533 Loader
 583 Loader
 633 Loader
 653 Loader
 683 Loader
 H260 Loader
 663R Loader
 663 Loader
 683R Loader
 753 Loader
 JD 6125J
 JD 6150RH
 JD 6210J
 JD 7195J
 JD 8310
 JD 6325
 JD 5525
 JD 5083EN
 JD 5100GN
 JD 5125R
 210C Backhoe
 300D Backhoe
 310G Backhoe
 410G Backhoe
 710G Backhoe
 80 Loader
 100 Loader
 146 Loader
 148 Loader
 158 Loader
 168 Loader
 175 Loader
 522 Loader
 542 Loader
 540R Loader
 562 Loader
 563 Loader
 673 Loader
 741 Loader
 L108 Automatic
 L120 Automatic
 LA110 Automatic
 LA120 Automatic
 LA150 Automatic
 LT155
LT155 LT160 Automatic
 LT180 Automatic
 LTR180
 X165
X165 E100
E100 E120
E120 E150
E150 LTR166
 LA135
LA135 LA165
LA165 LX277
LX277 LX288
LX288 LX255
LX255 S240
S240 GT235
GT235 G110 Automatic
 JD 3203
 JD 5520
 JD 316
 JD 420
 JD 425
 JD 445
 JD_5050D
 X300
X300 X304
X304 X310
X310 X110 Automatic
 H310 Loader
 H340 Loader
 H360 Loader
 H380 Loader
 H480 Loader
 240 Loader
 245 Loader
 260 Loader
 265 Loader
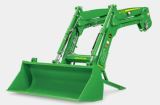 600R Loader
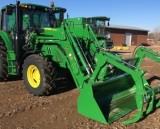 620R Loader
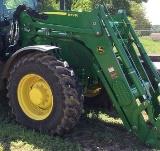 640R Loader
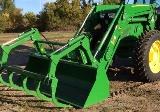 660R Loader
 680R Loader
 JD_5039D
 X146R
X146R X360
X360 X155R
X155R X140 Automatic
 X350
X350 X380
X380 X500
X500 X590
X590 X700
X700 3036E
3036E 2038R
2038R 3038R
3038R 4049M
4049M JD 4100
 X738
X738 X740
X740 X748
X748 X749
X749 X950R
X950R JD 4510
 5045D
5045D 5050E
5050E 5060E
5060E 5078E
5078E